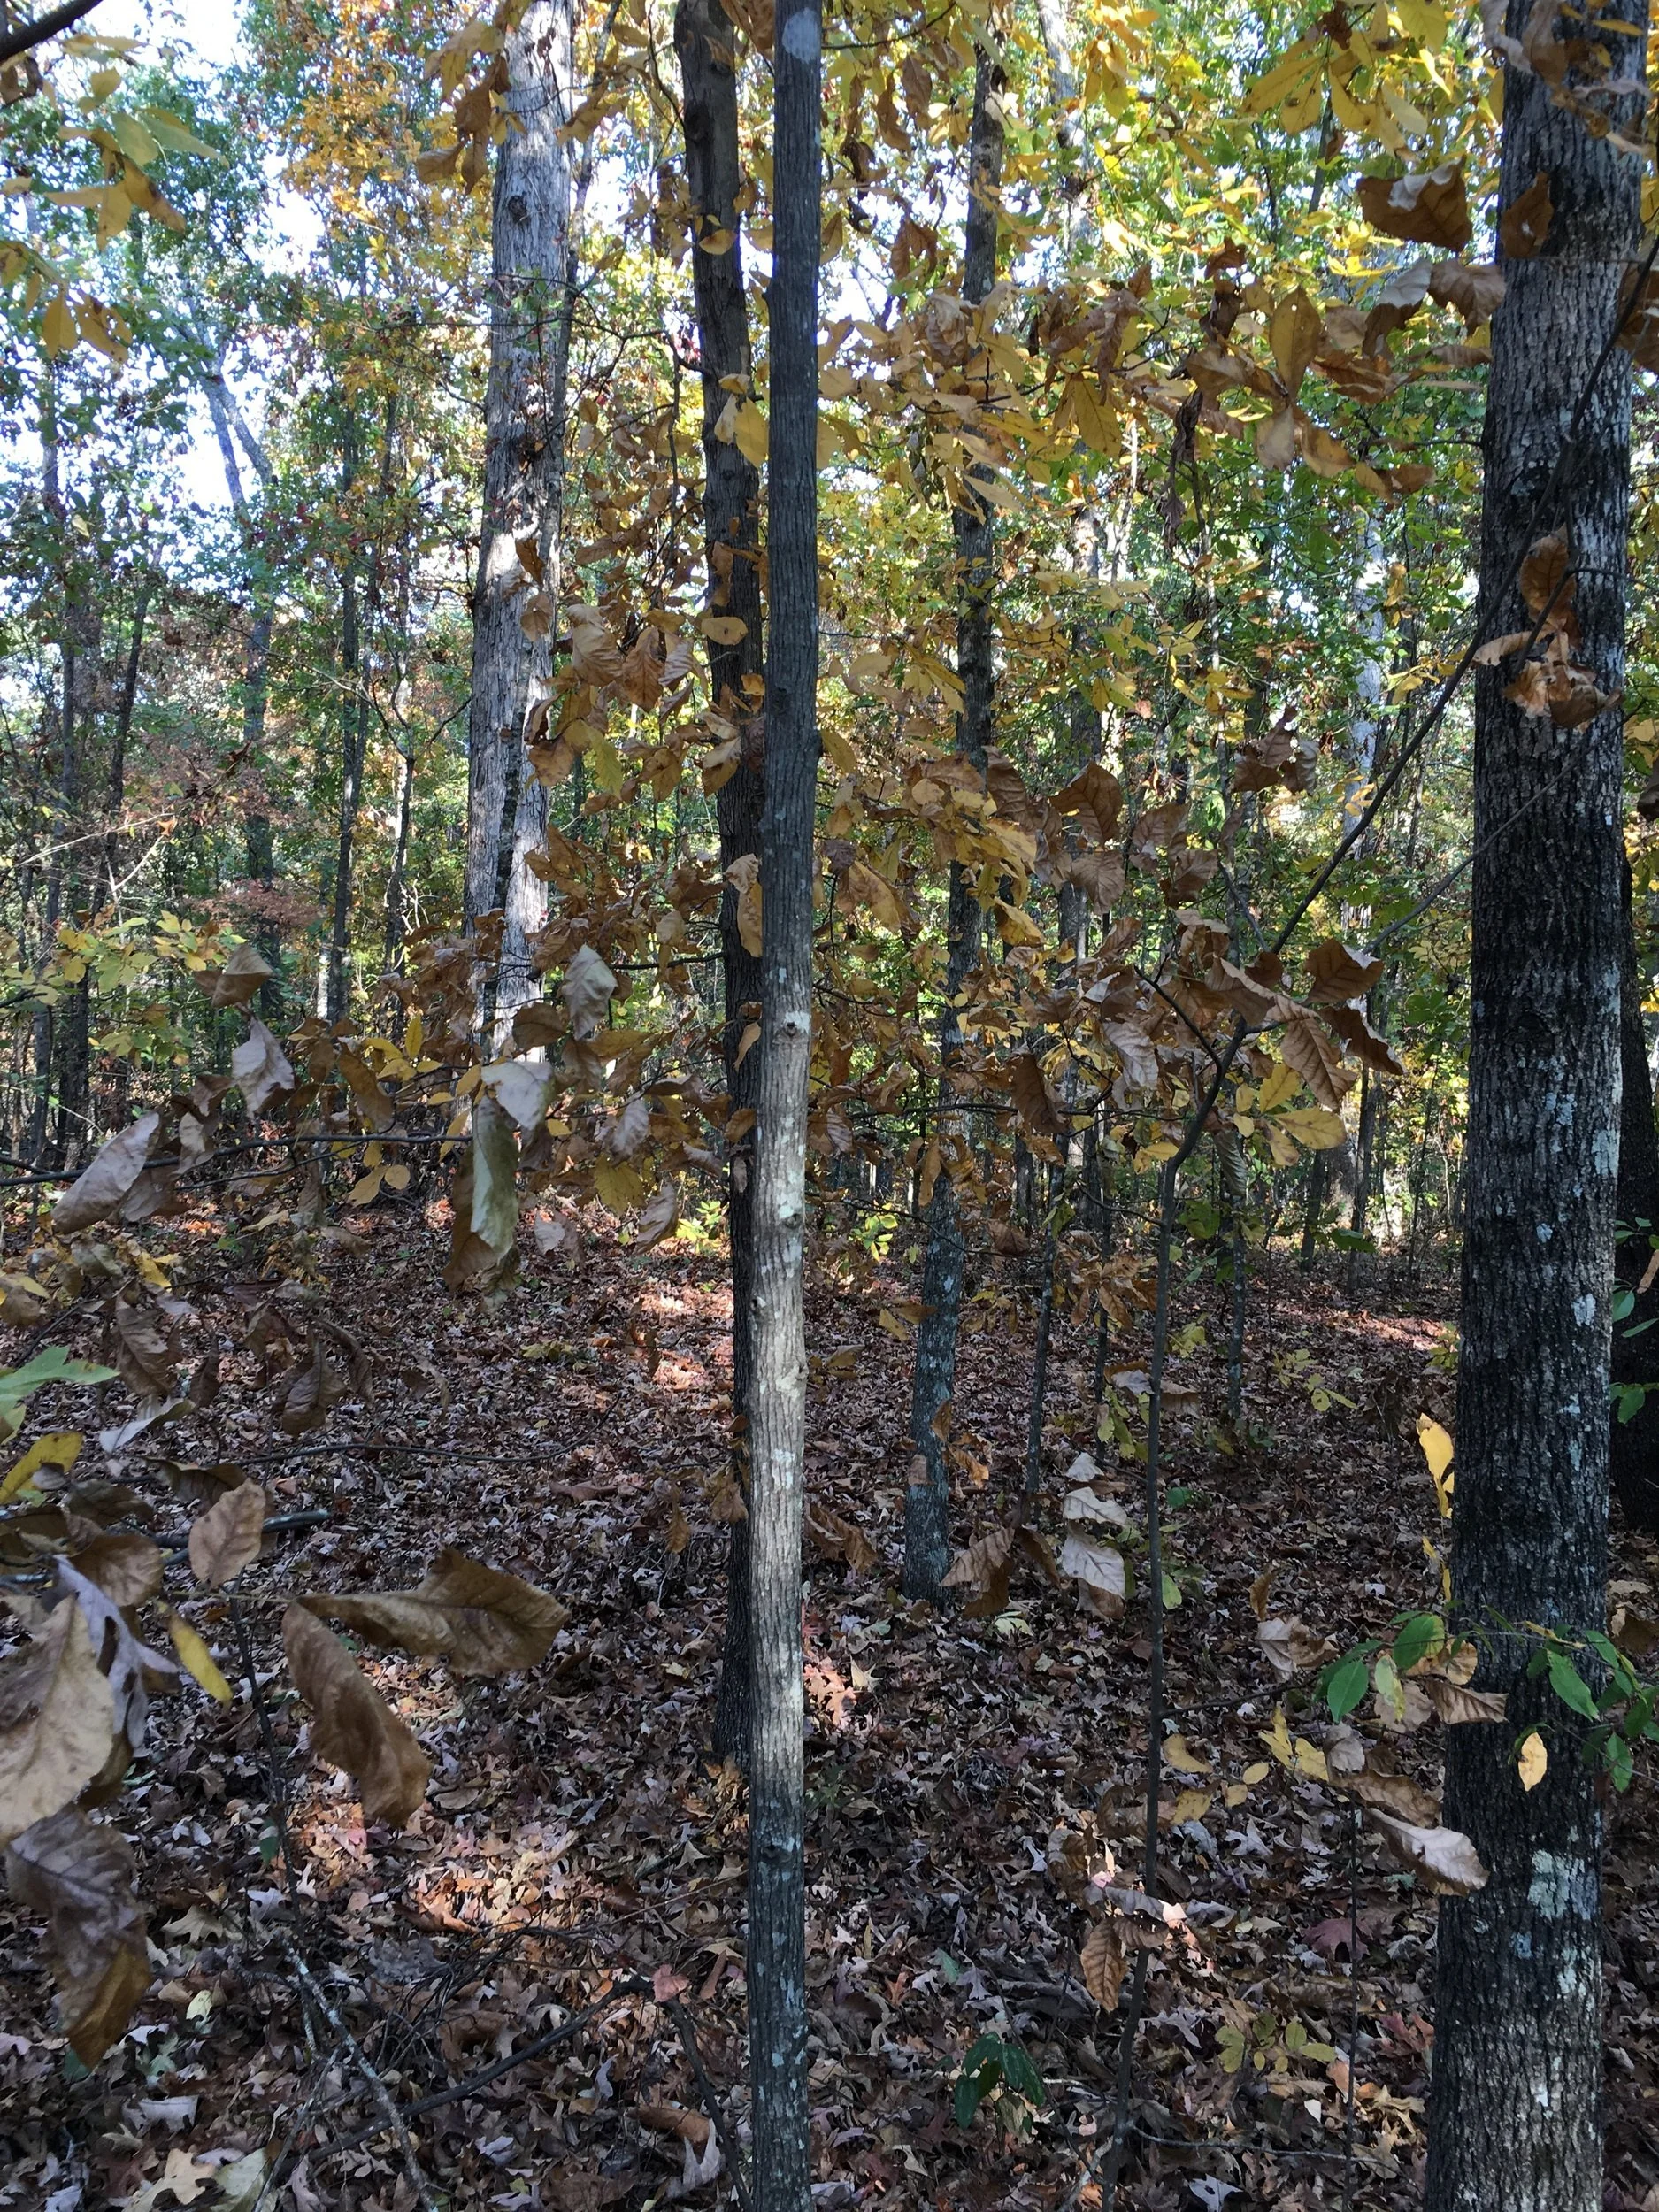
In case any of you would like to make a bow out of the trees in your backyard or on your hunt lease property, here is a simple how-to in pictures.
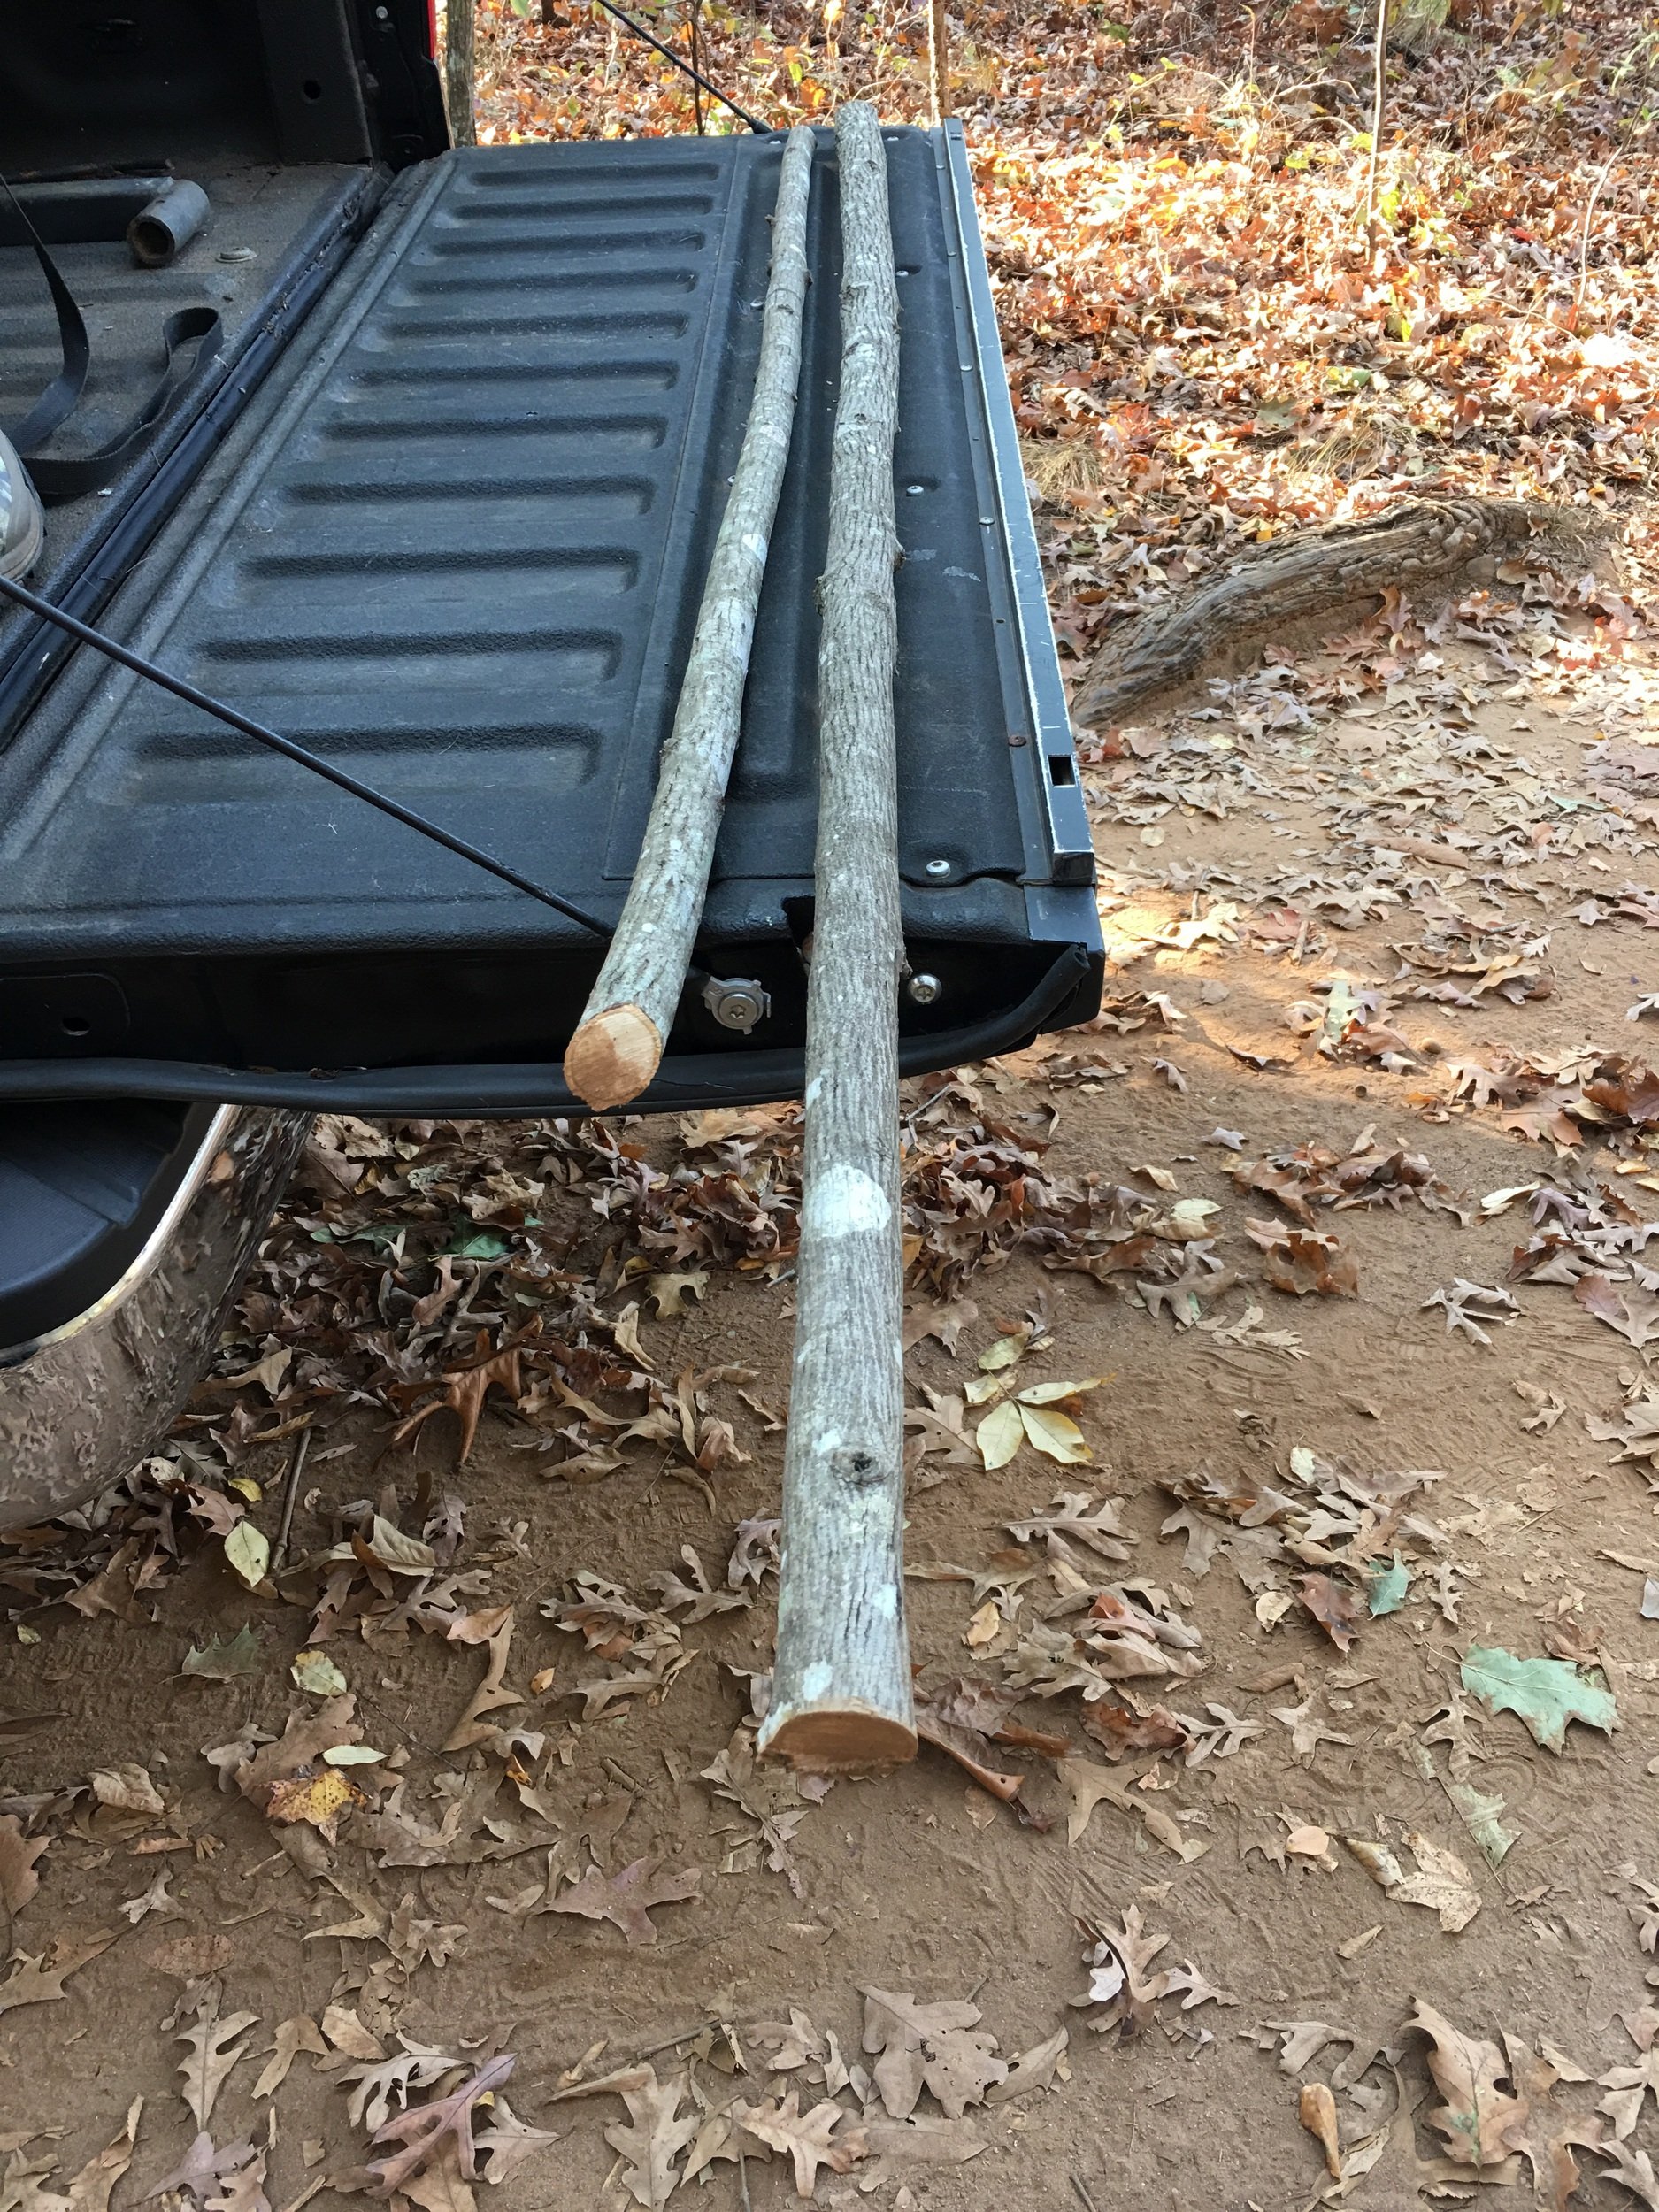
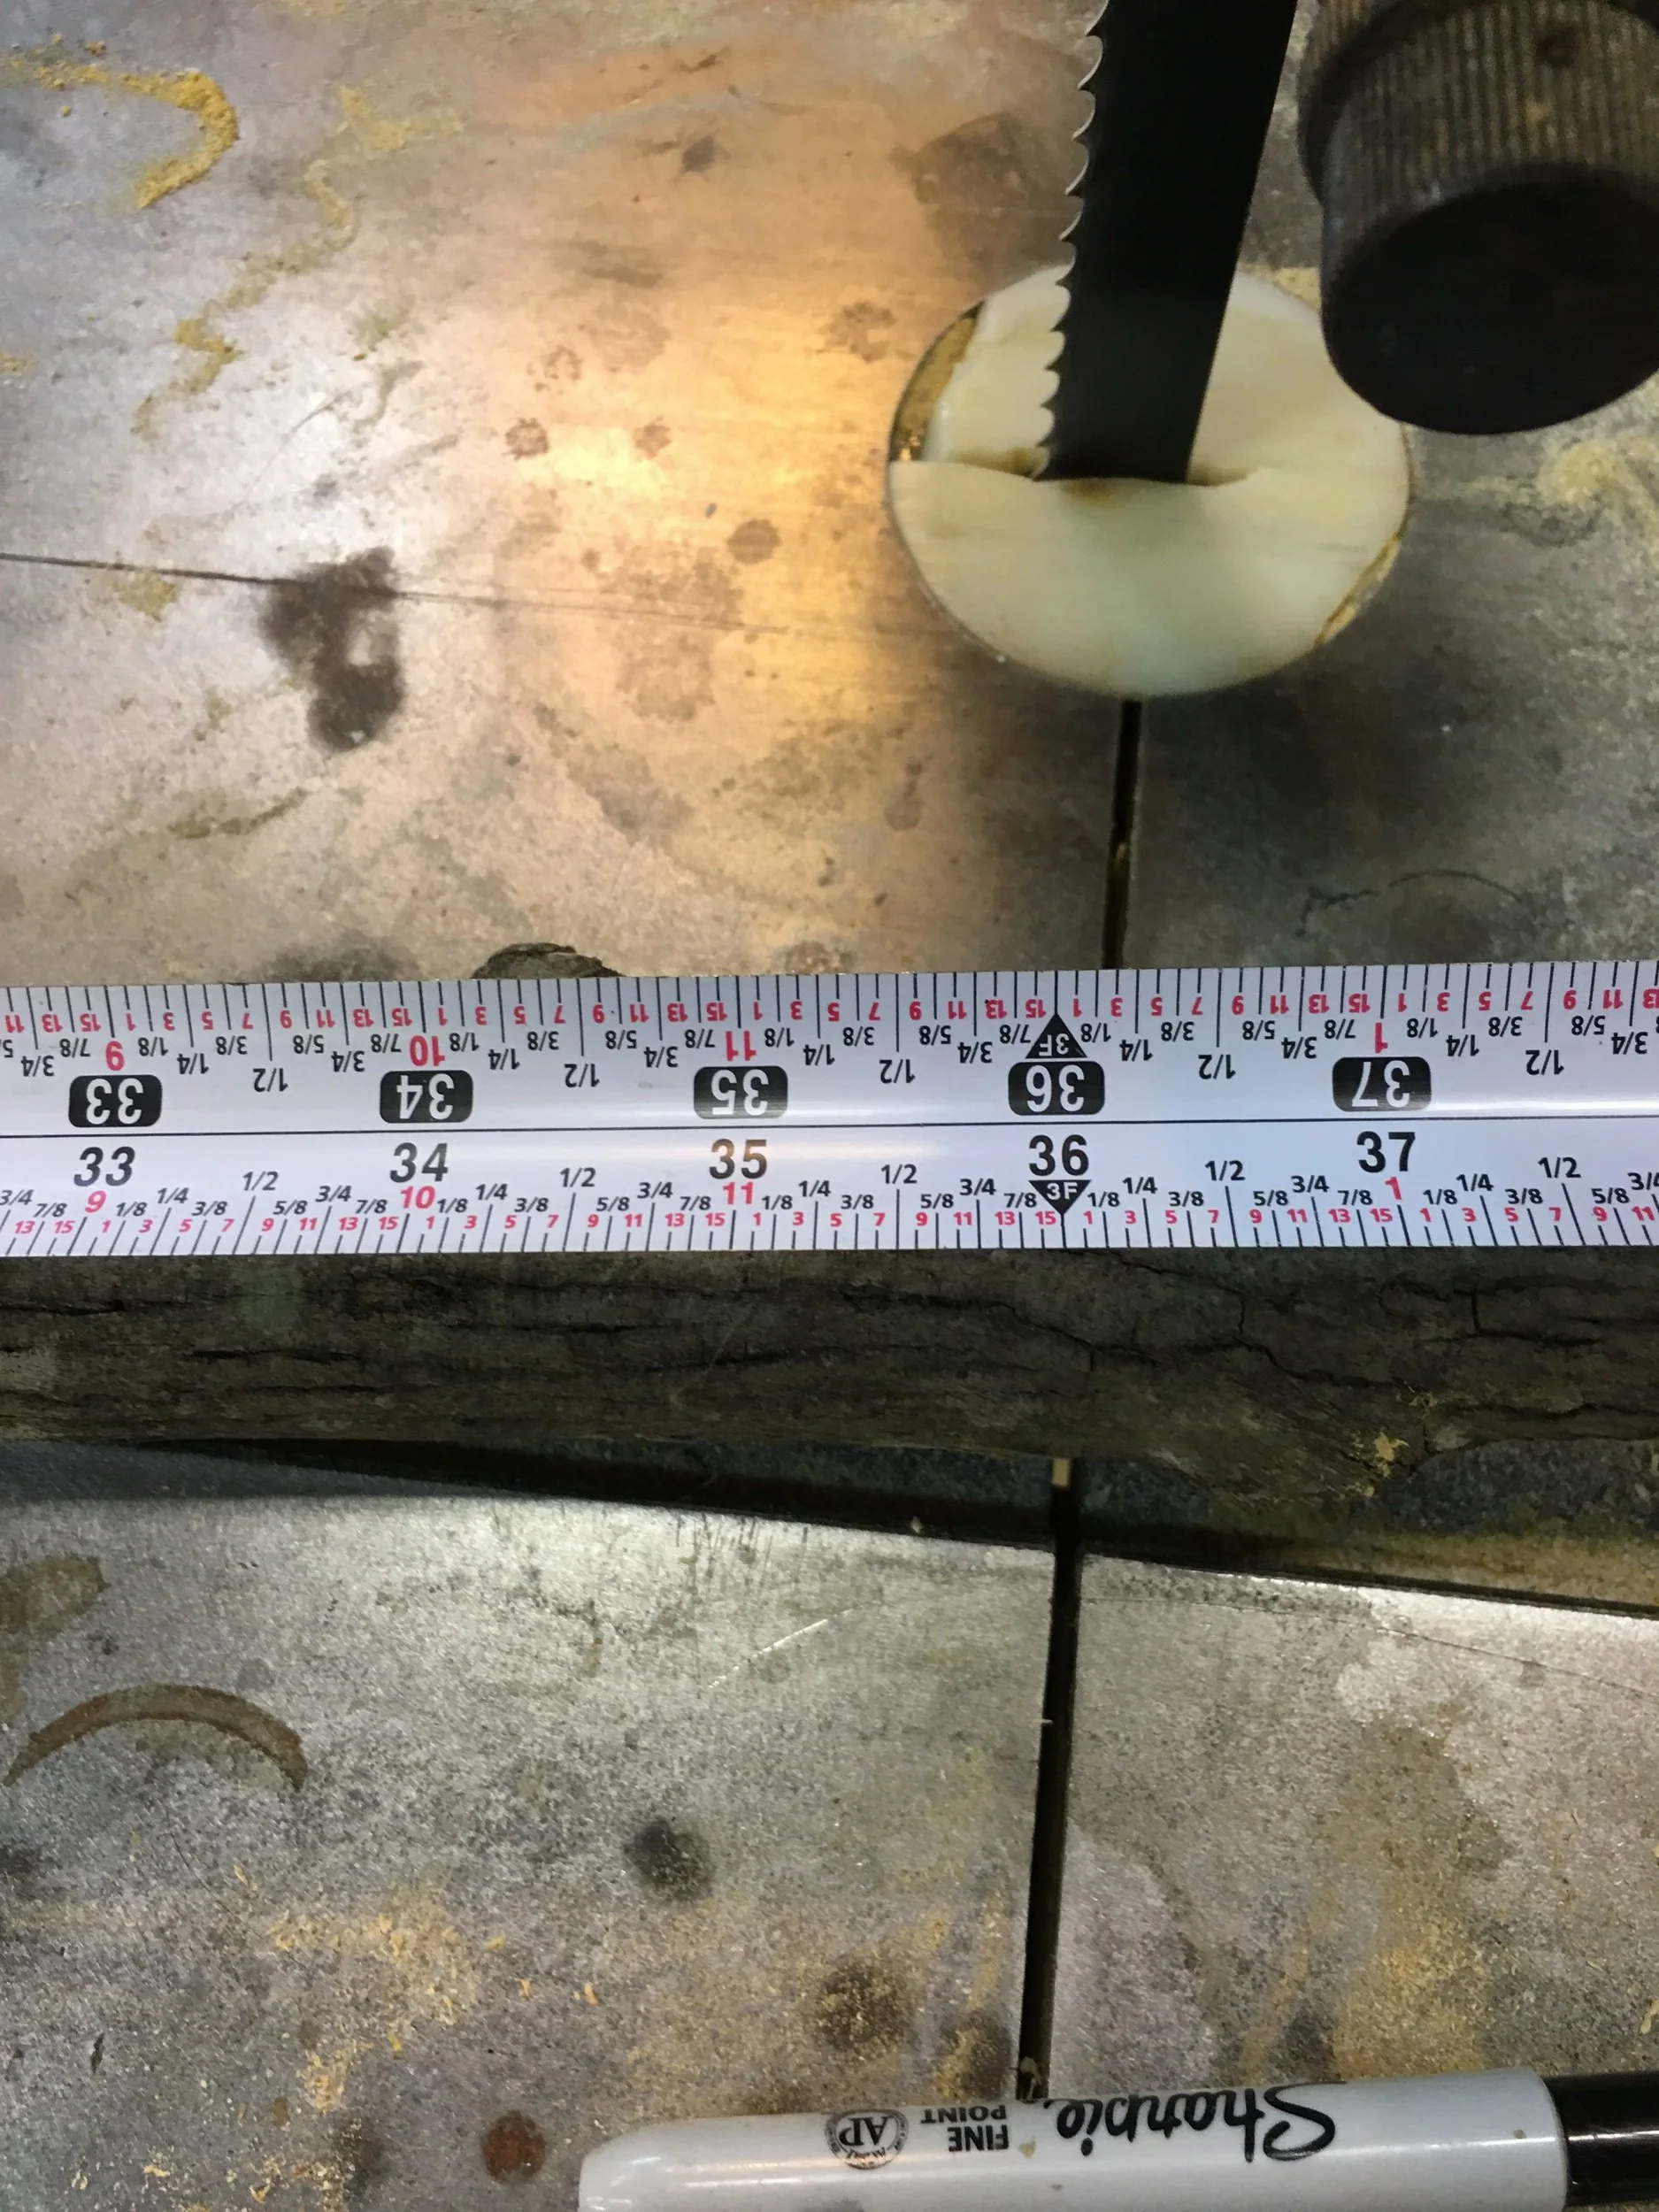
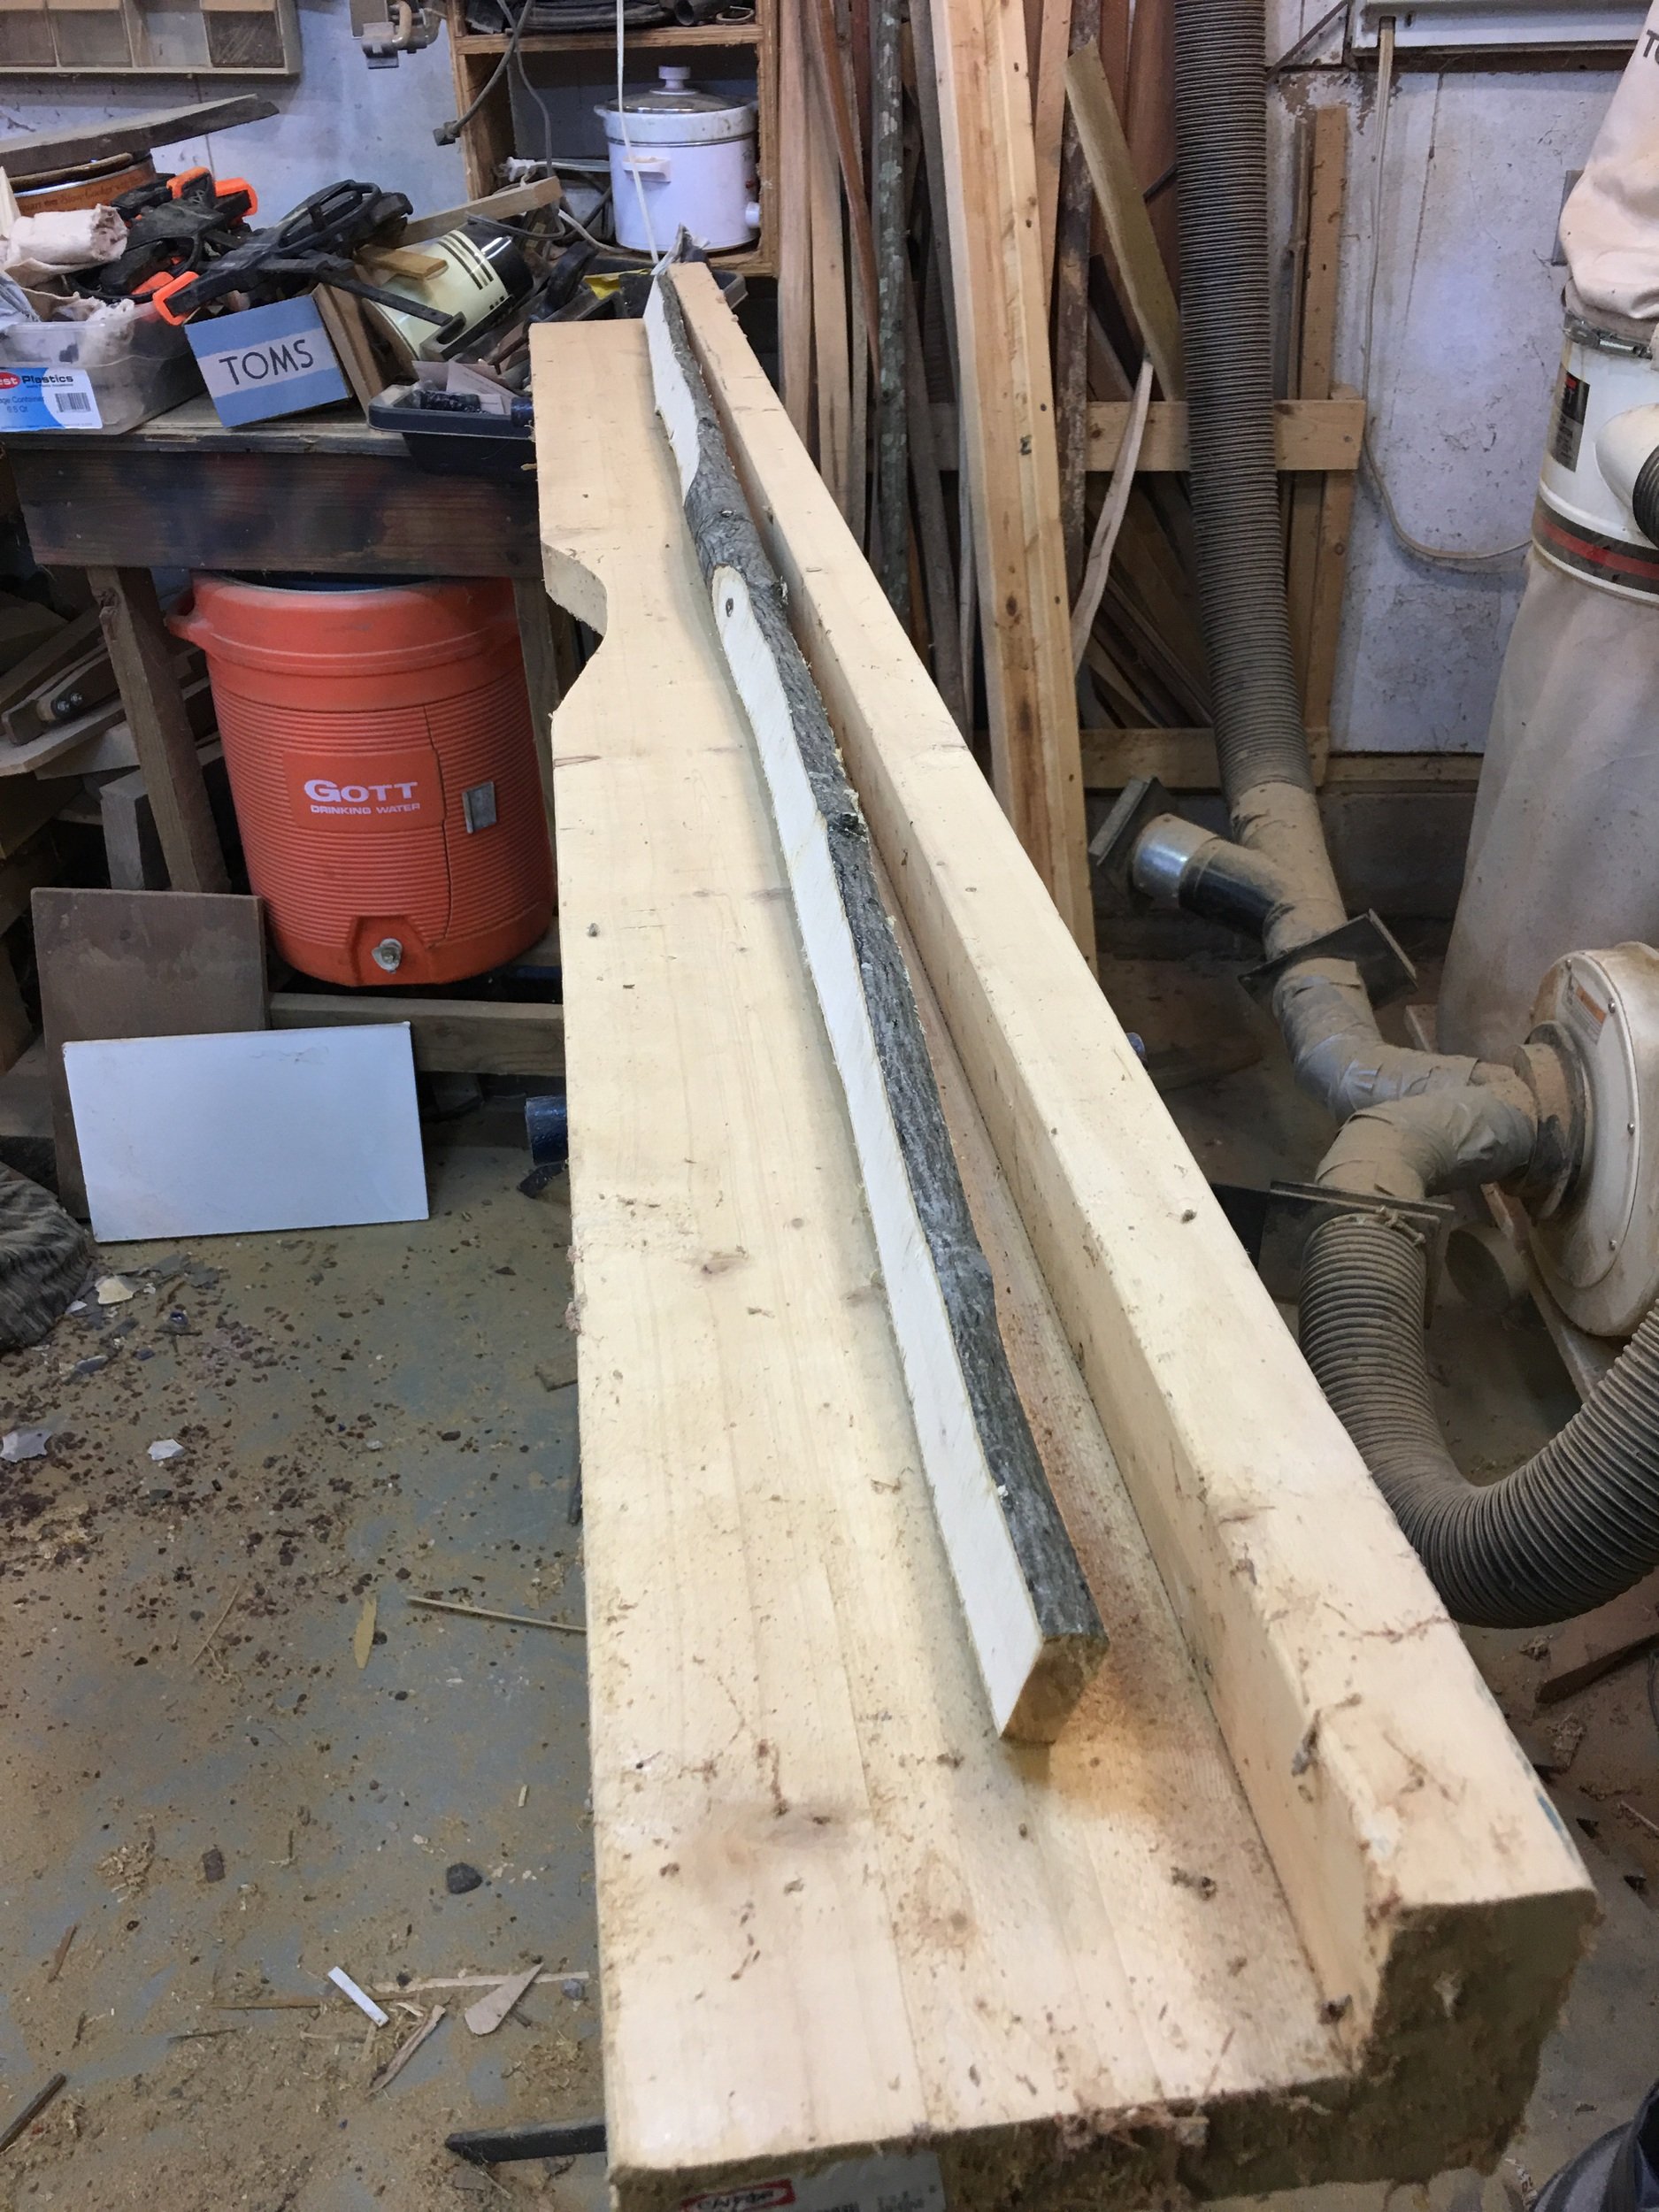
Find a nice straight hickory sapling, at least 3" in diameter. Cut it at the straightest part--at least 72" long.
Cut an extra one just in case. Smaller one can be used for a bend through the handle bow
Find the center point and mark.
Mark handle area 4", and fades 2" past handle

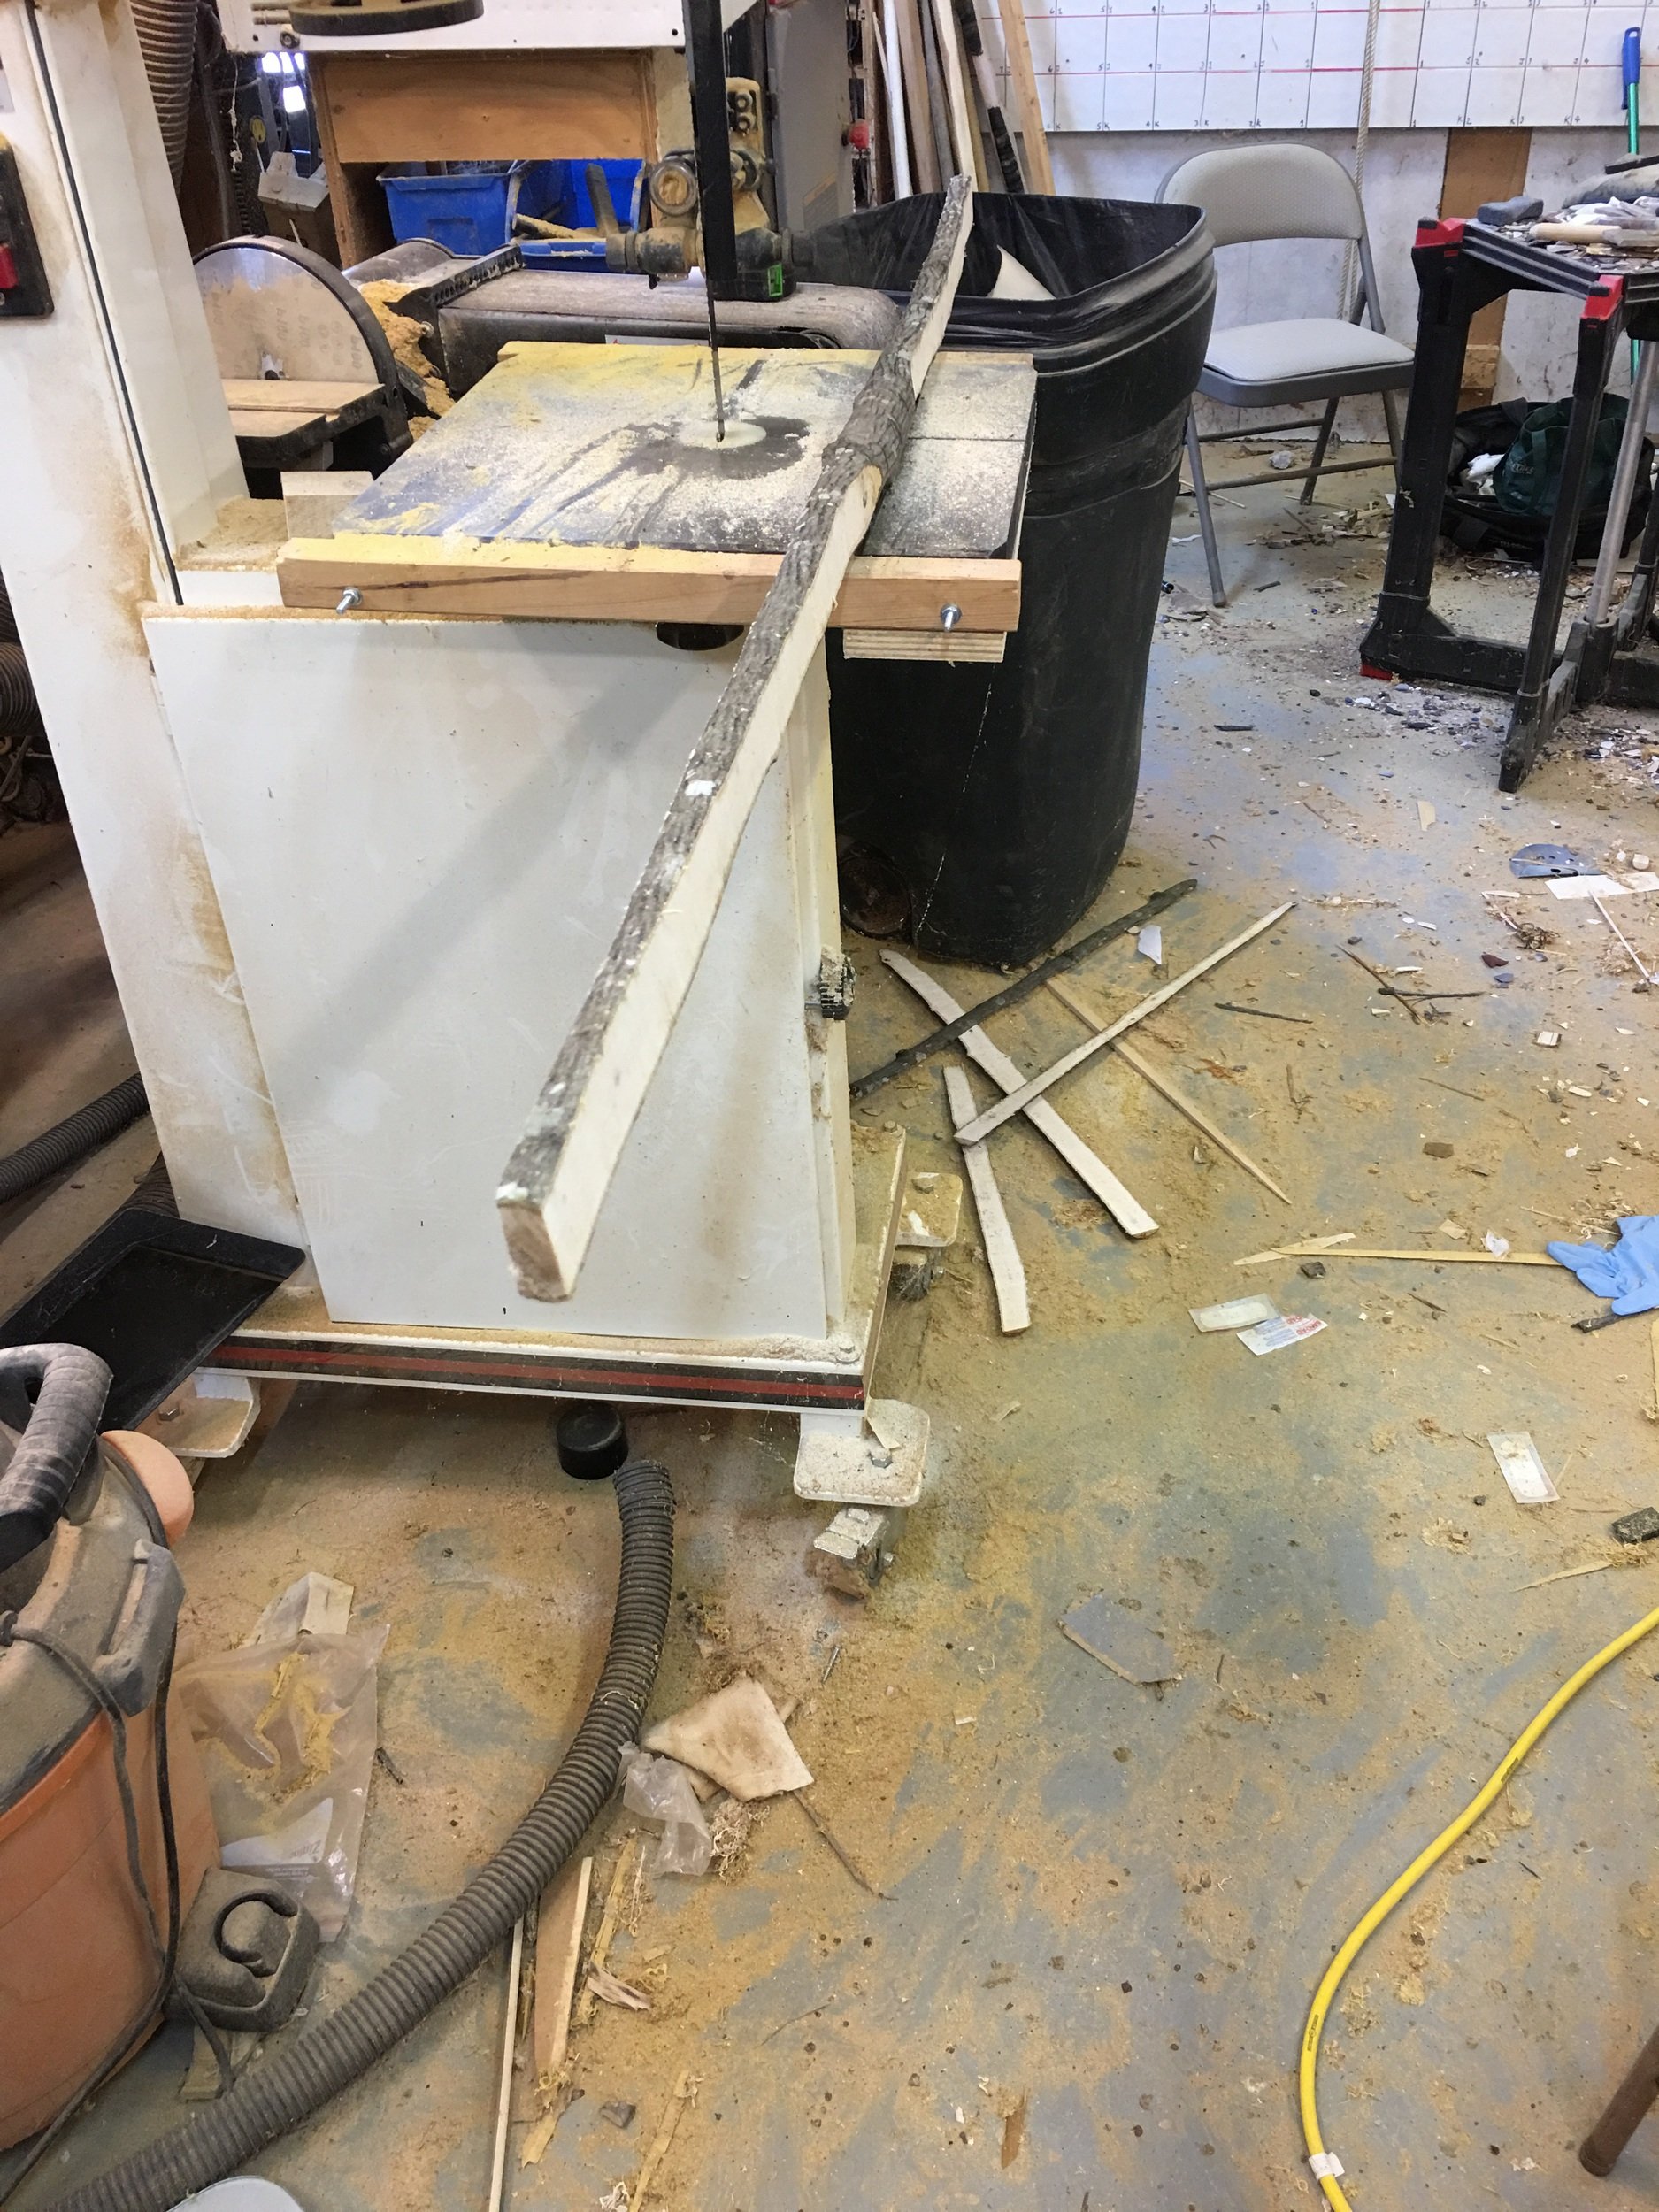
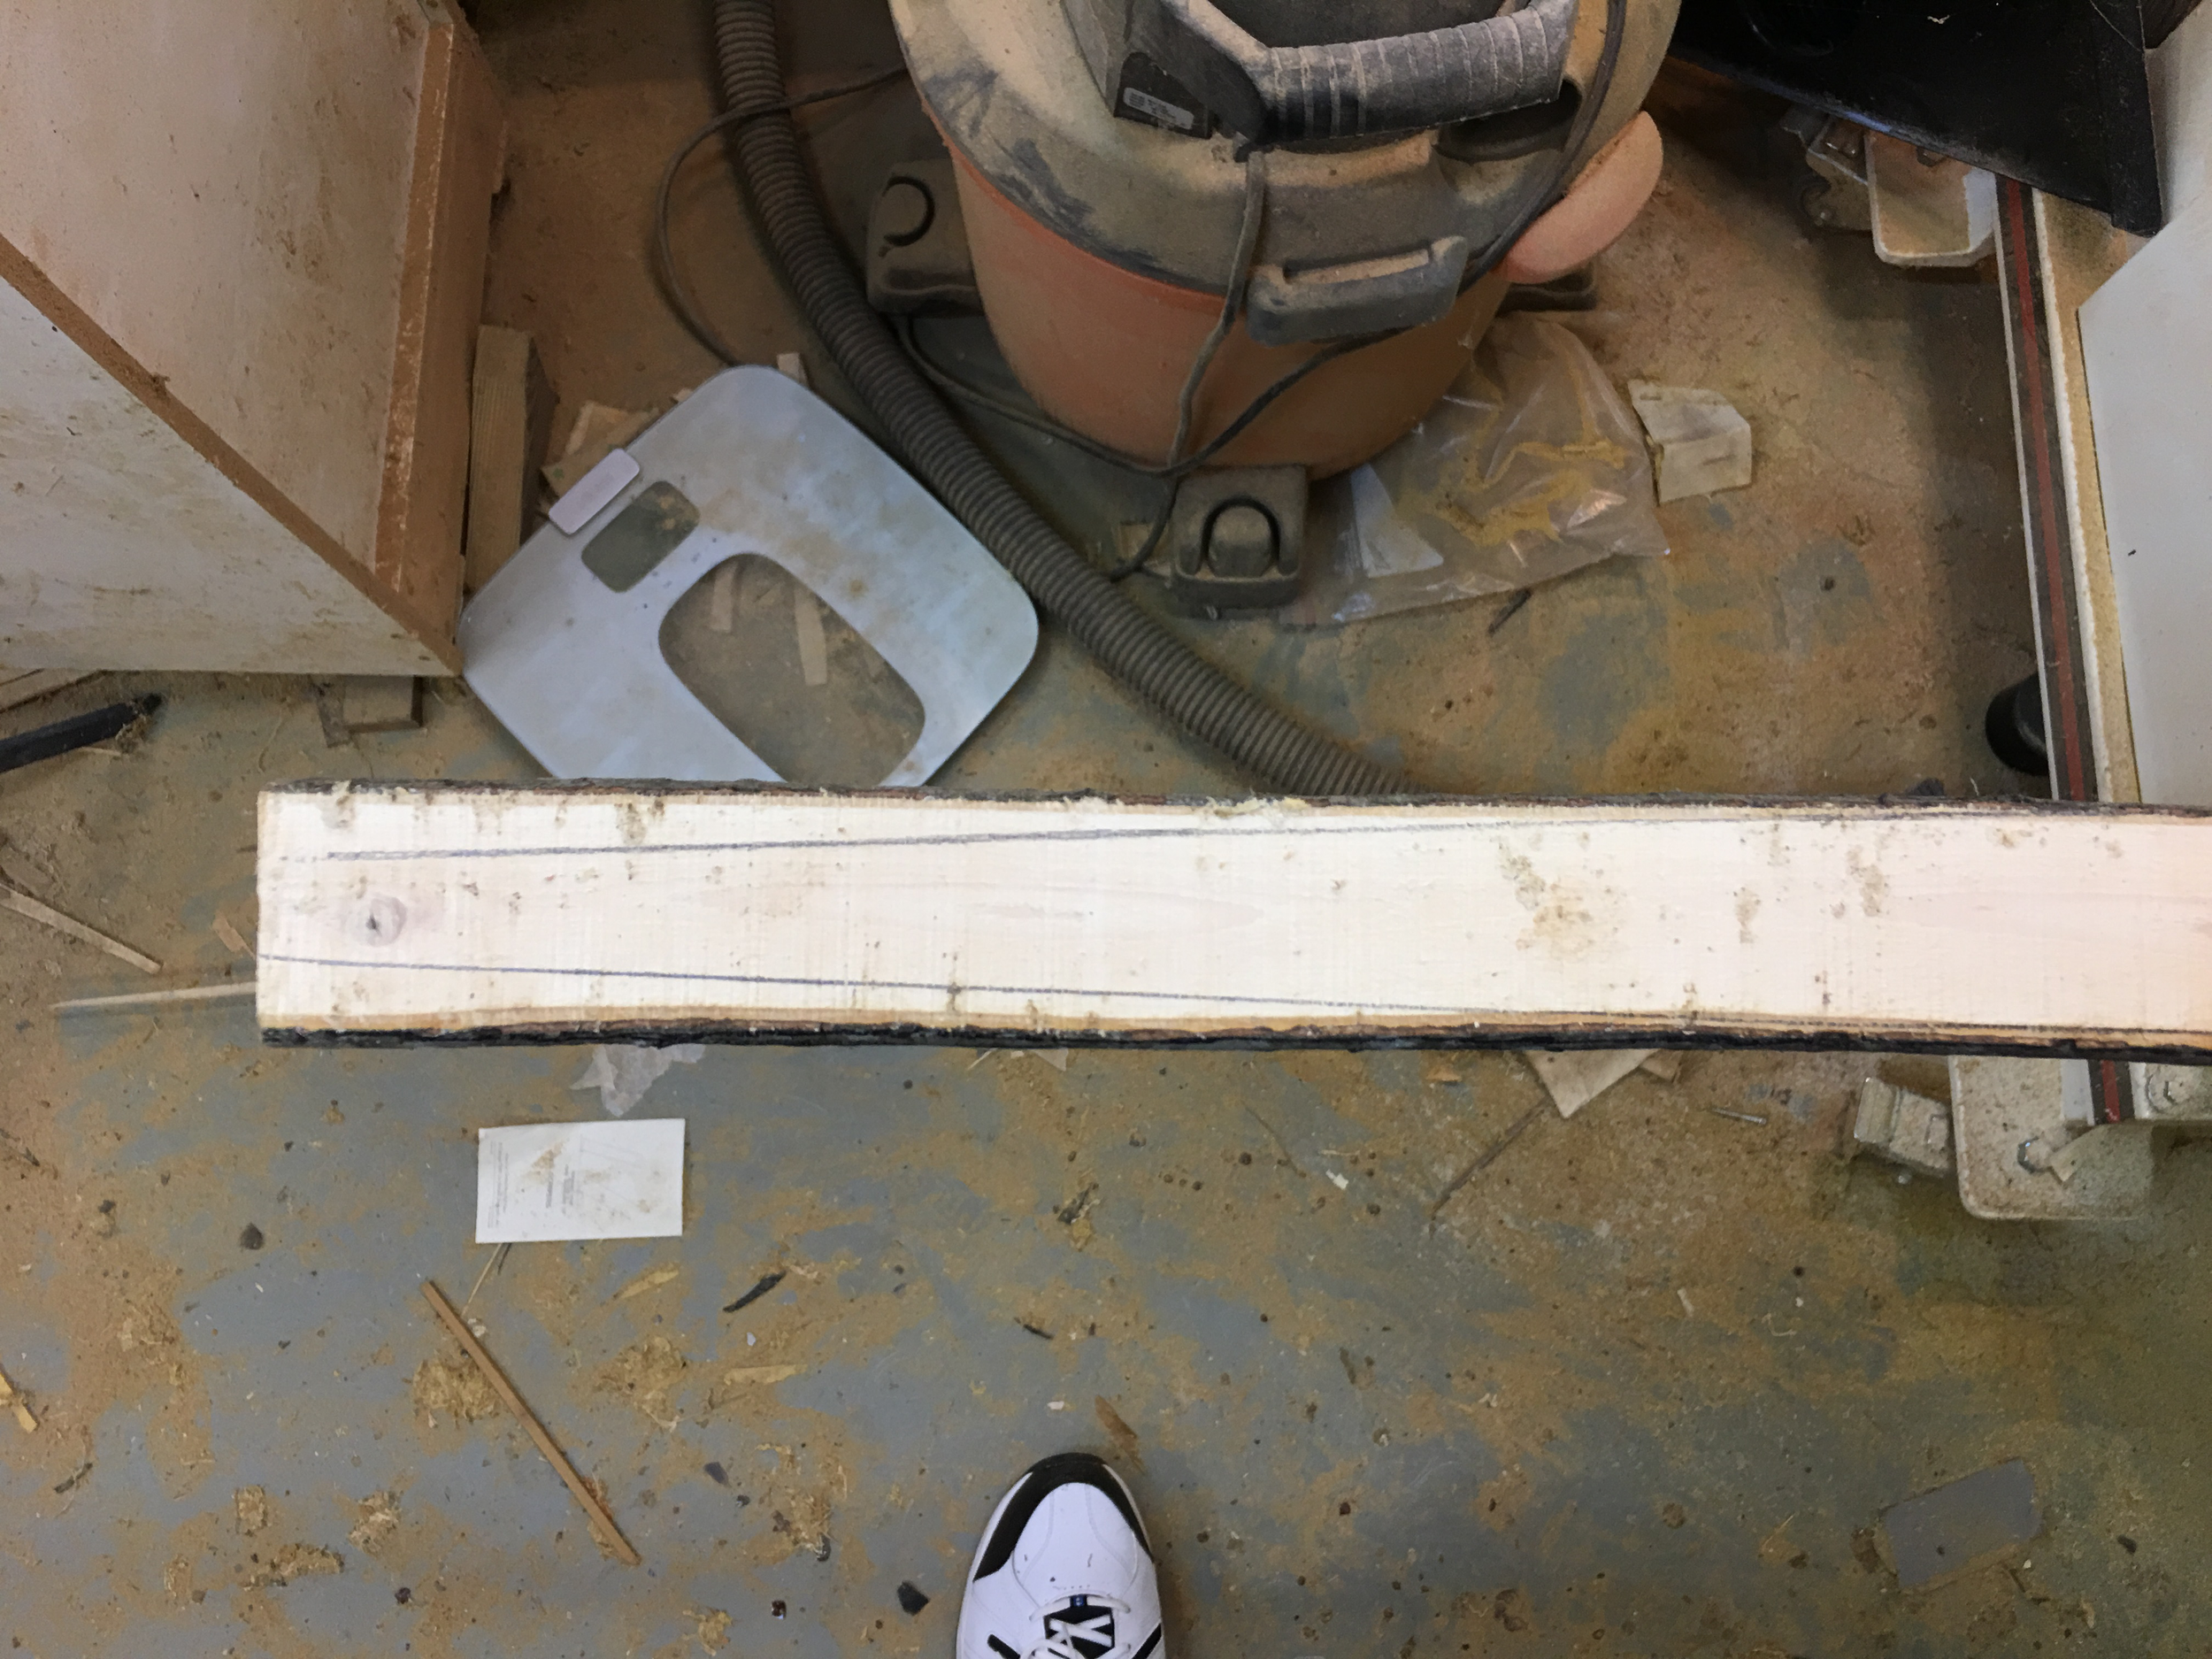
Trim belly off one side of the bow, starting at handle. Taper toward tip, leaving at least 1/2" thickness at the tip. Repeat on other side.

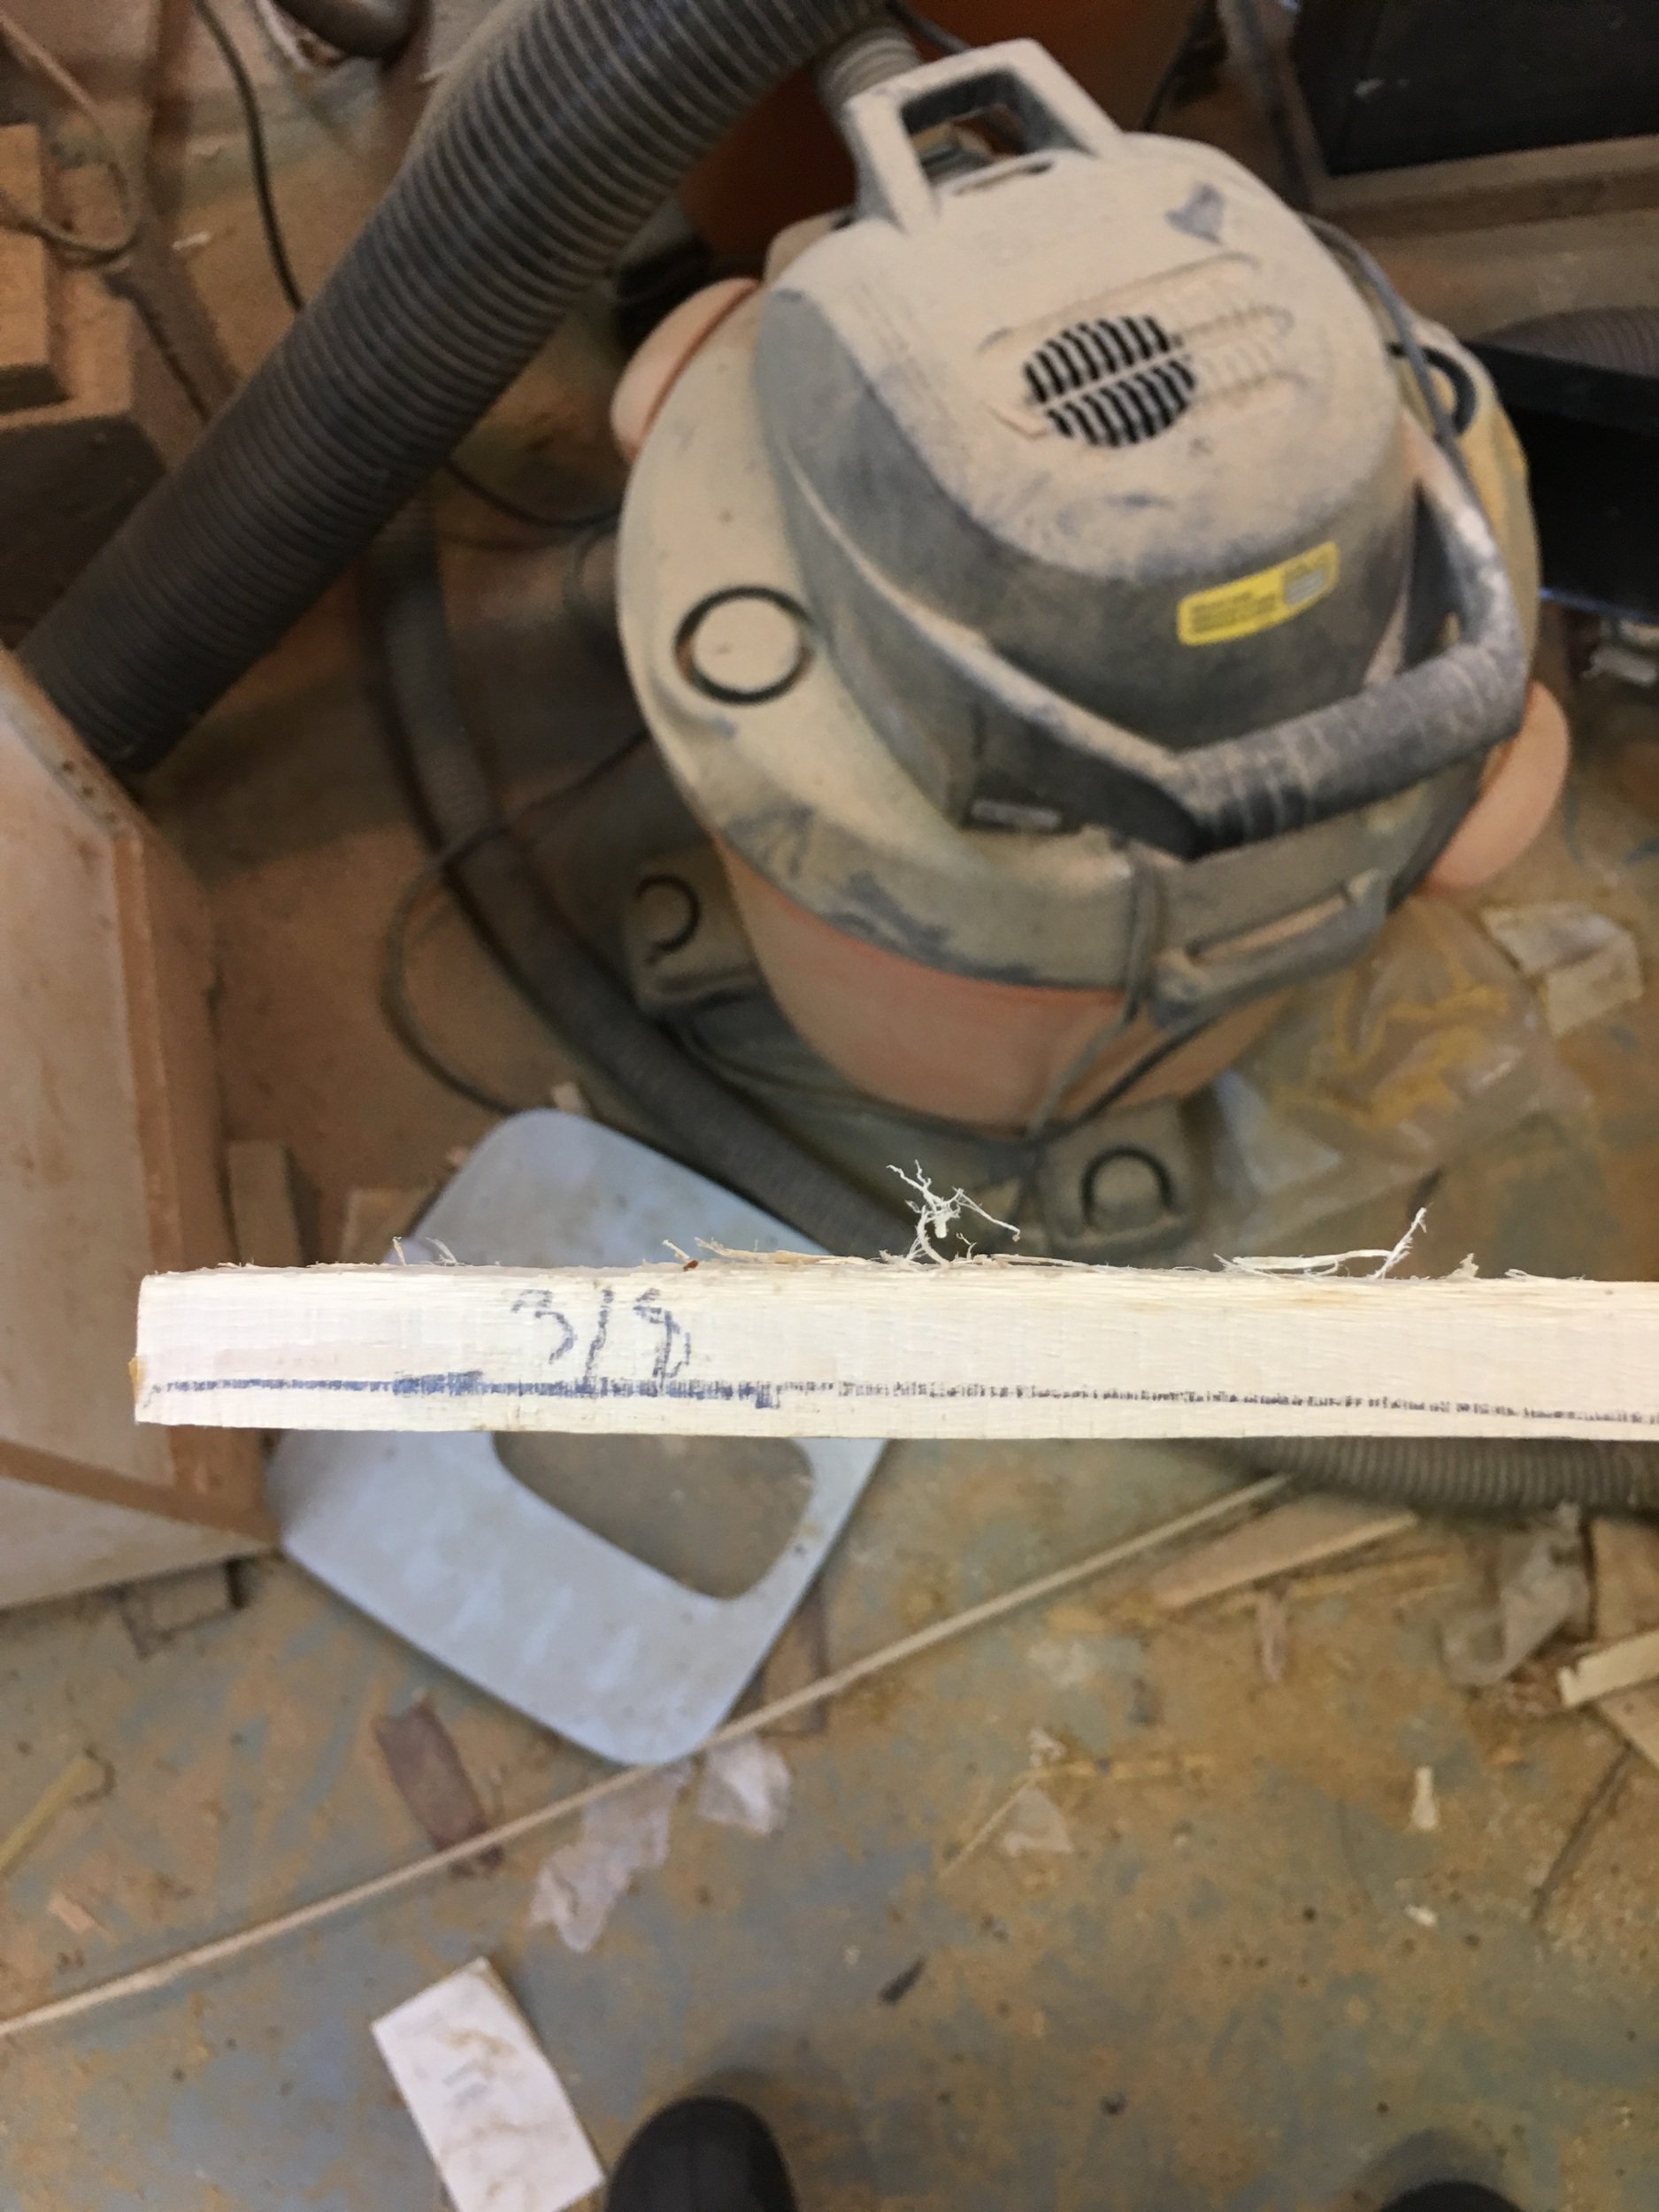
Now trim off the back of the bow, making sure to keep the limbs straight. You should be about 3/4" thick at the fades down to 1/2" thick at the tips. The handle area can be kept round or flattened.
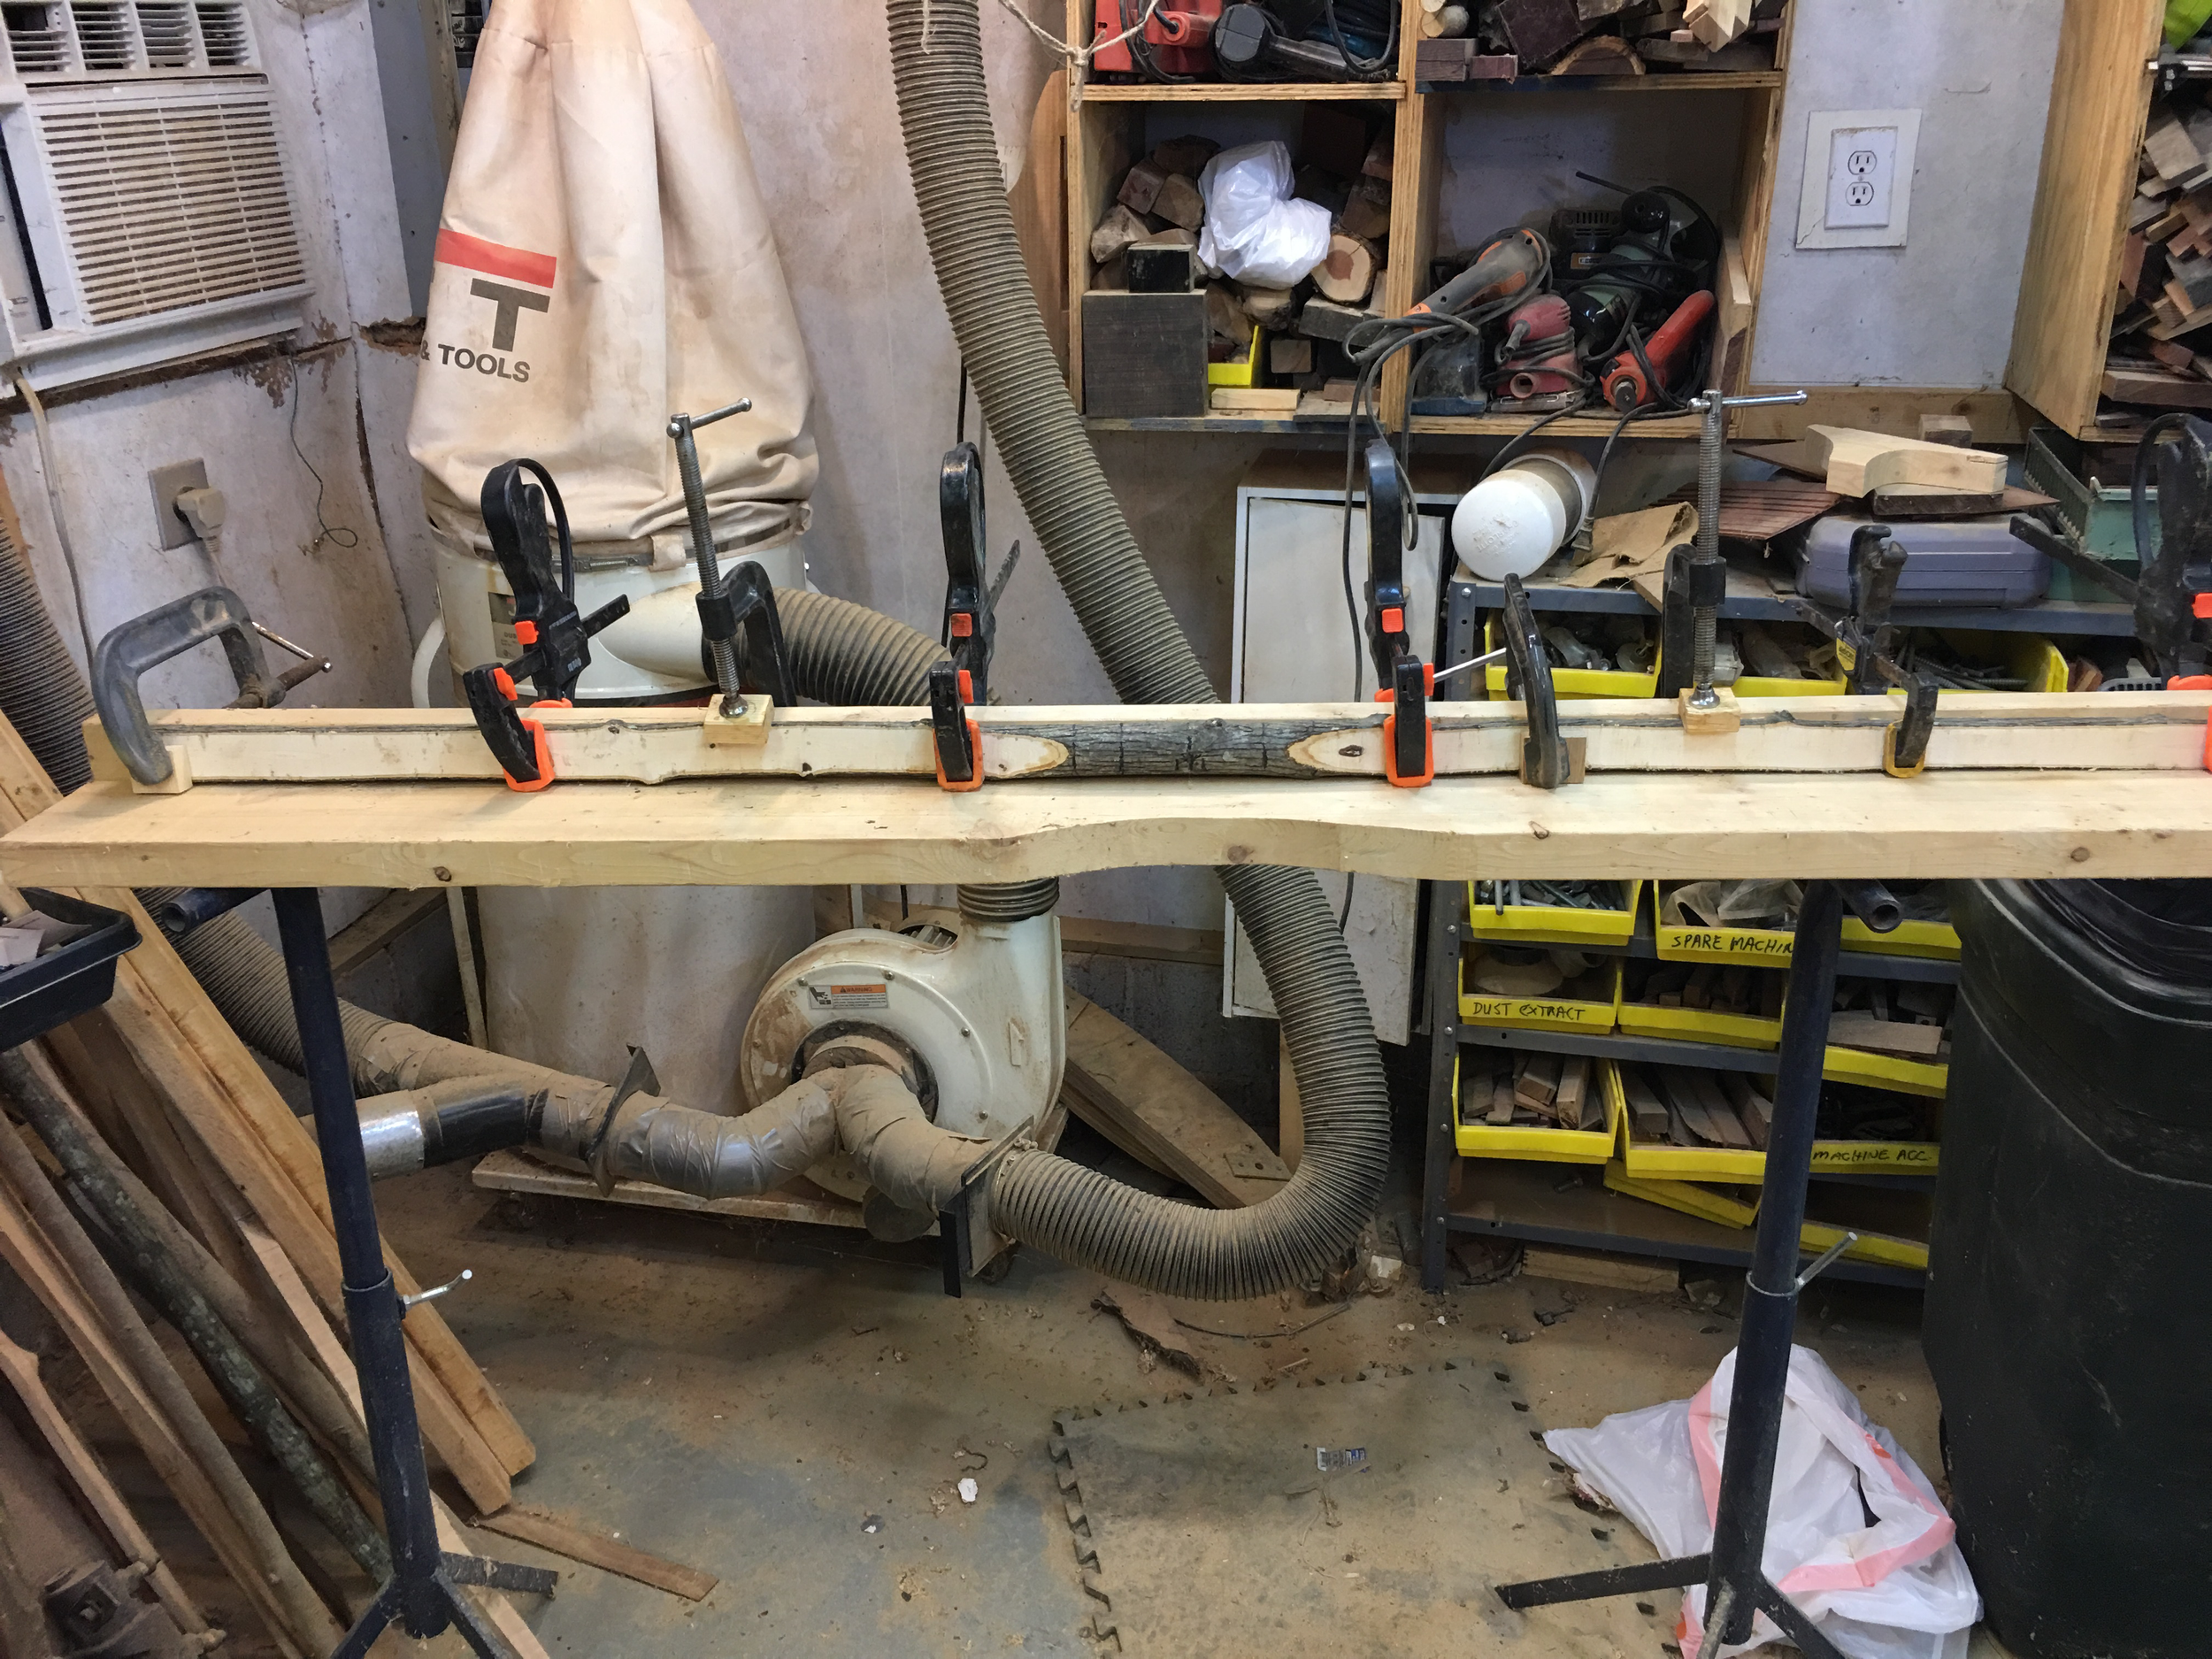
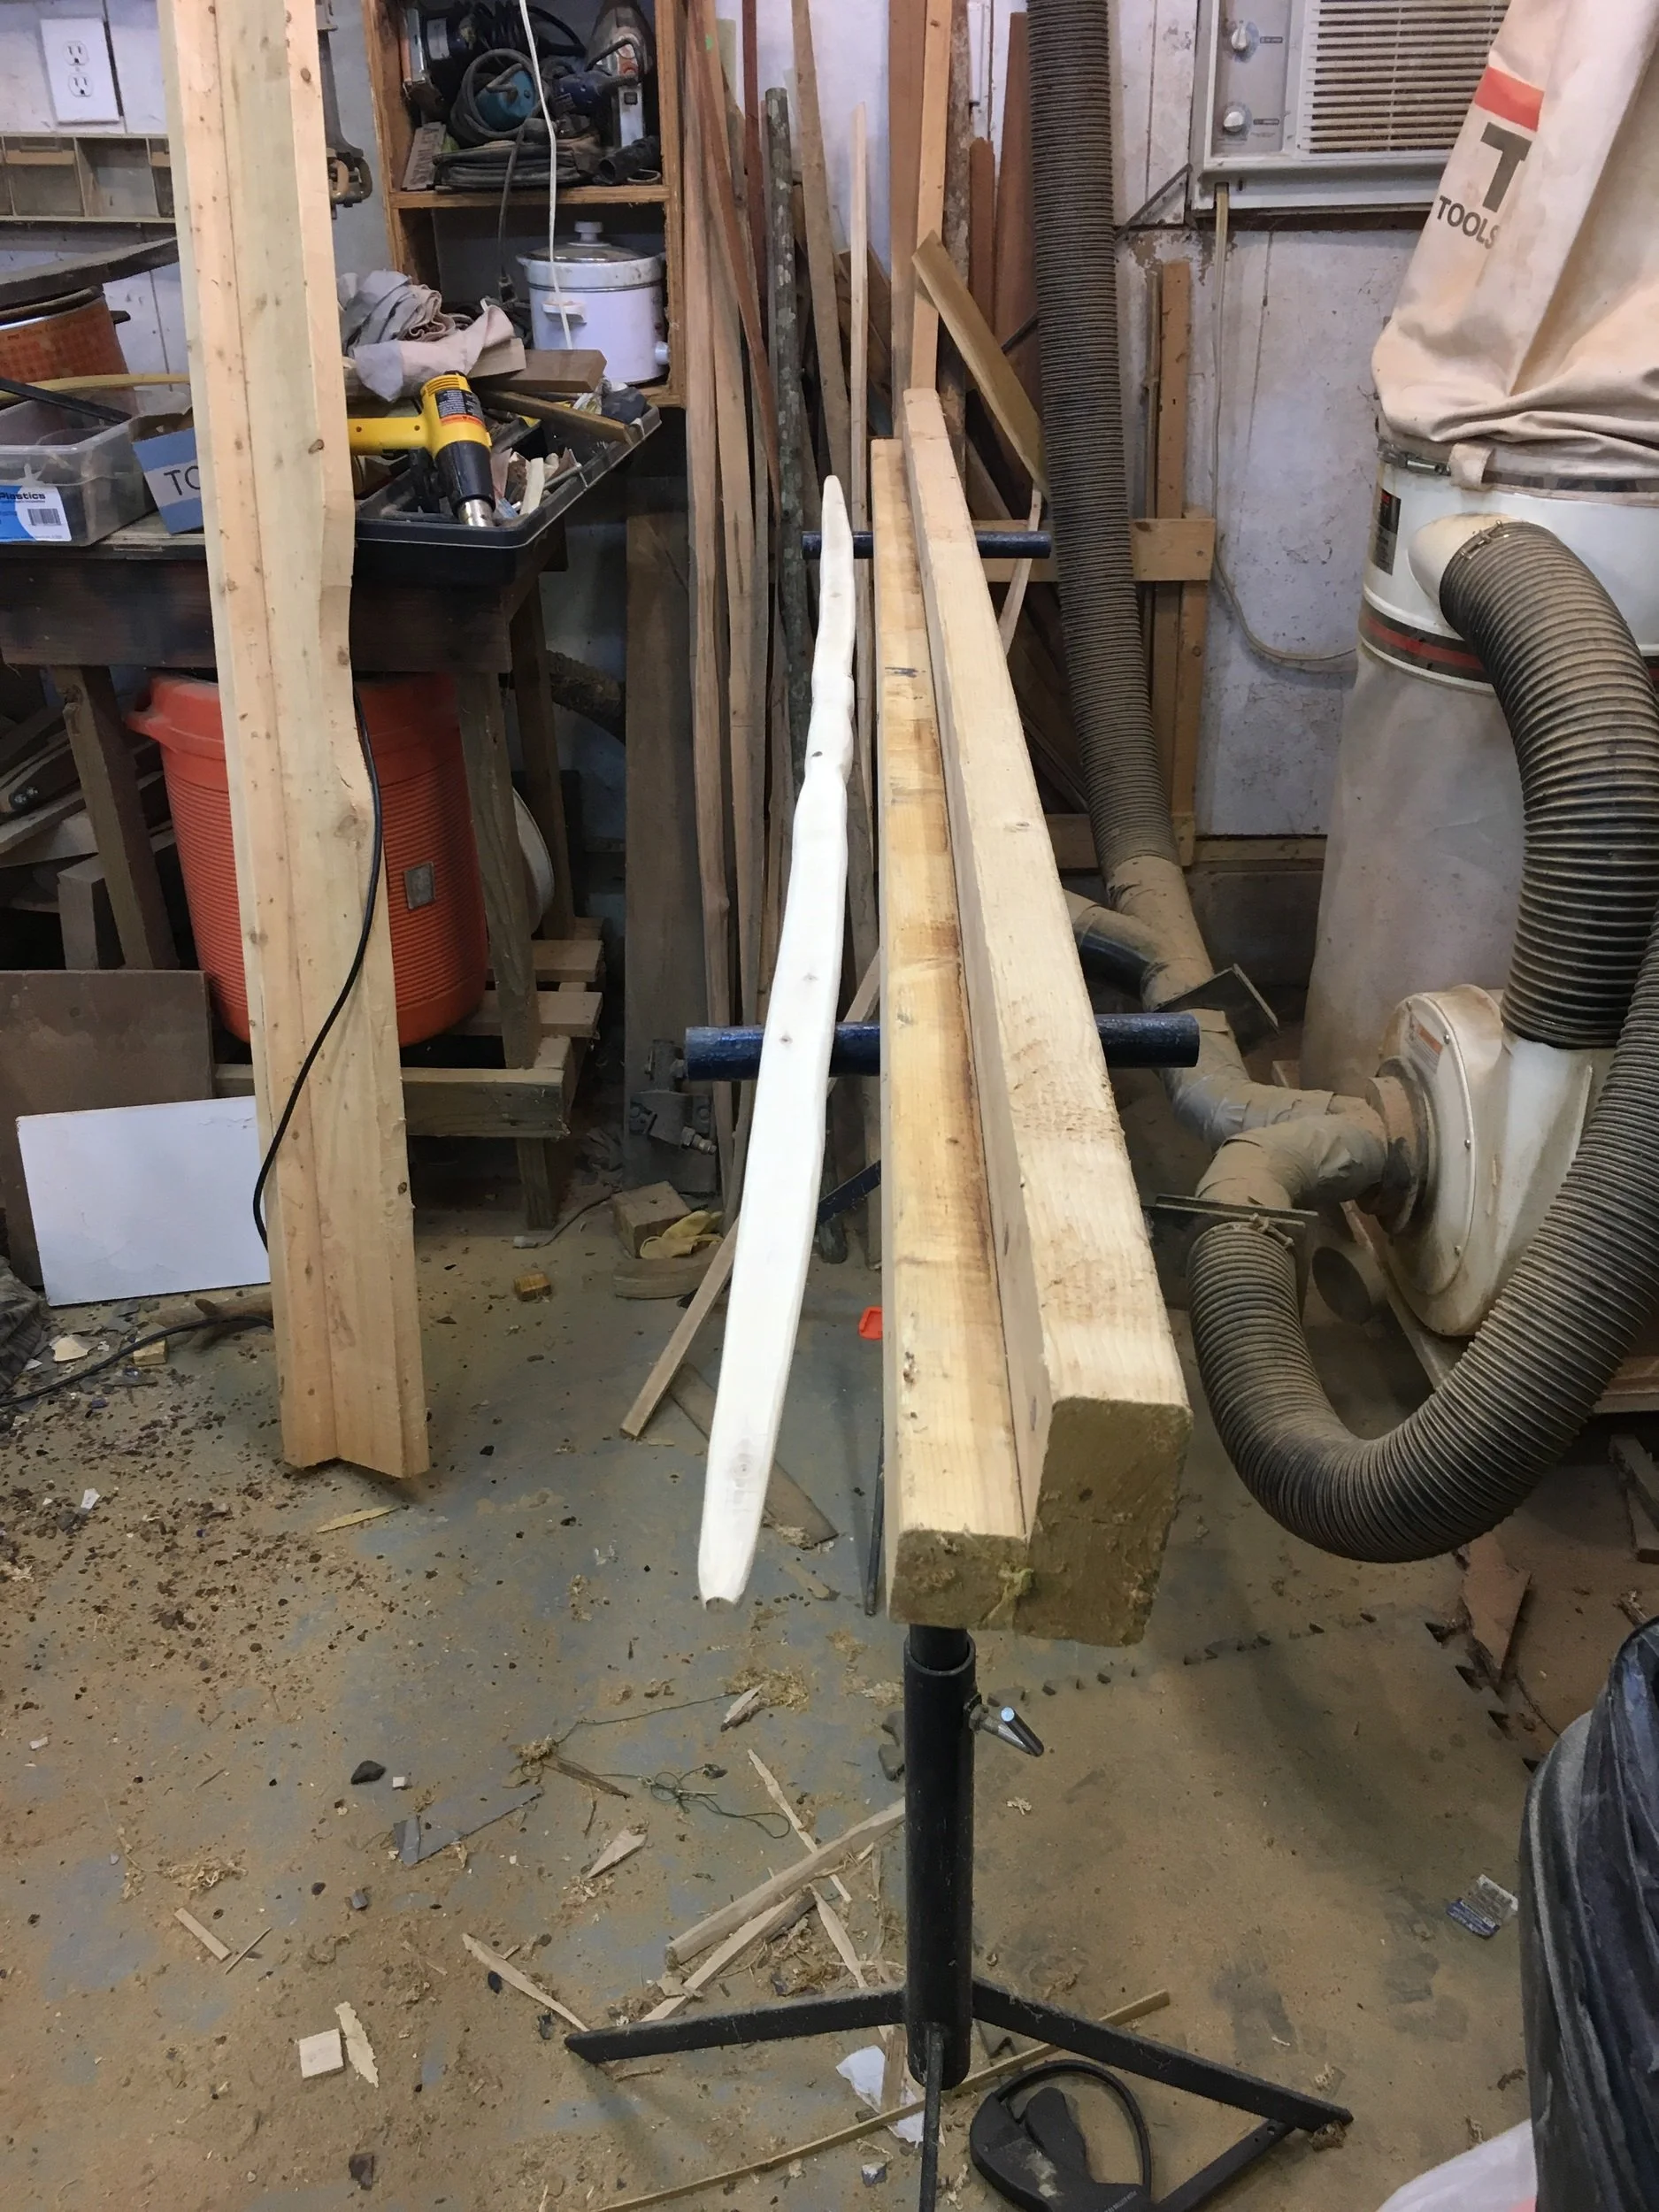
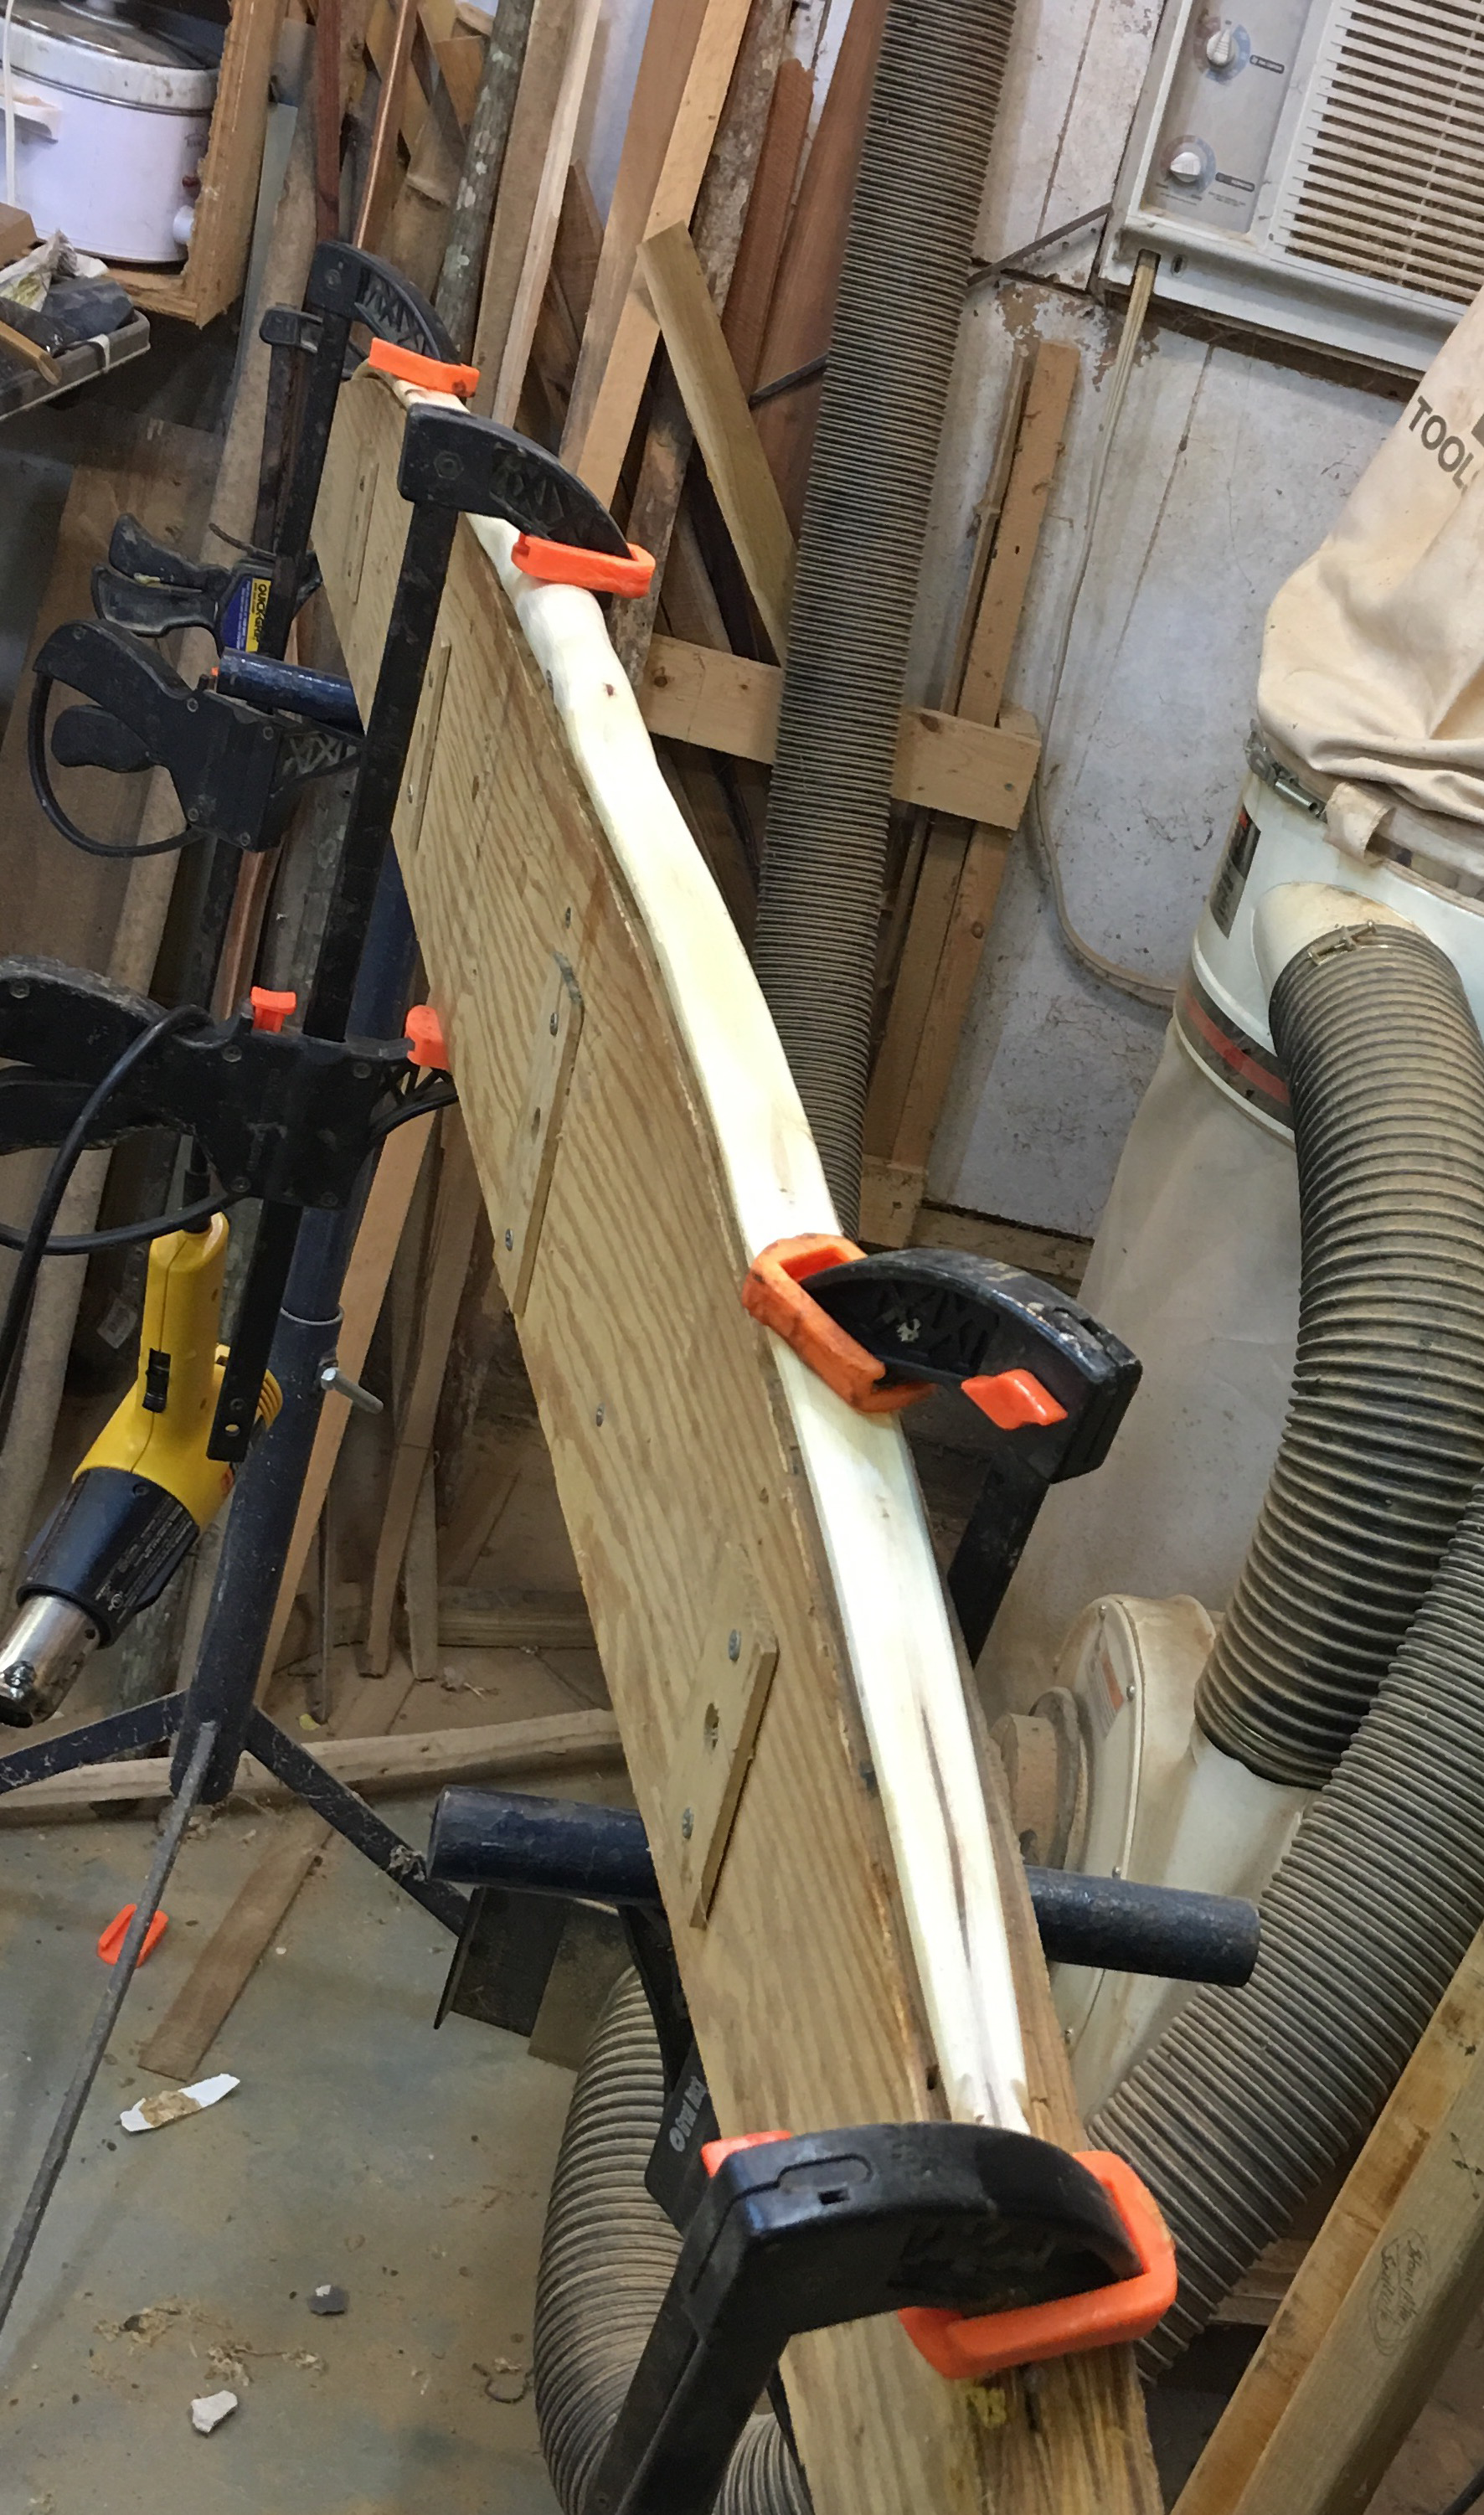
Make yourself a form like the one pictured. We will use it to straighten the sapling.
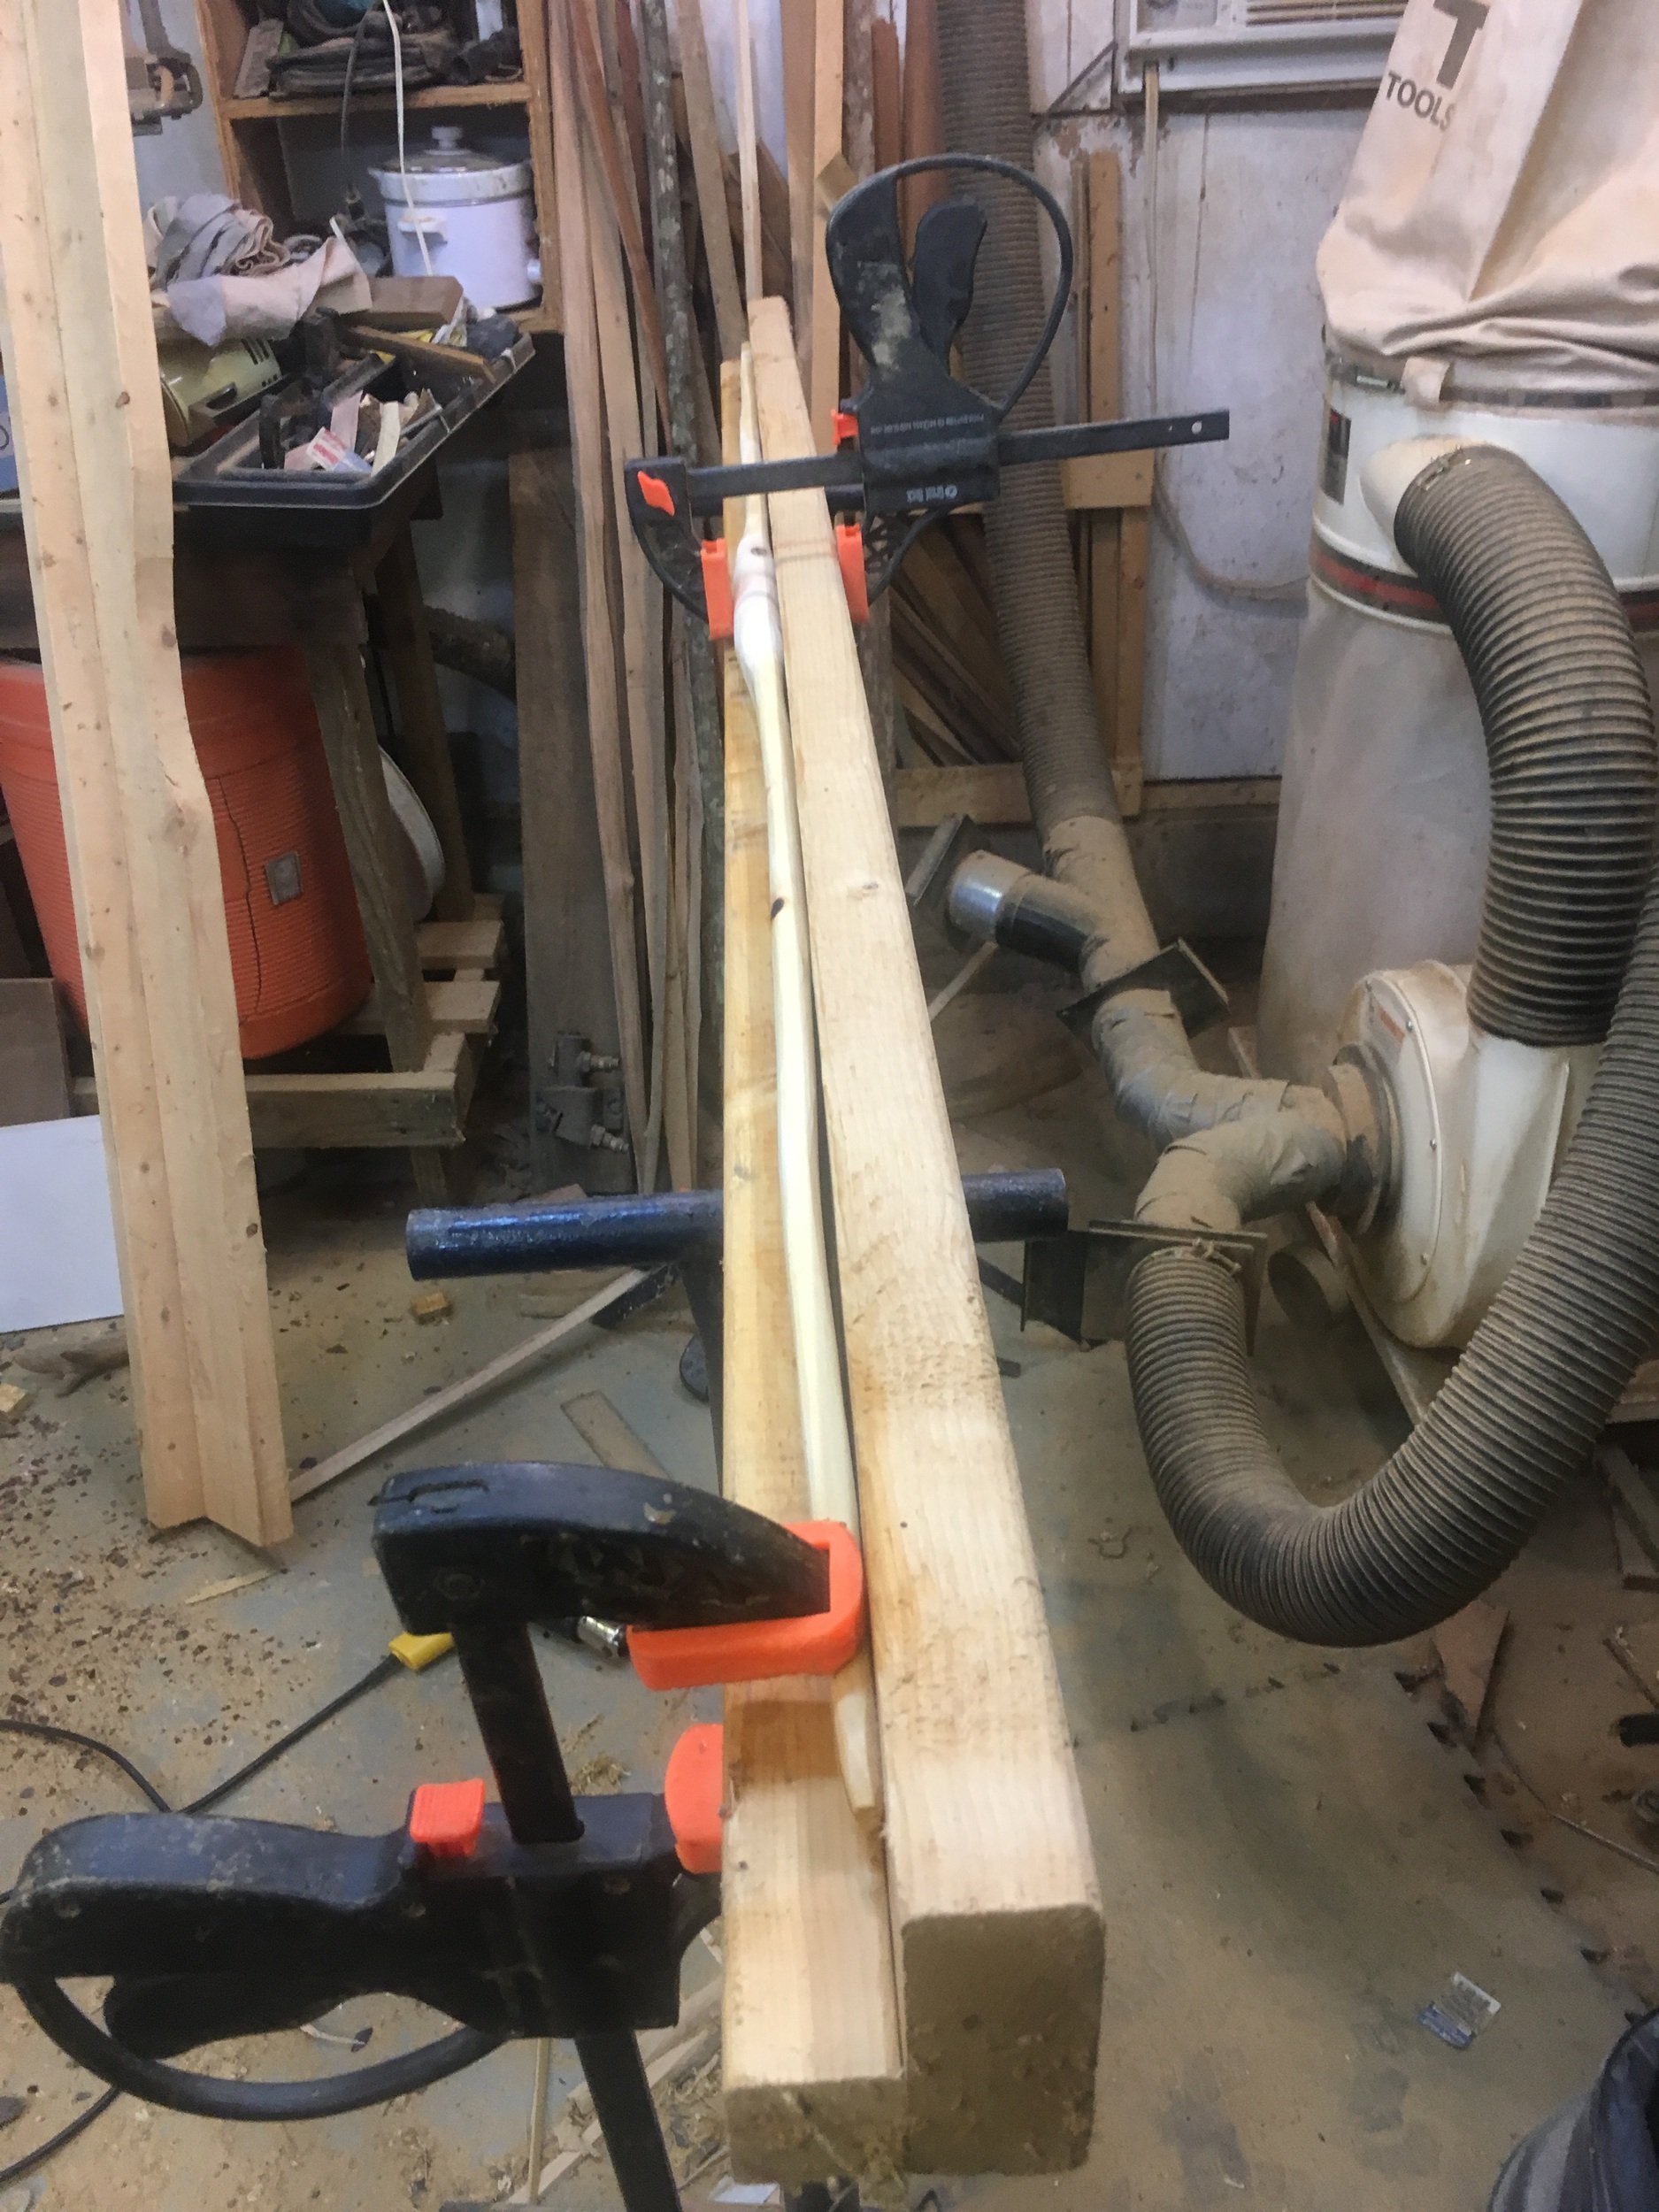
Clamp the bow with the belly facing you to the form. The wood is wet and will bend fairly easily at this point. Make sure you clamp it to both the base and the back of the form. Let the bow dry for about two weeks.
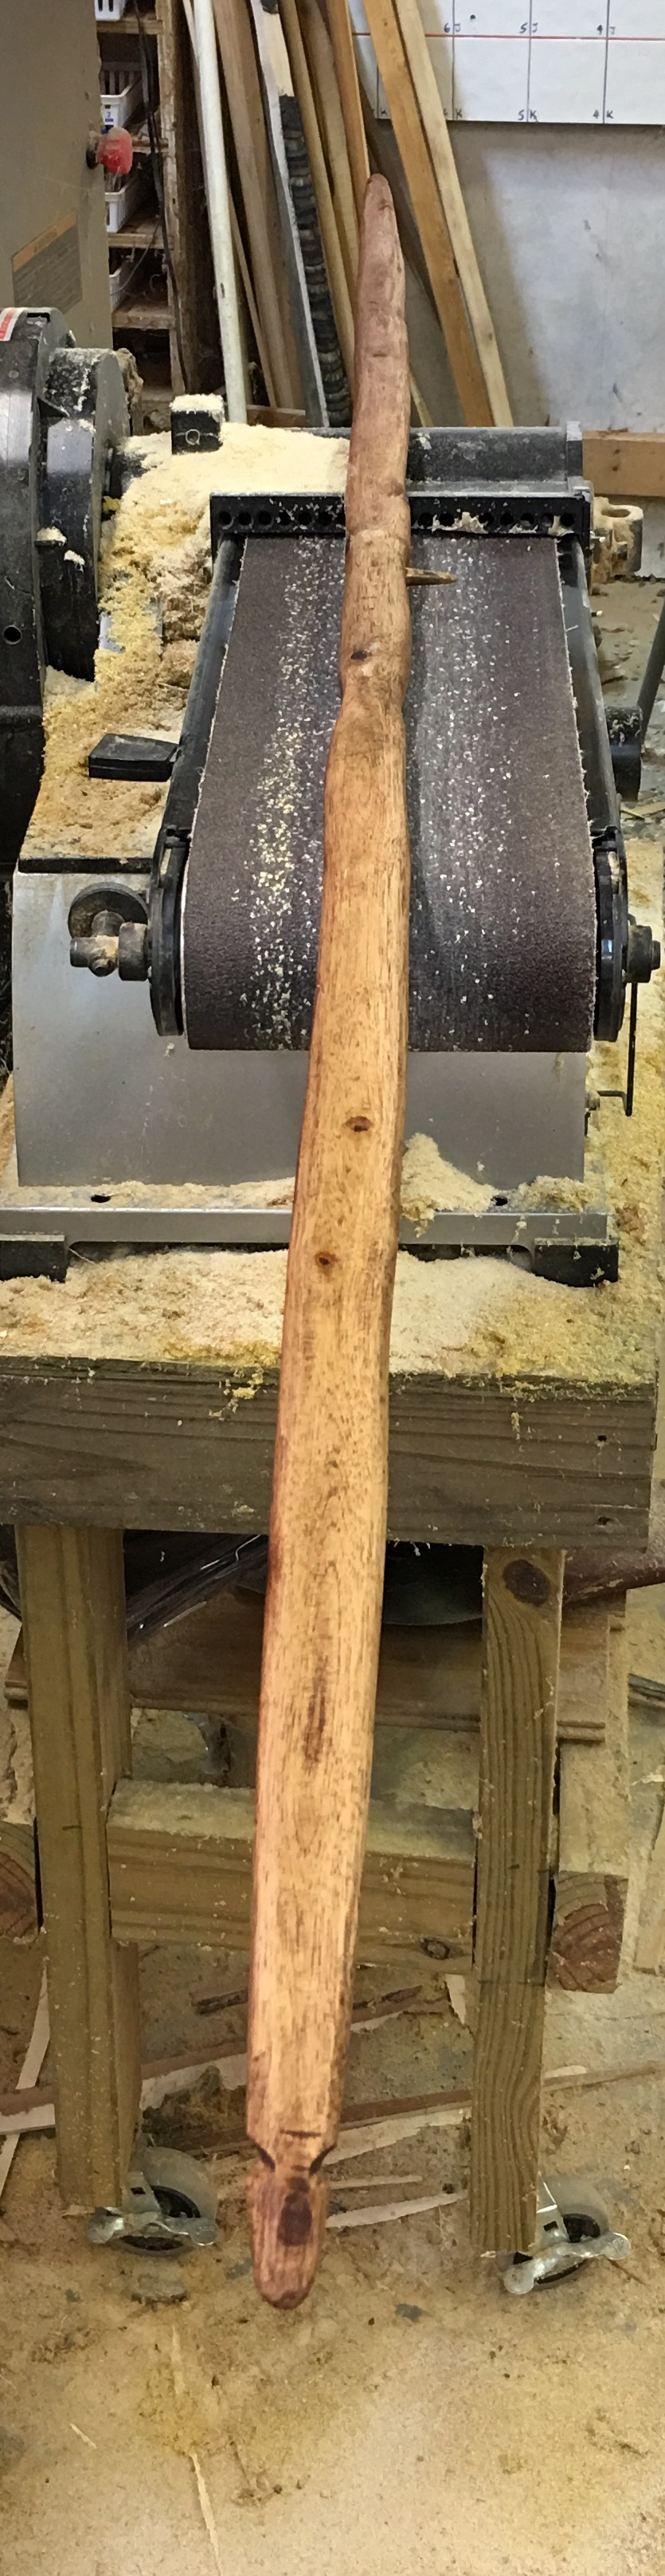
When the bow feels dry, it is time to saw out the profile. I like an American flatbow style. But you can use your own pattern. I have made a pattern as you see here. It is 1 3/4" wide at the fades. It then narrows down to 1 1/2" 11" from the tip. From there, it narrows to 1/2" wide at the tips.
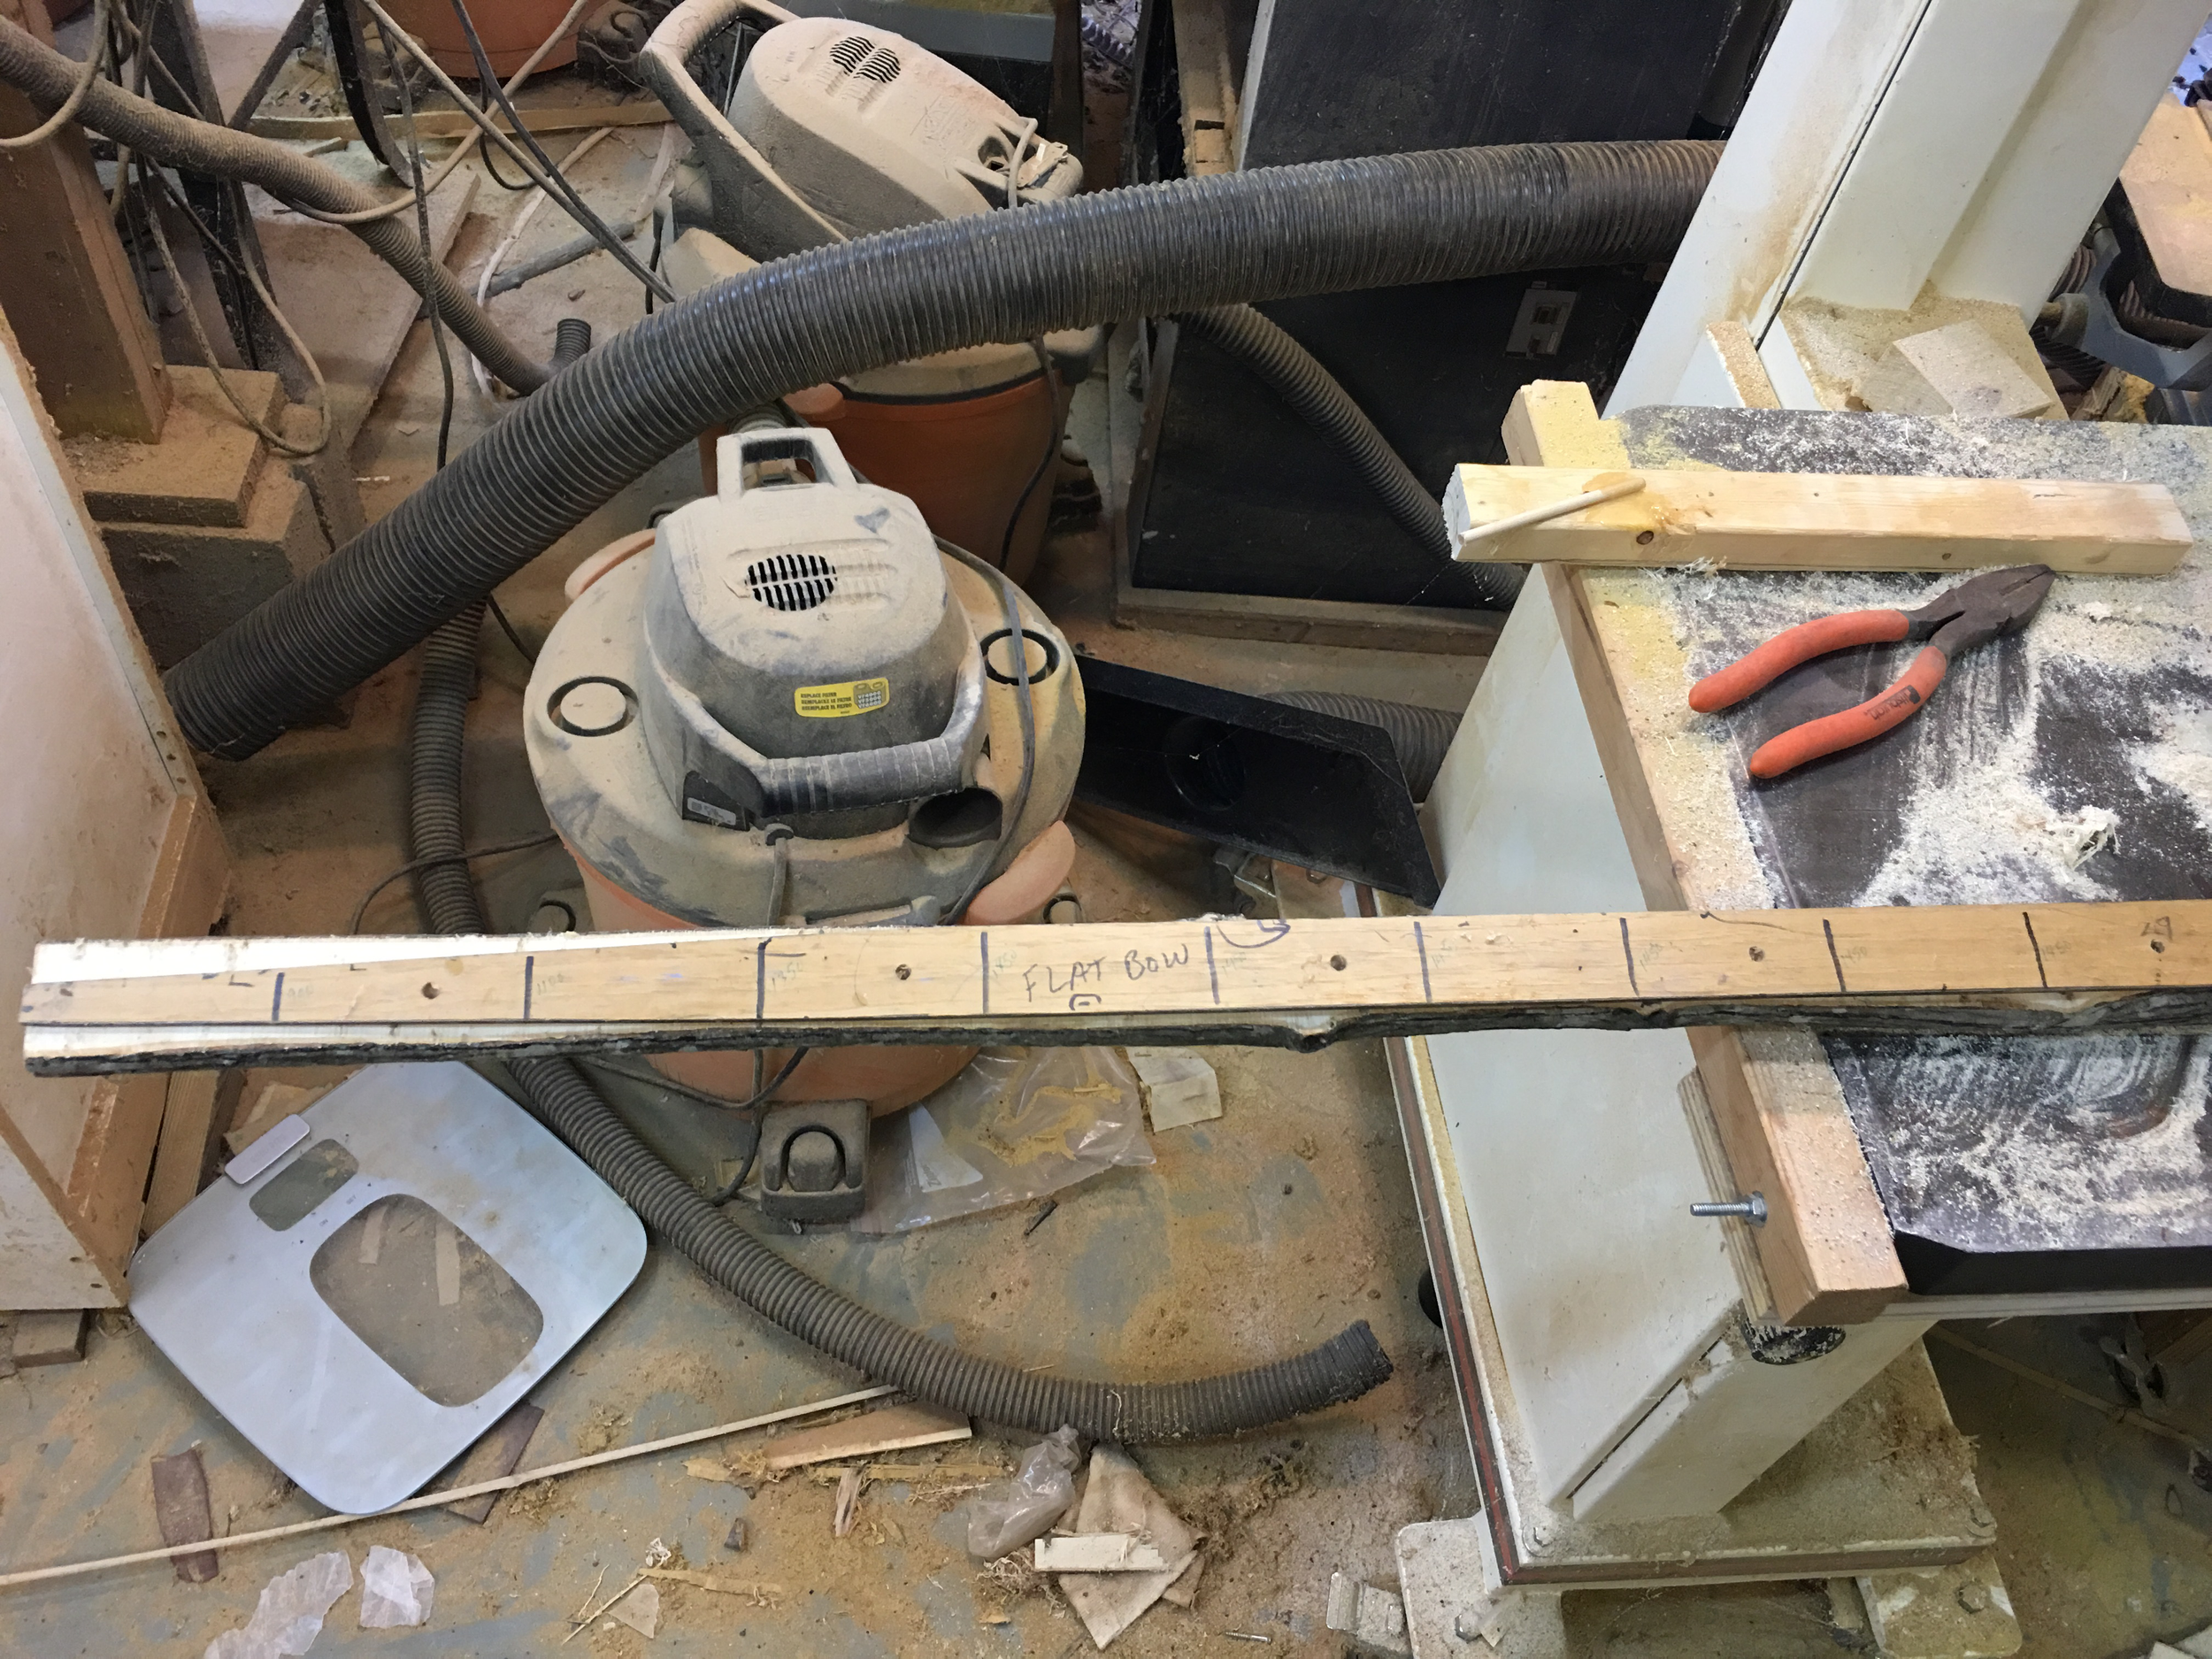
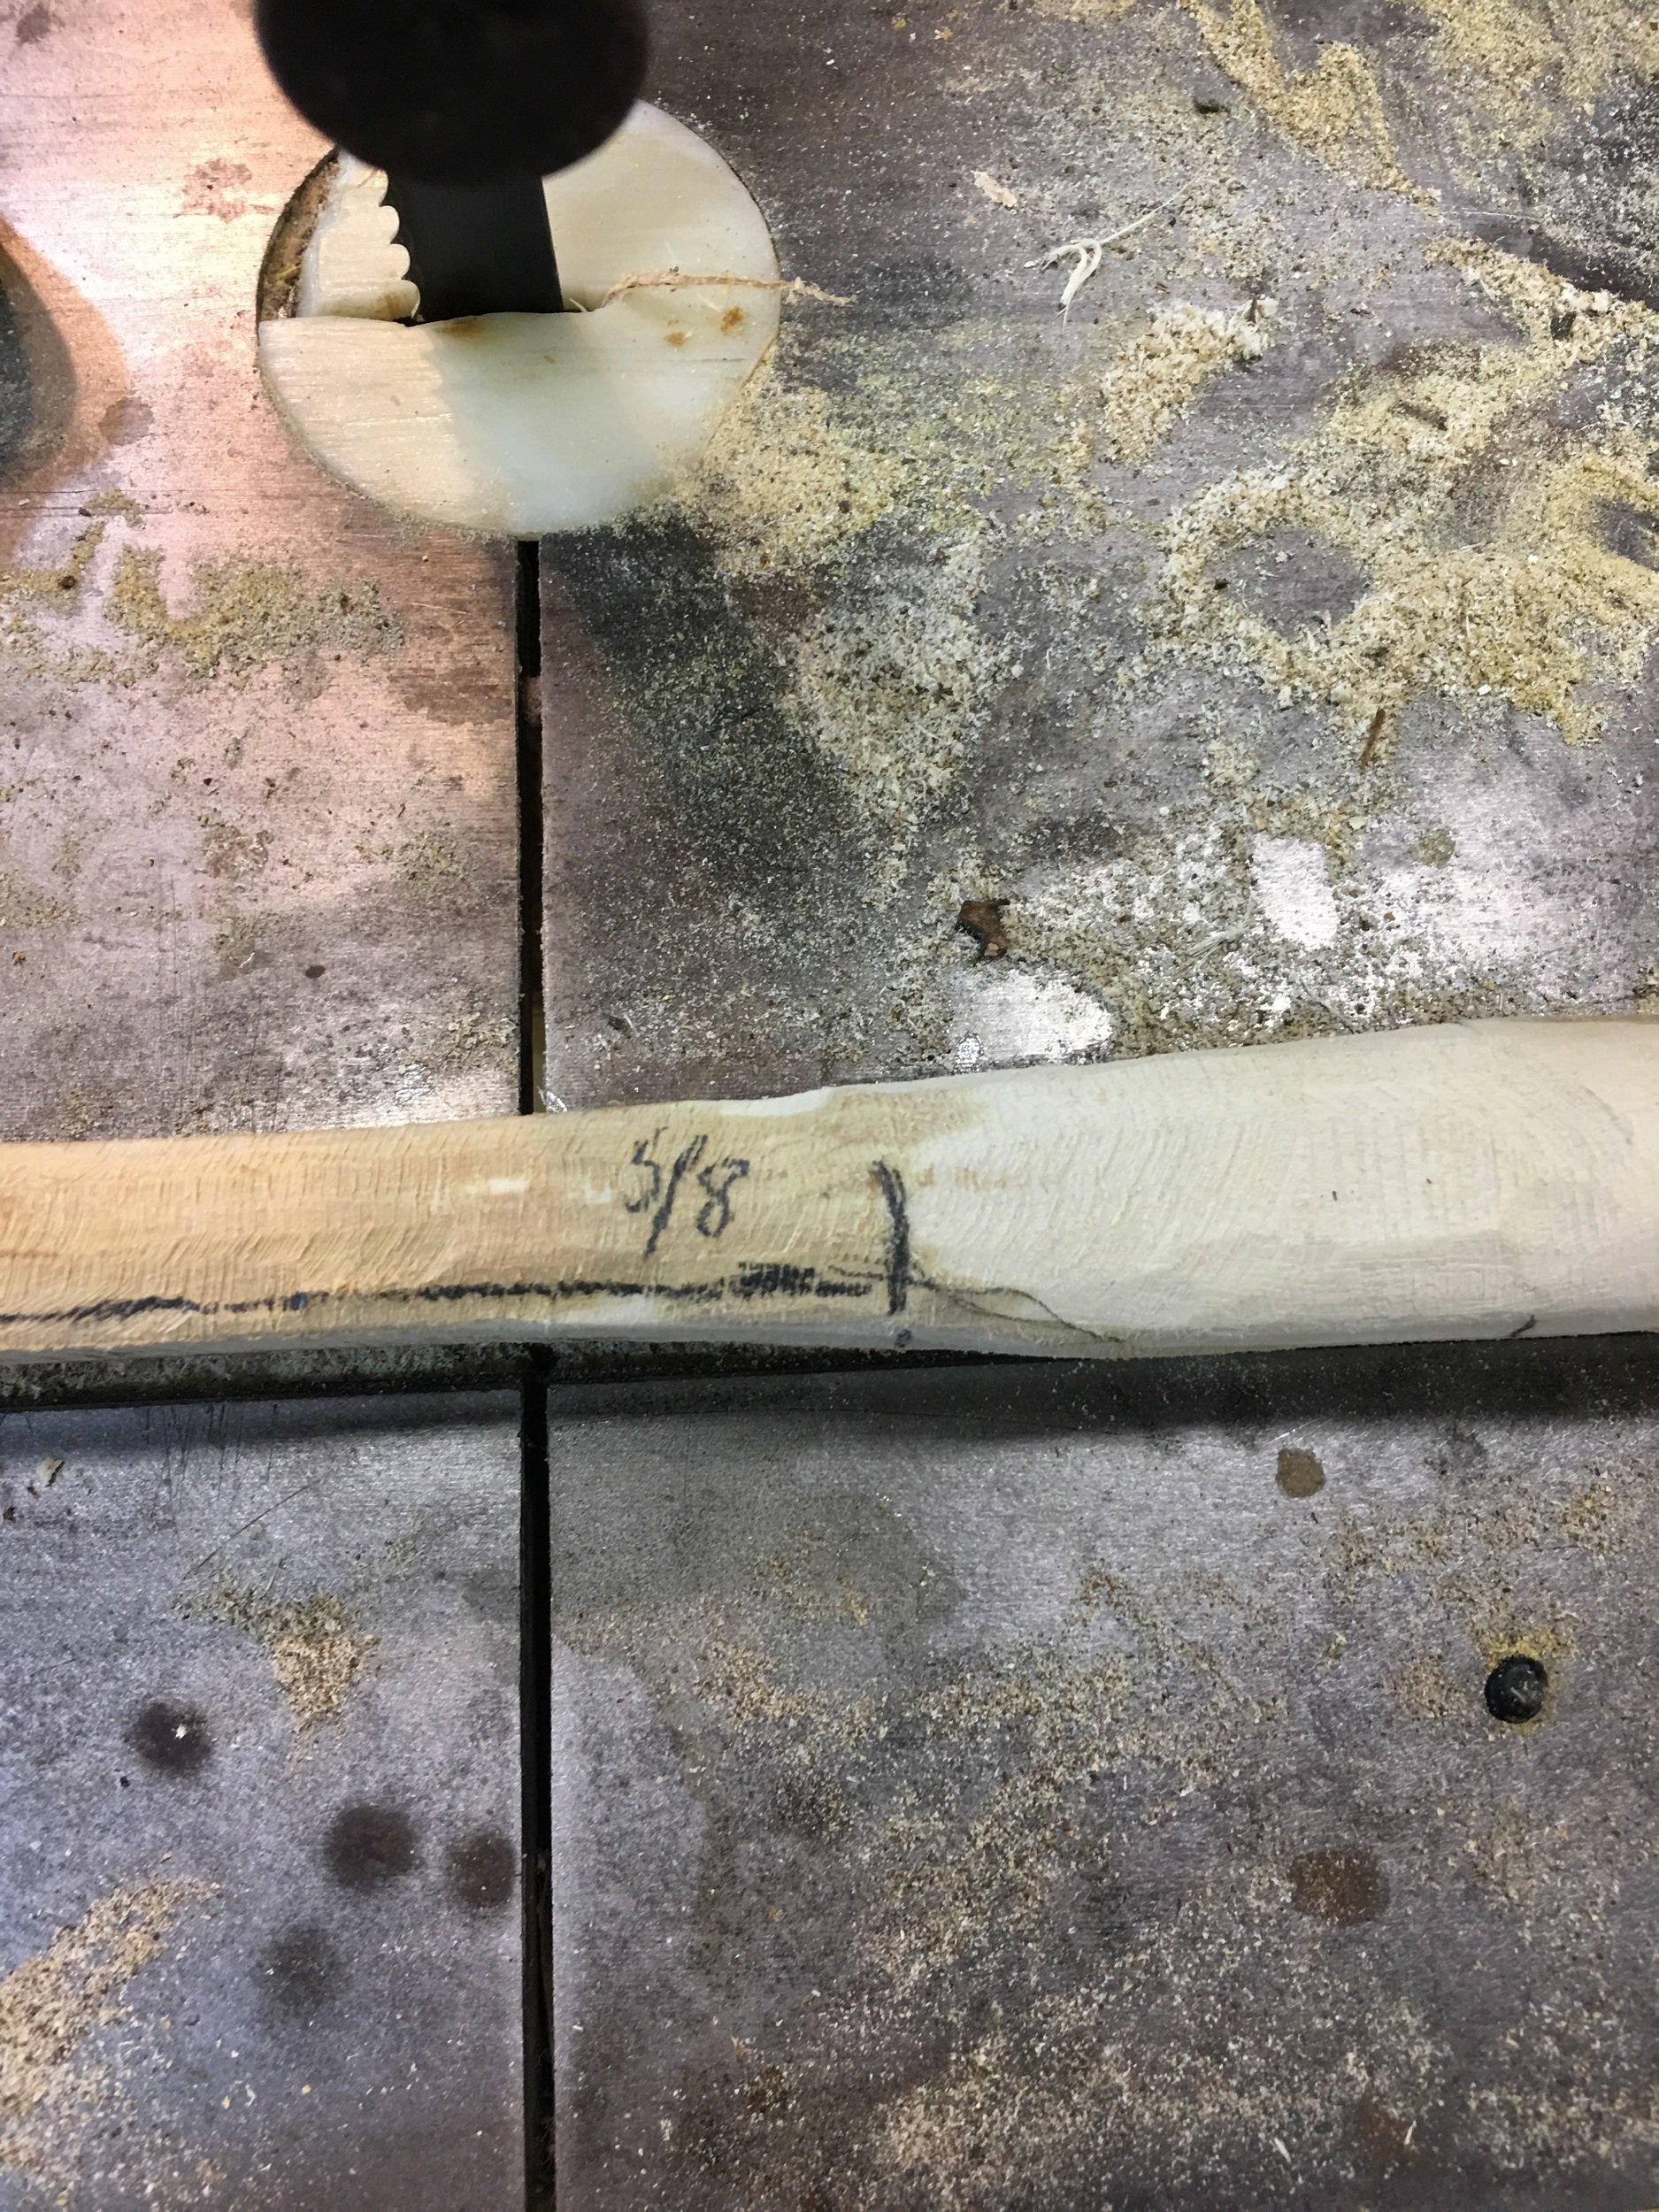
Now narrow the handle area and begin to work on the thickness. The bow should start at 5/8" thick at the fades and should taper down 1/4" to 3/8" thick at the tips.
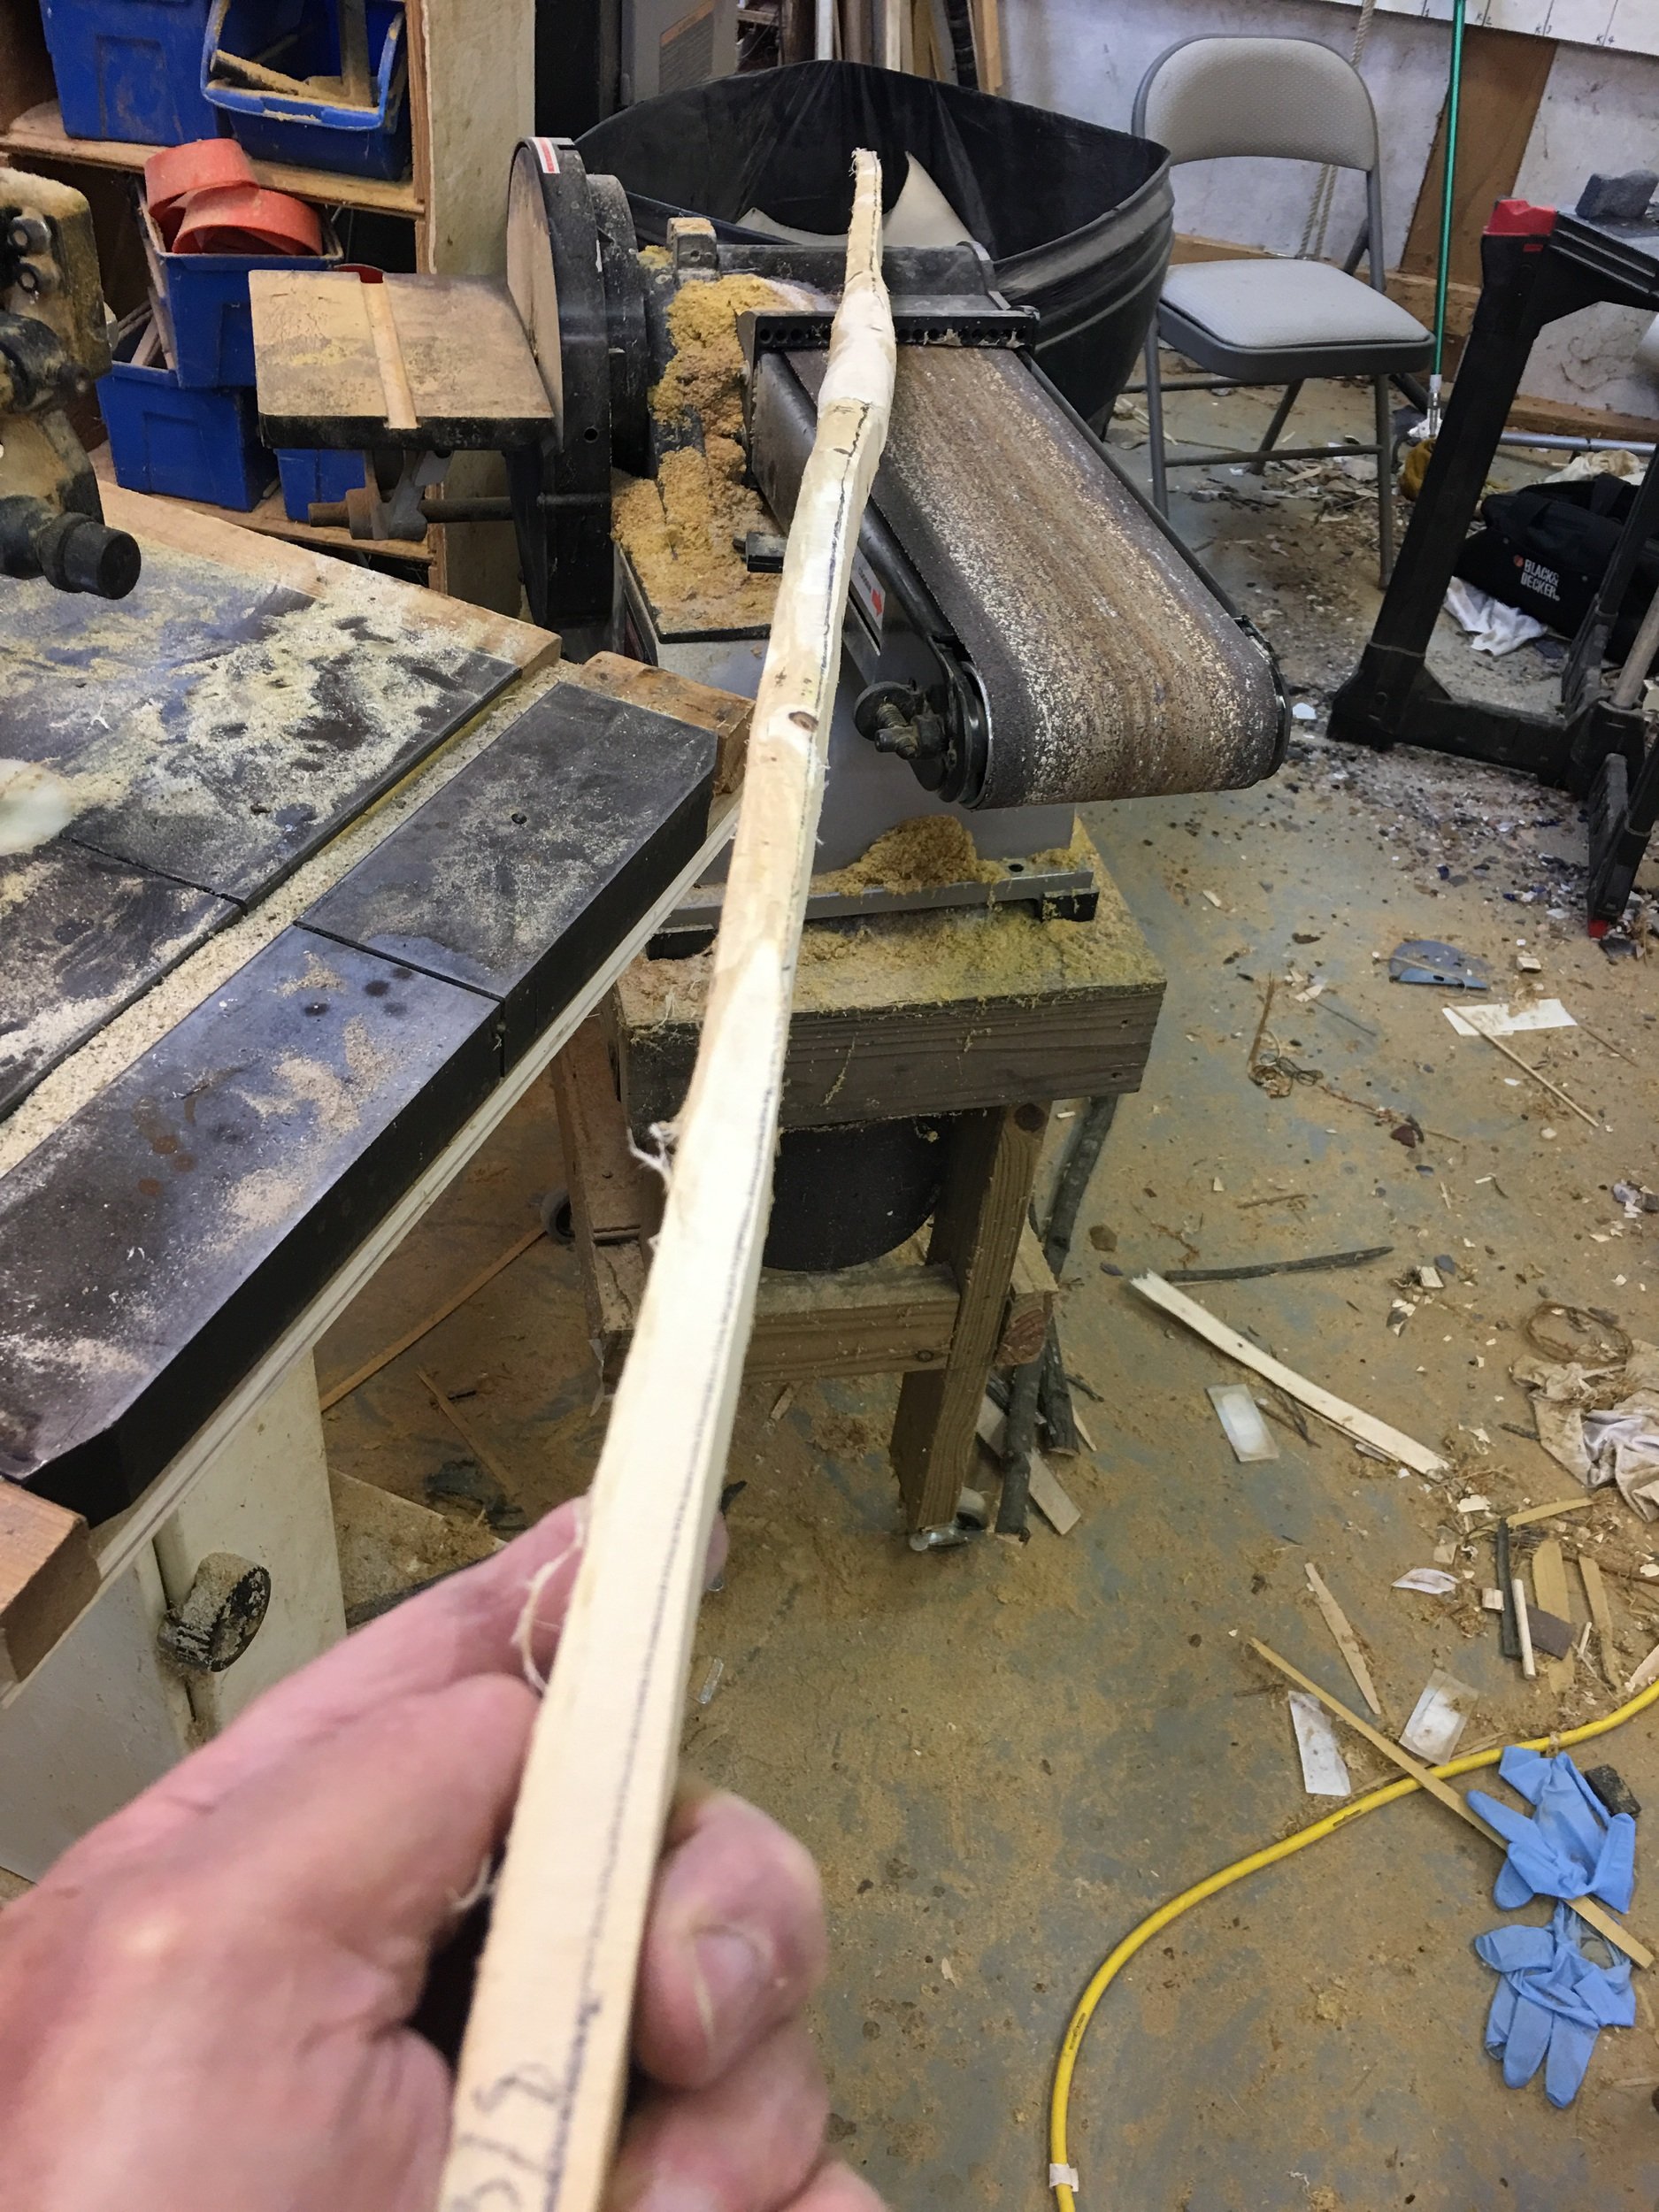
Still a little crooked. Back to the form. This time we will clamp and heat to straighten bow
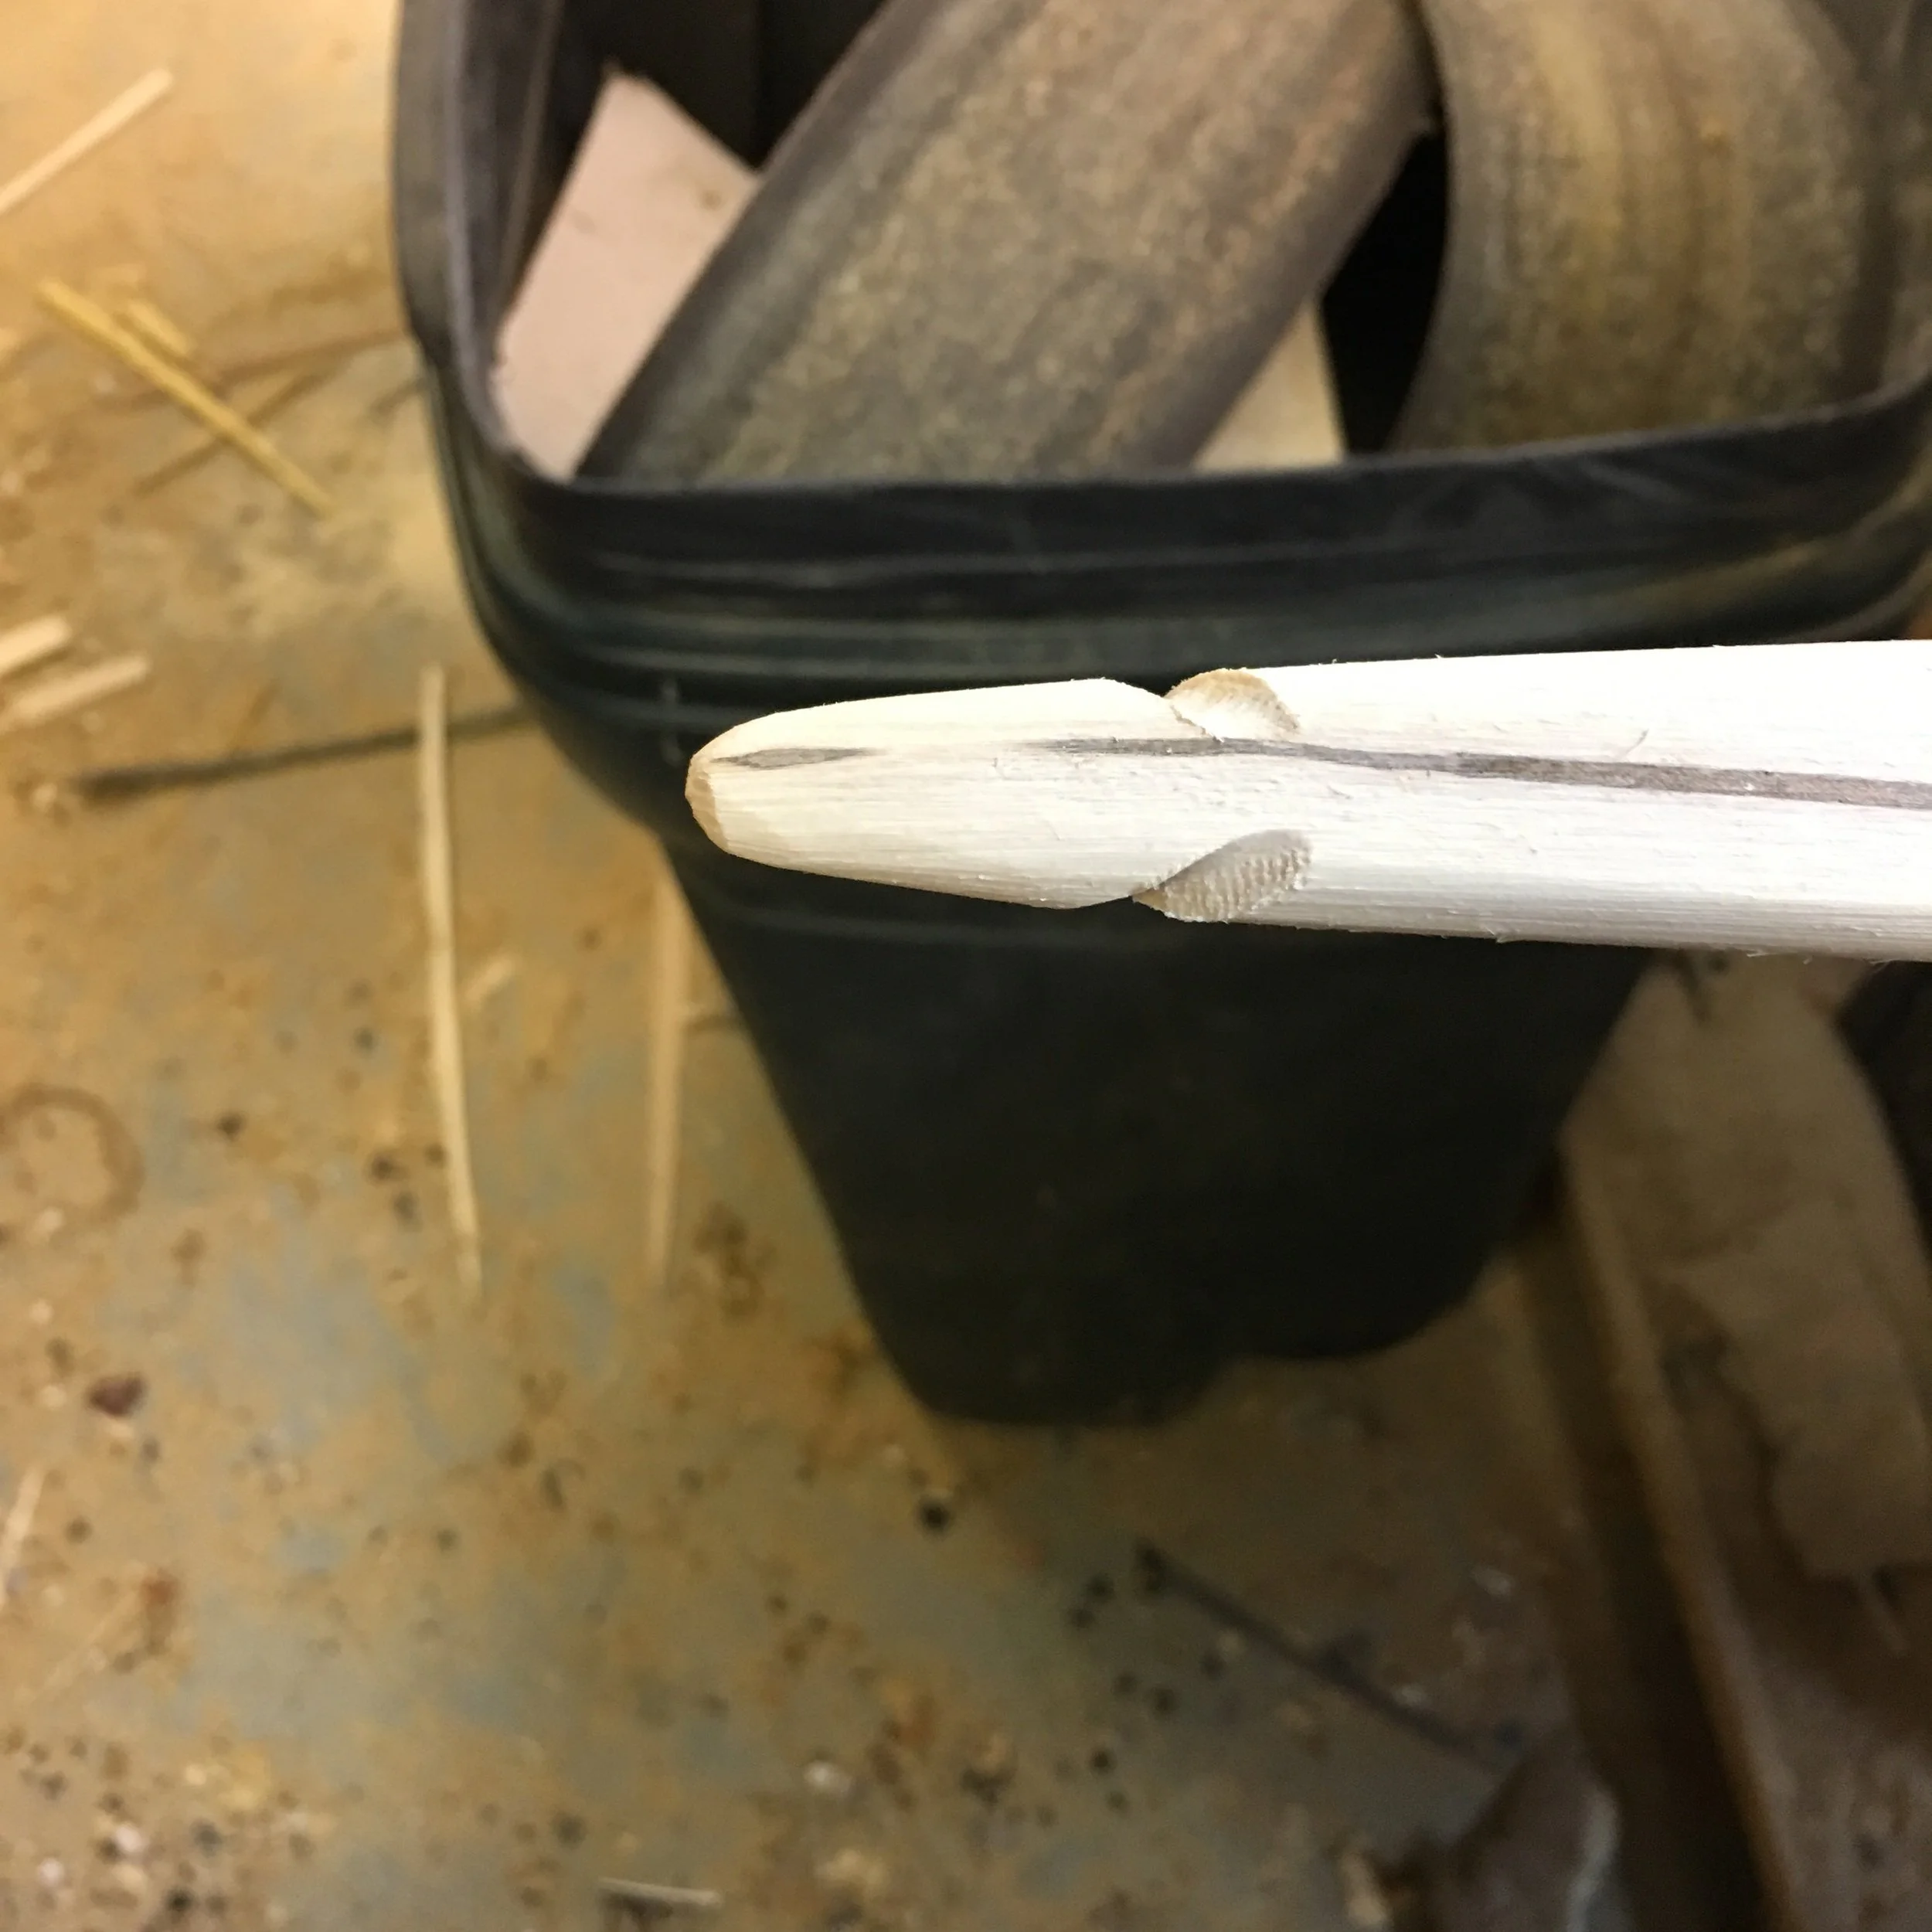
Now, take the bow out of the form an file in some nocks. Note the pith on the belly, showing the center of the sapling. This will NOT weaken the bow at all.
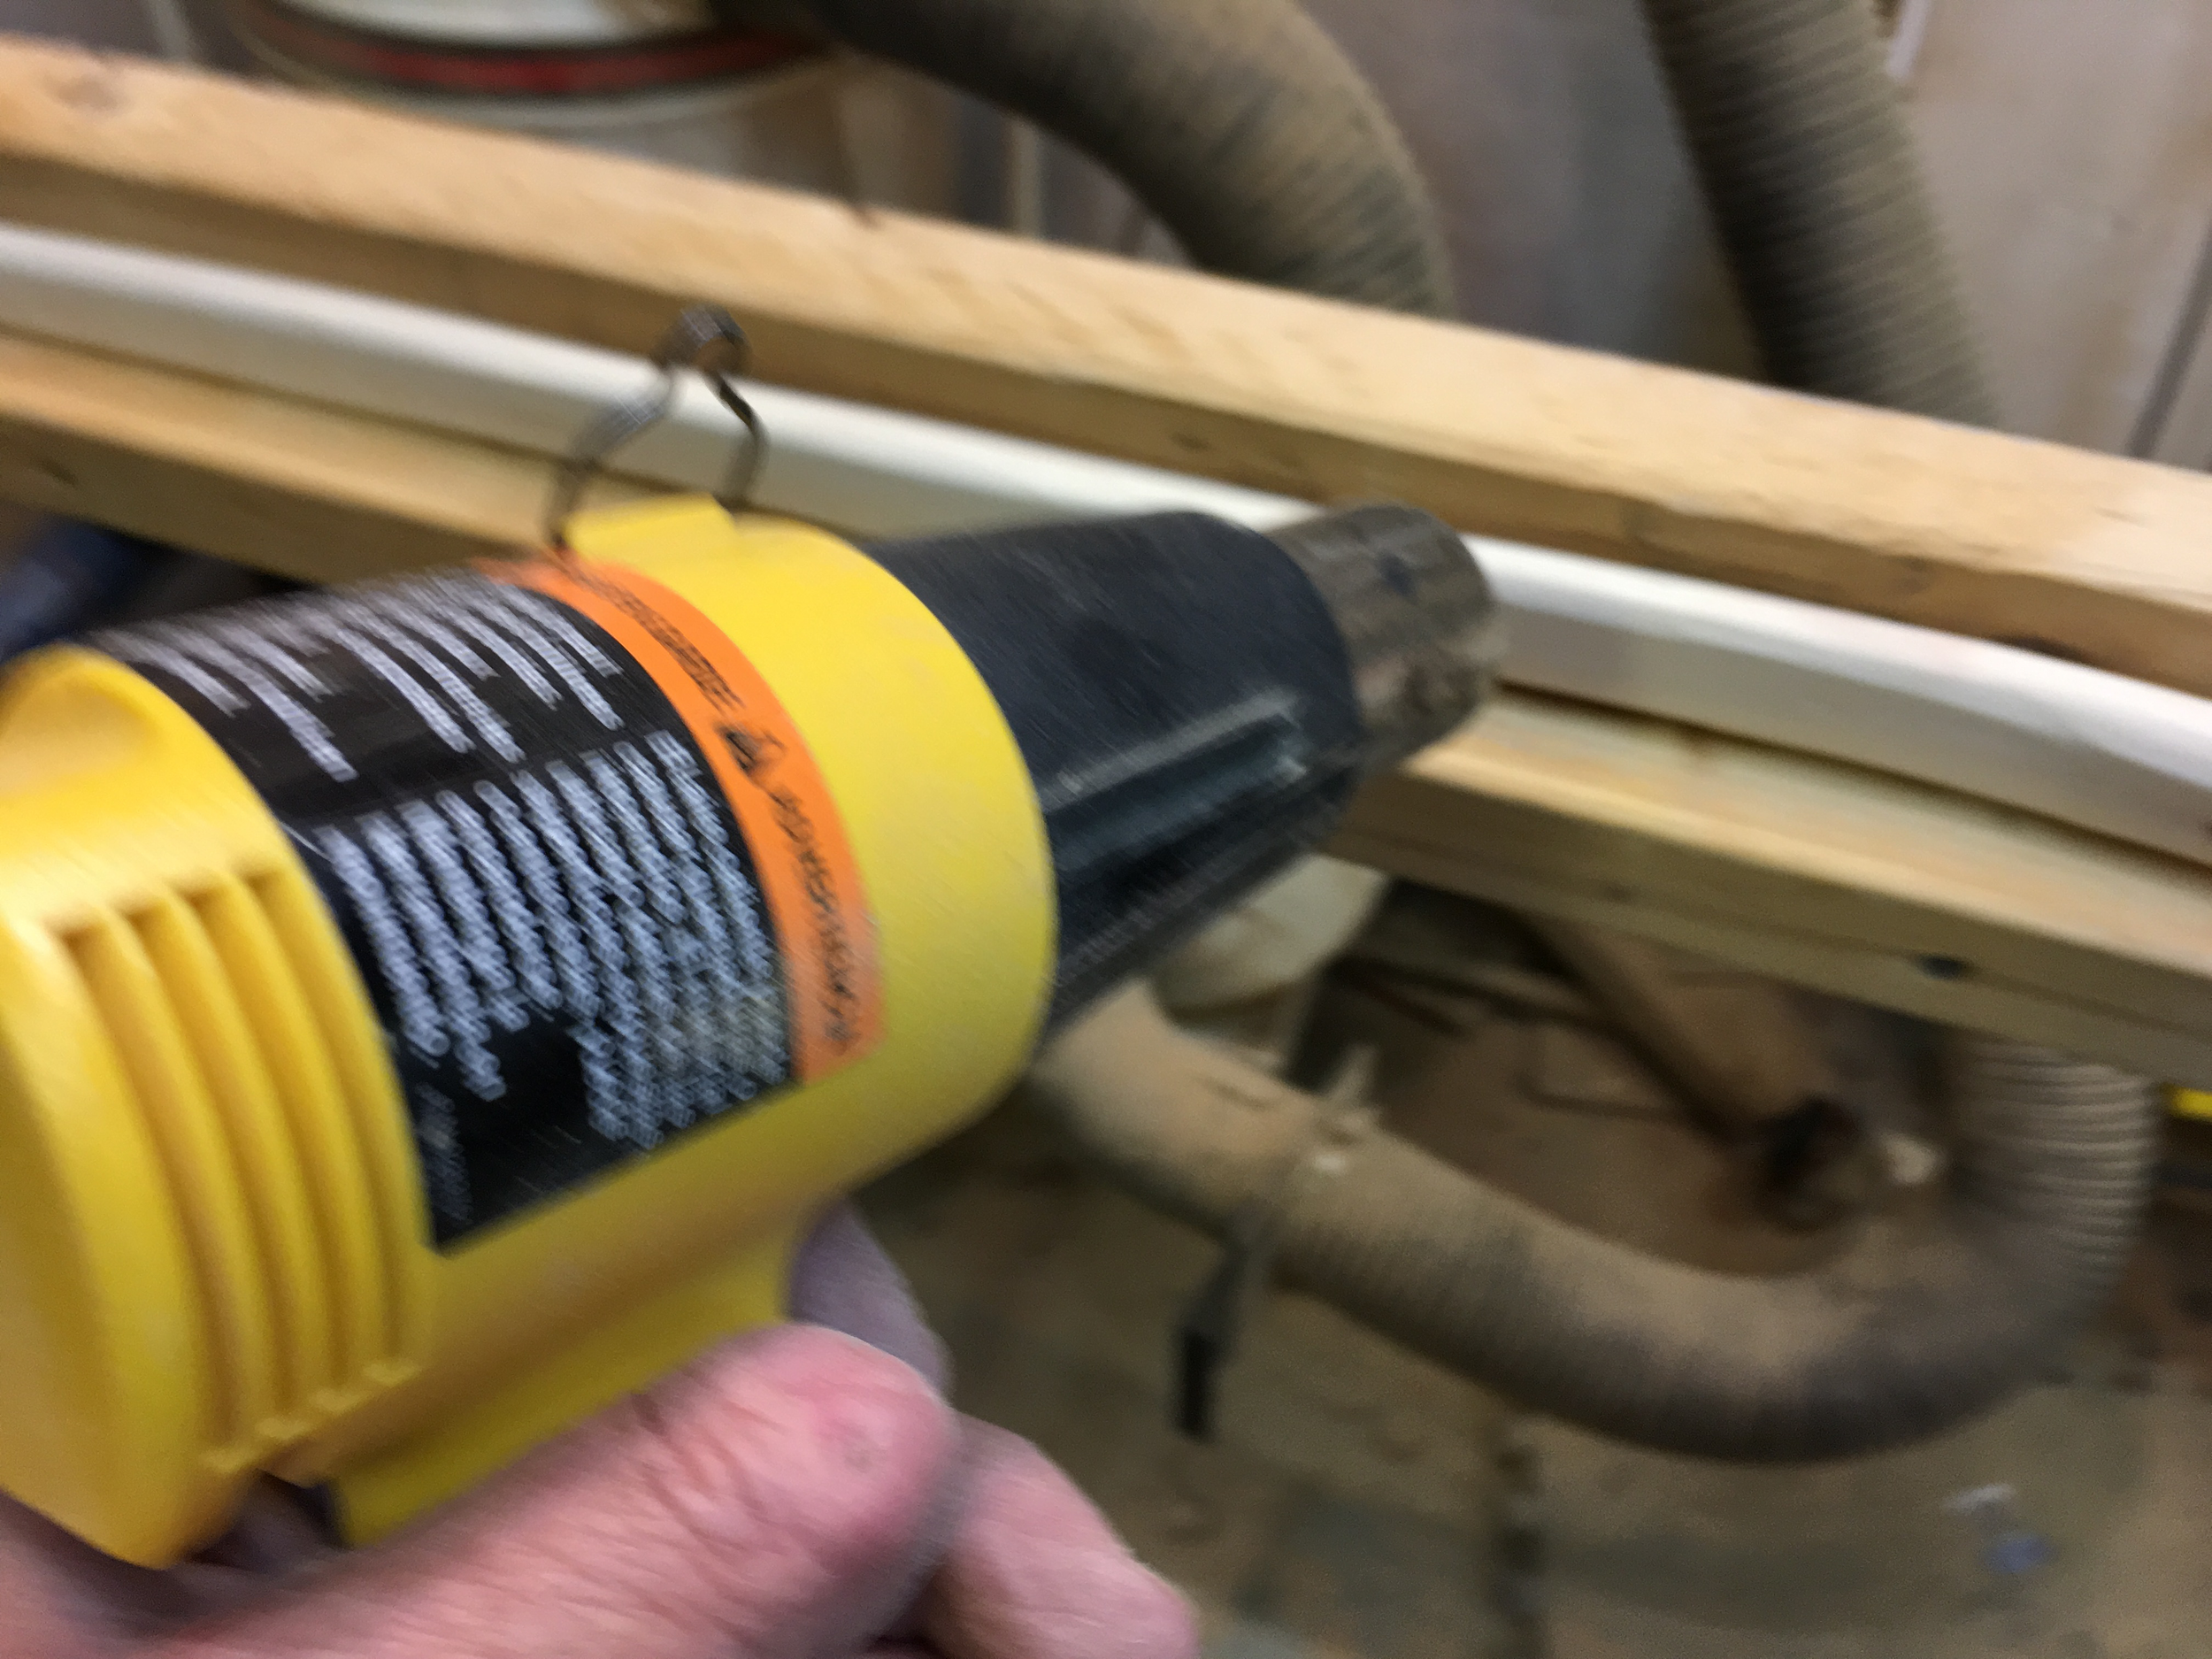
This next step really strengthens the bow and makes it shoot fast. Put it on a form like this and clamp some reset (backward bend) in it. Heat it 30 passes every ten inches, holding the heat gun about 2" above surface. Don't scorch it though. Let it cool at least three hours.
Now some walnut oil stain
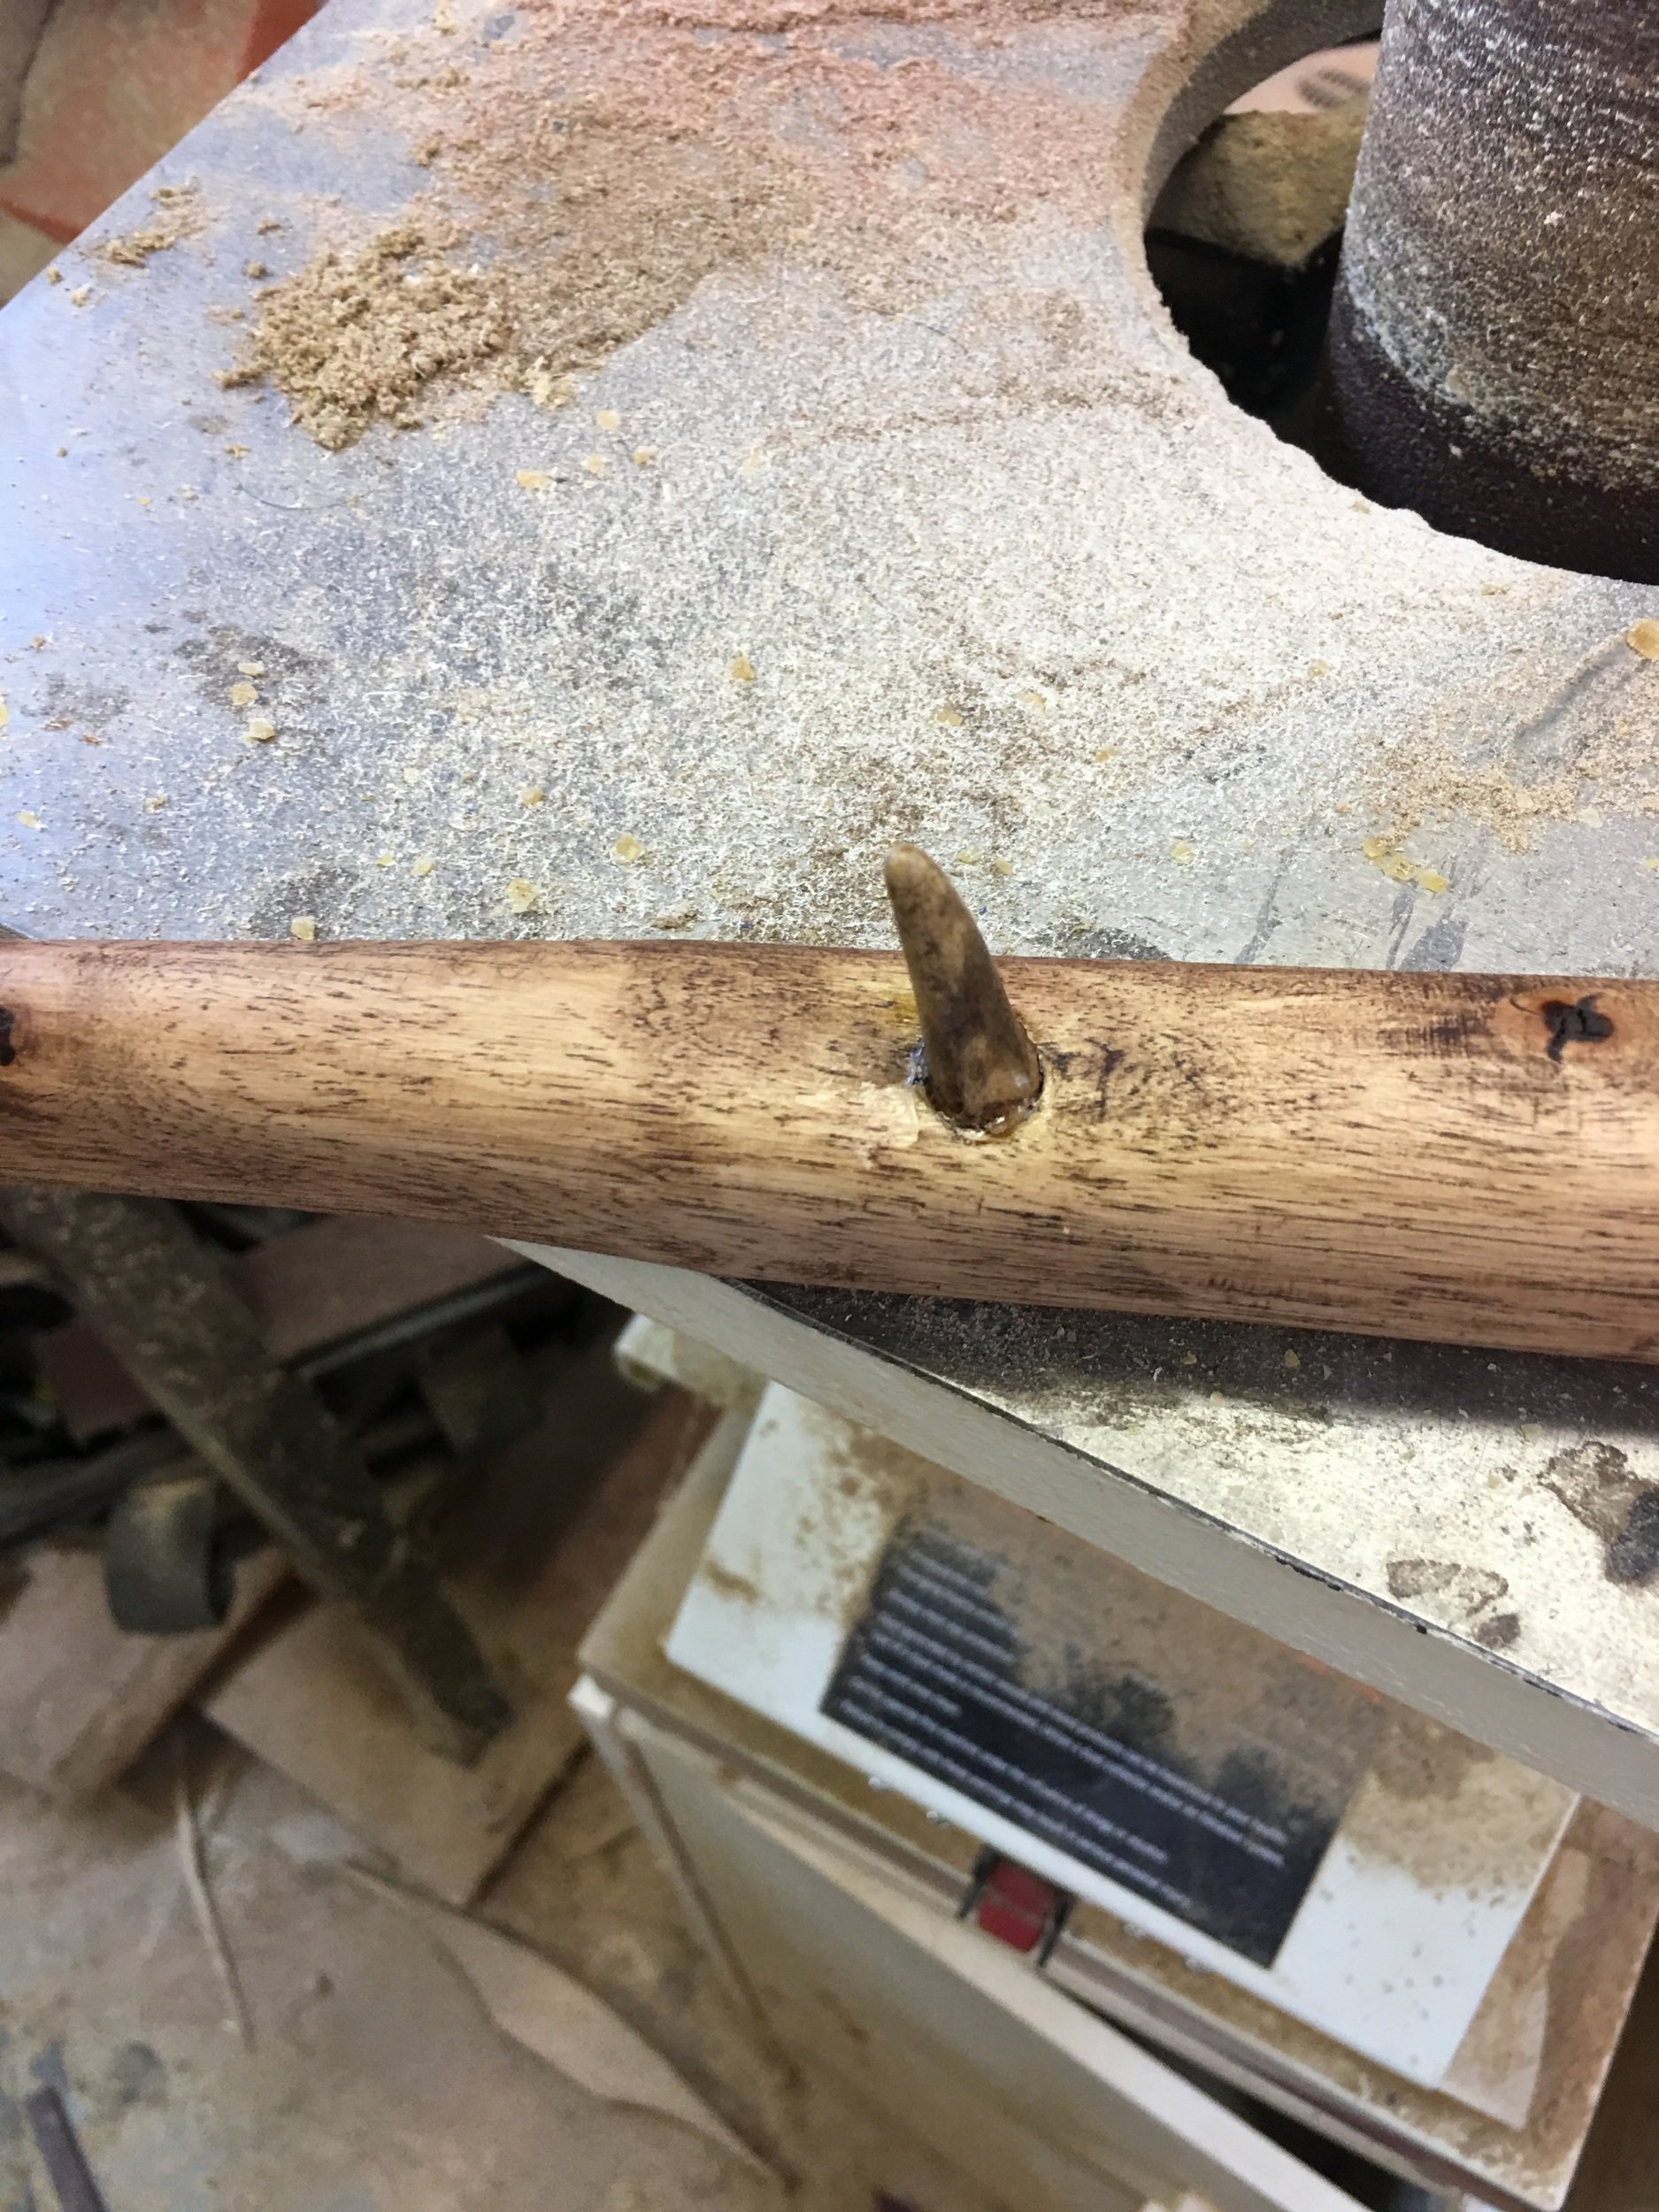
An antler tip arrow rest, counter-sunk and superglued.
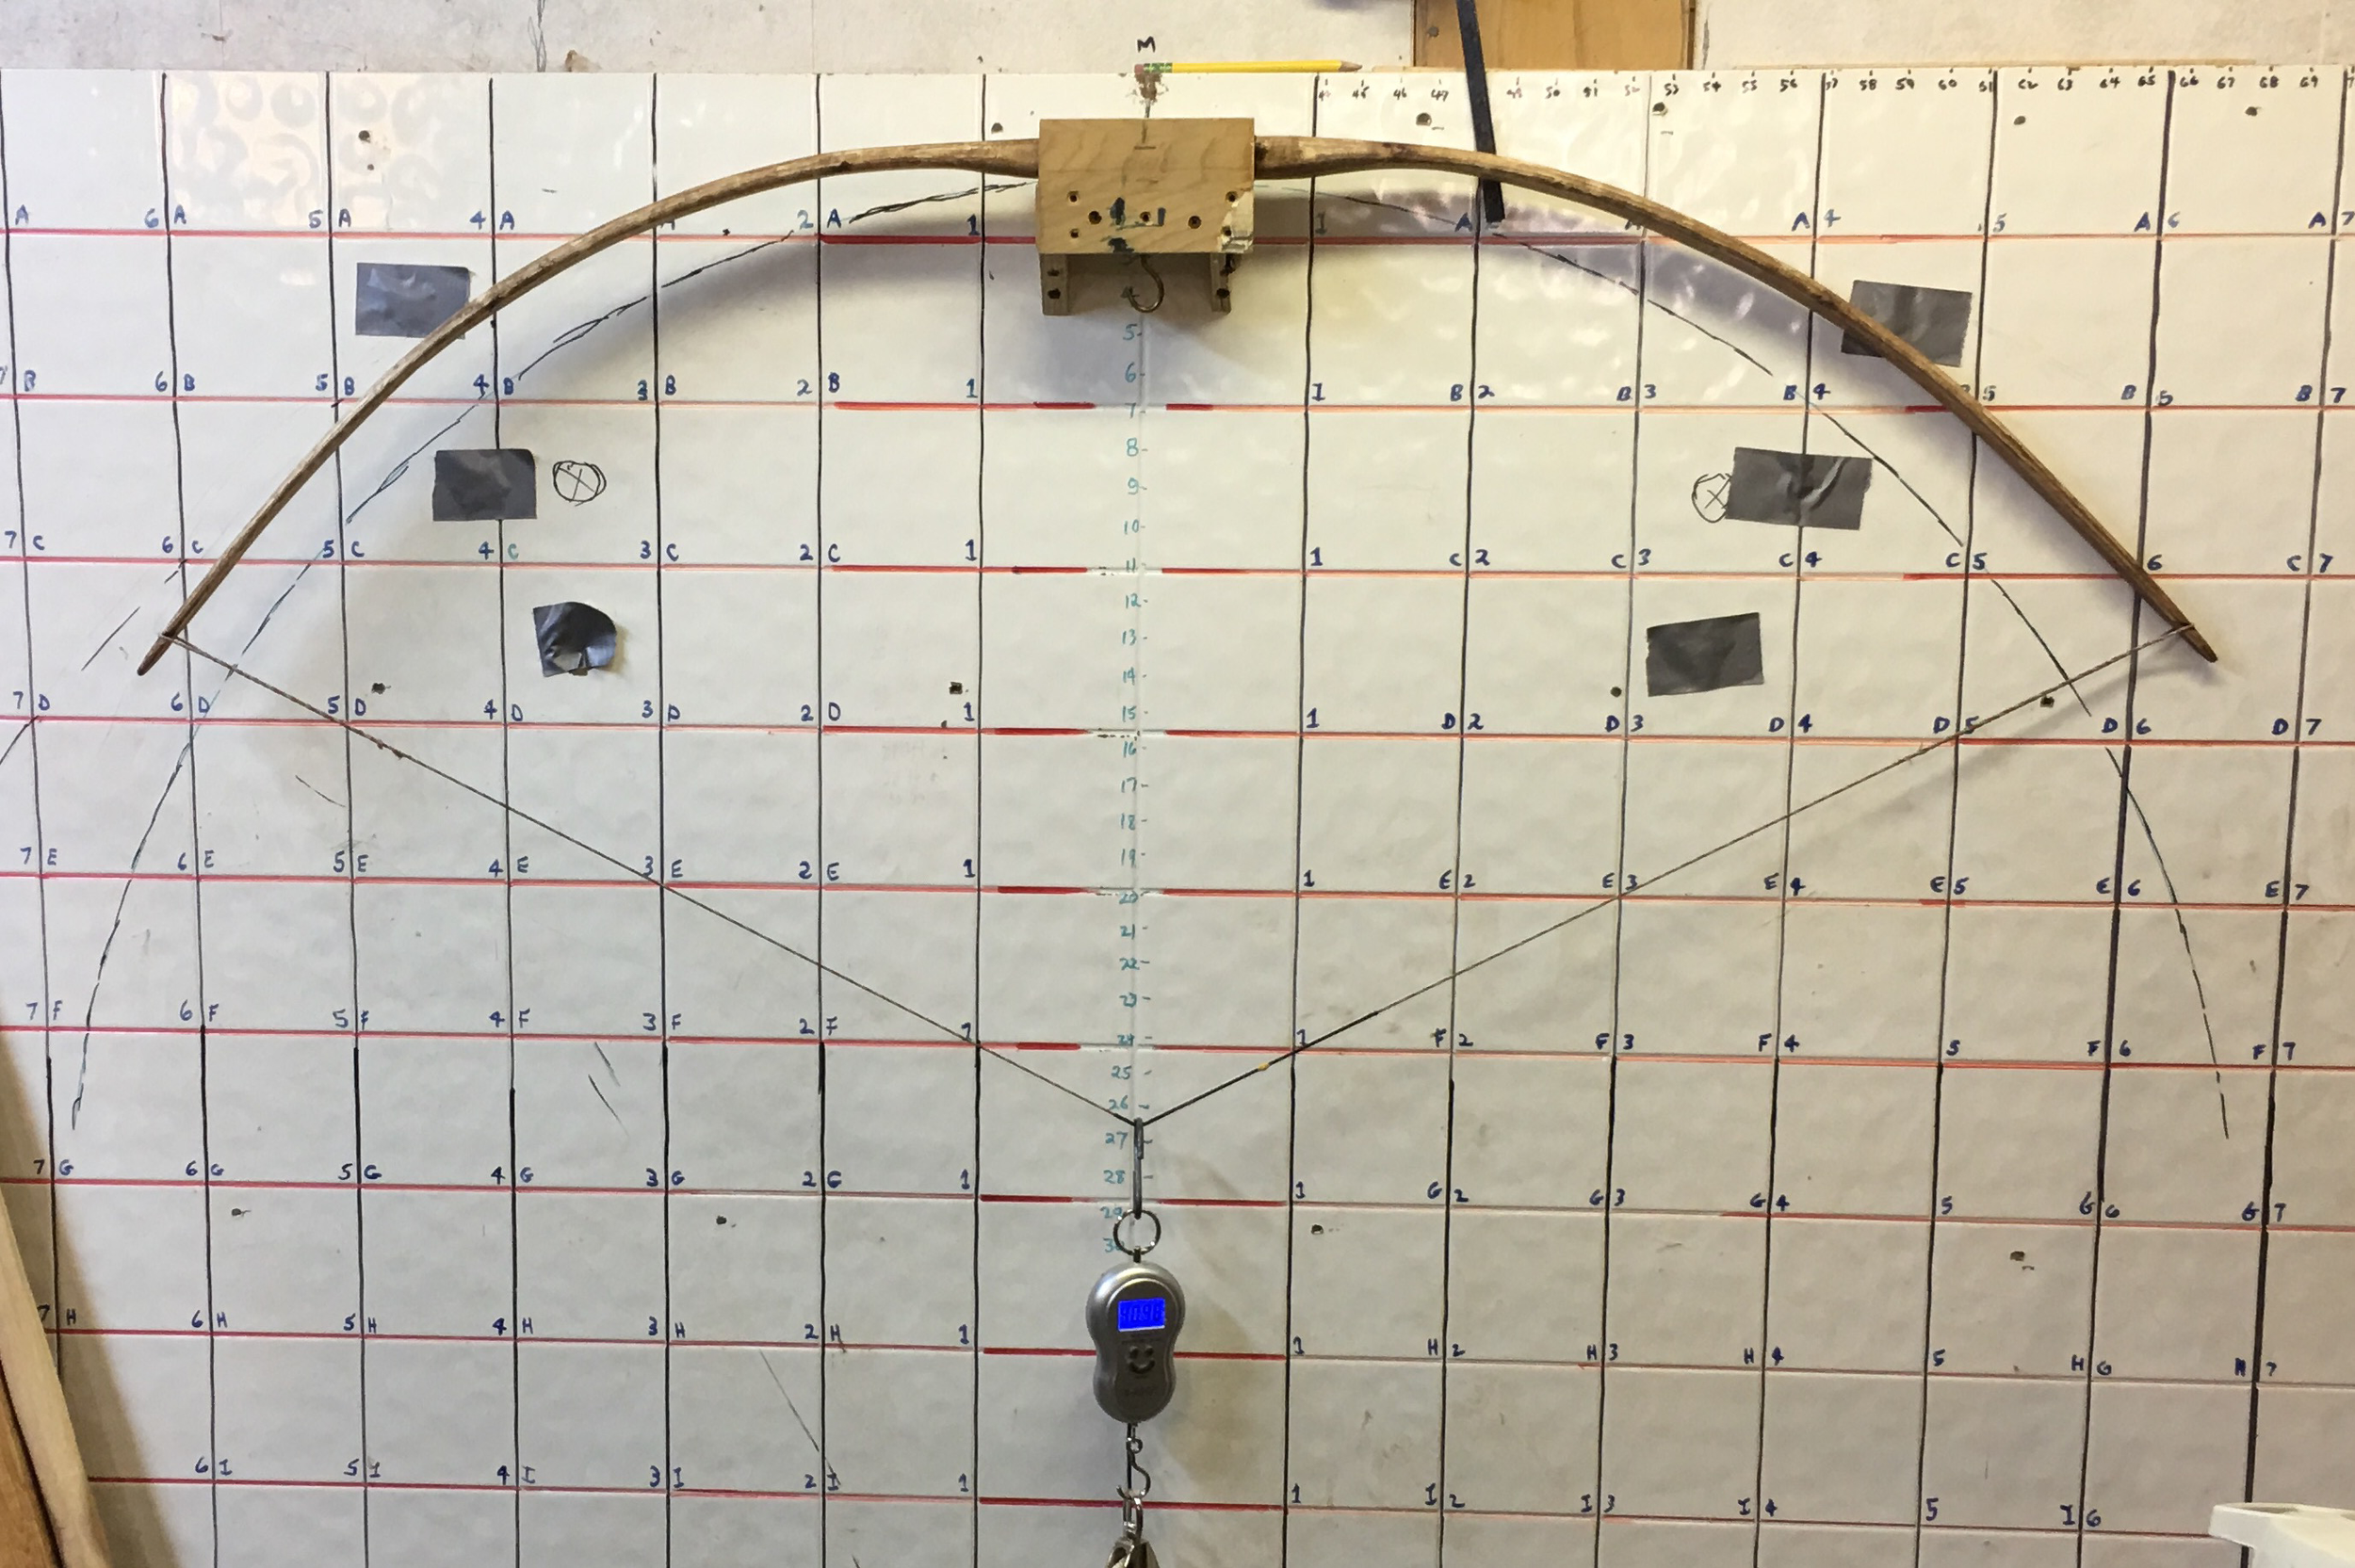
Make a string and brace it. Pre-tiller looks pretty good.
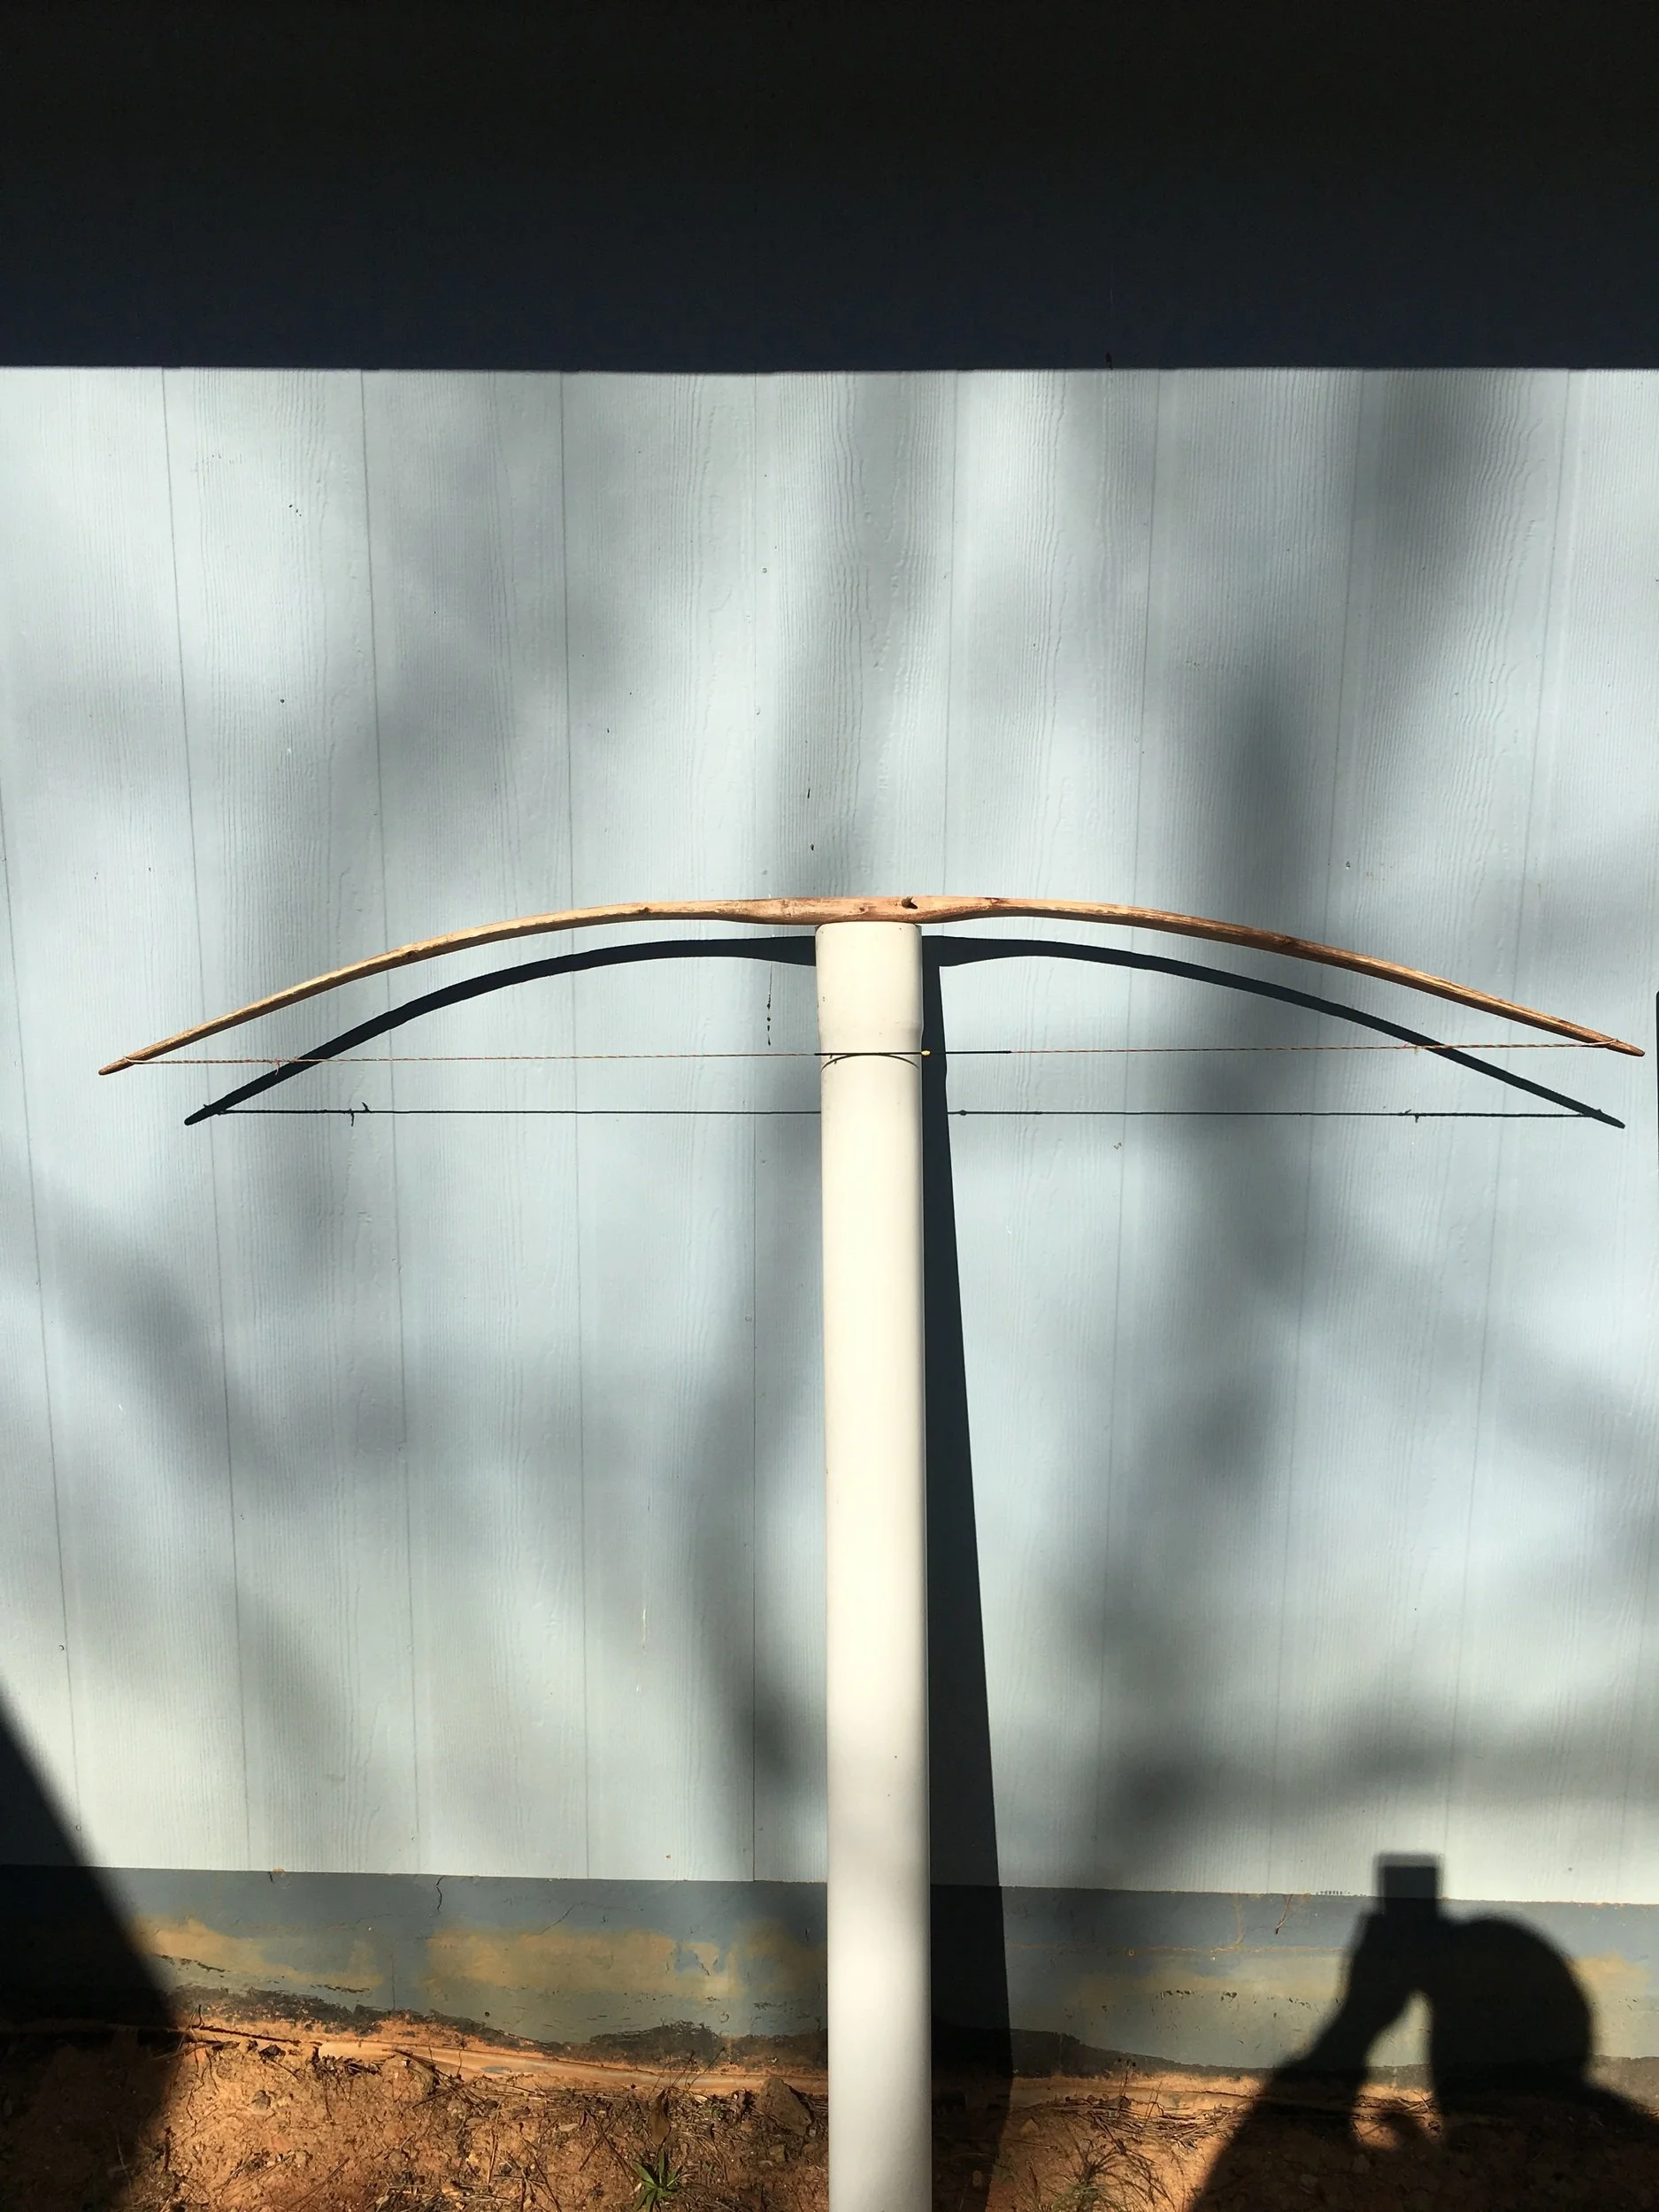
Now, put her on a tiller stick or board and start removing all the stiff spots until it bends nice and even. This bow was about 41 pounds at 28 inches.
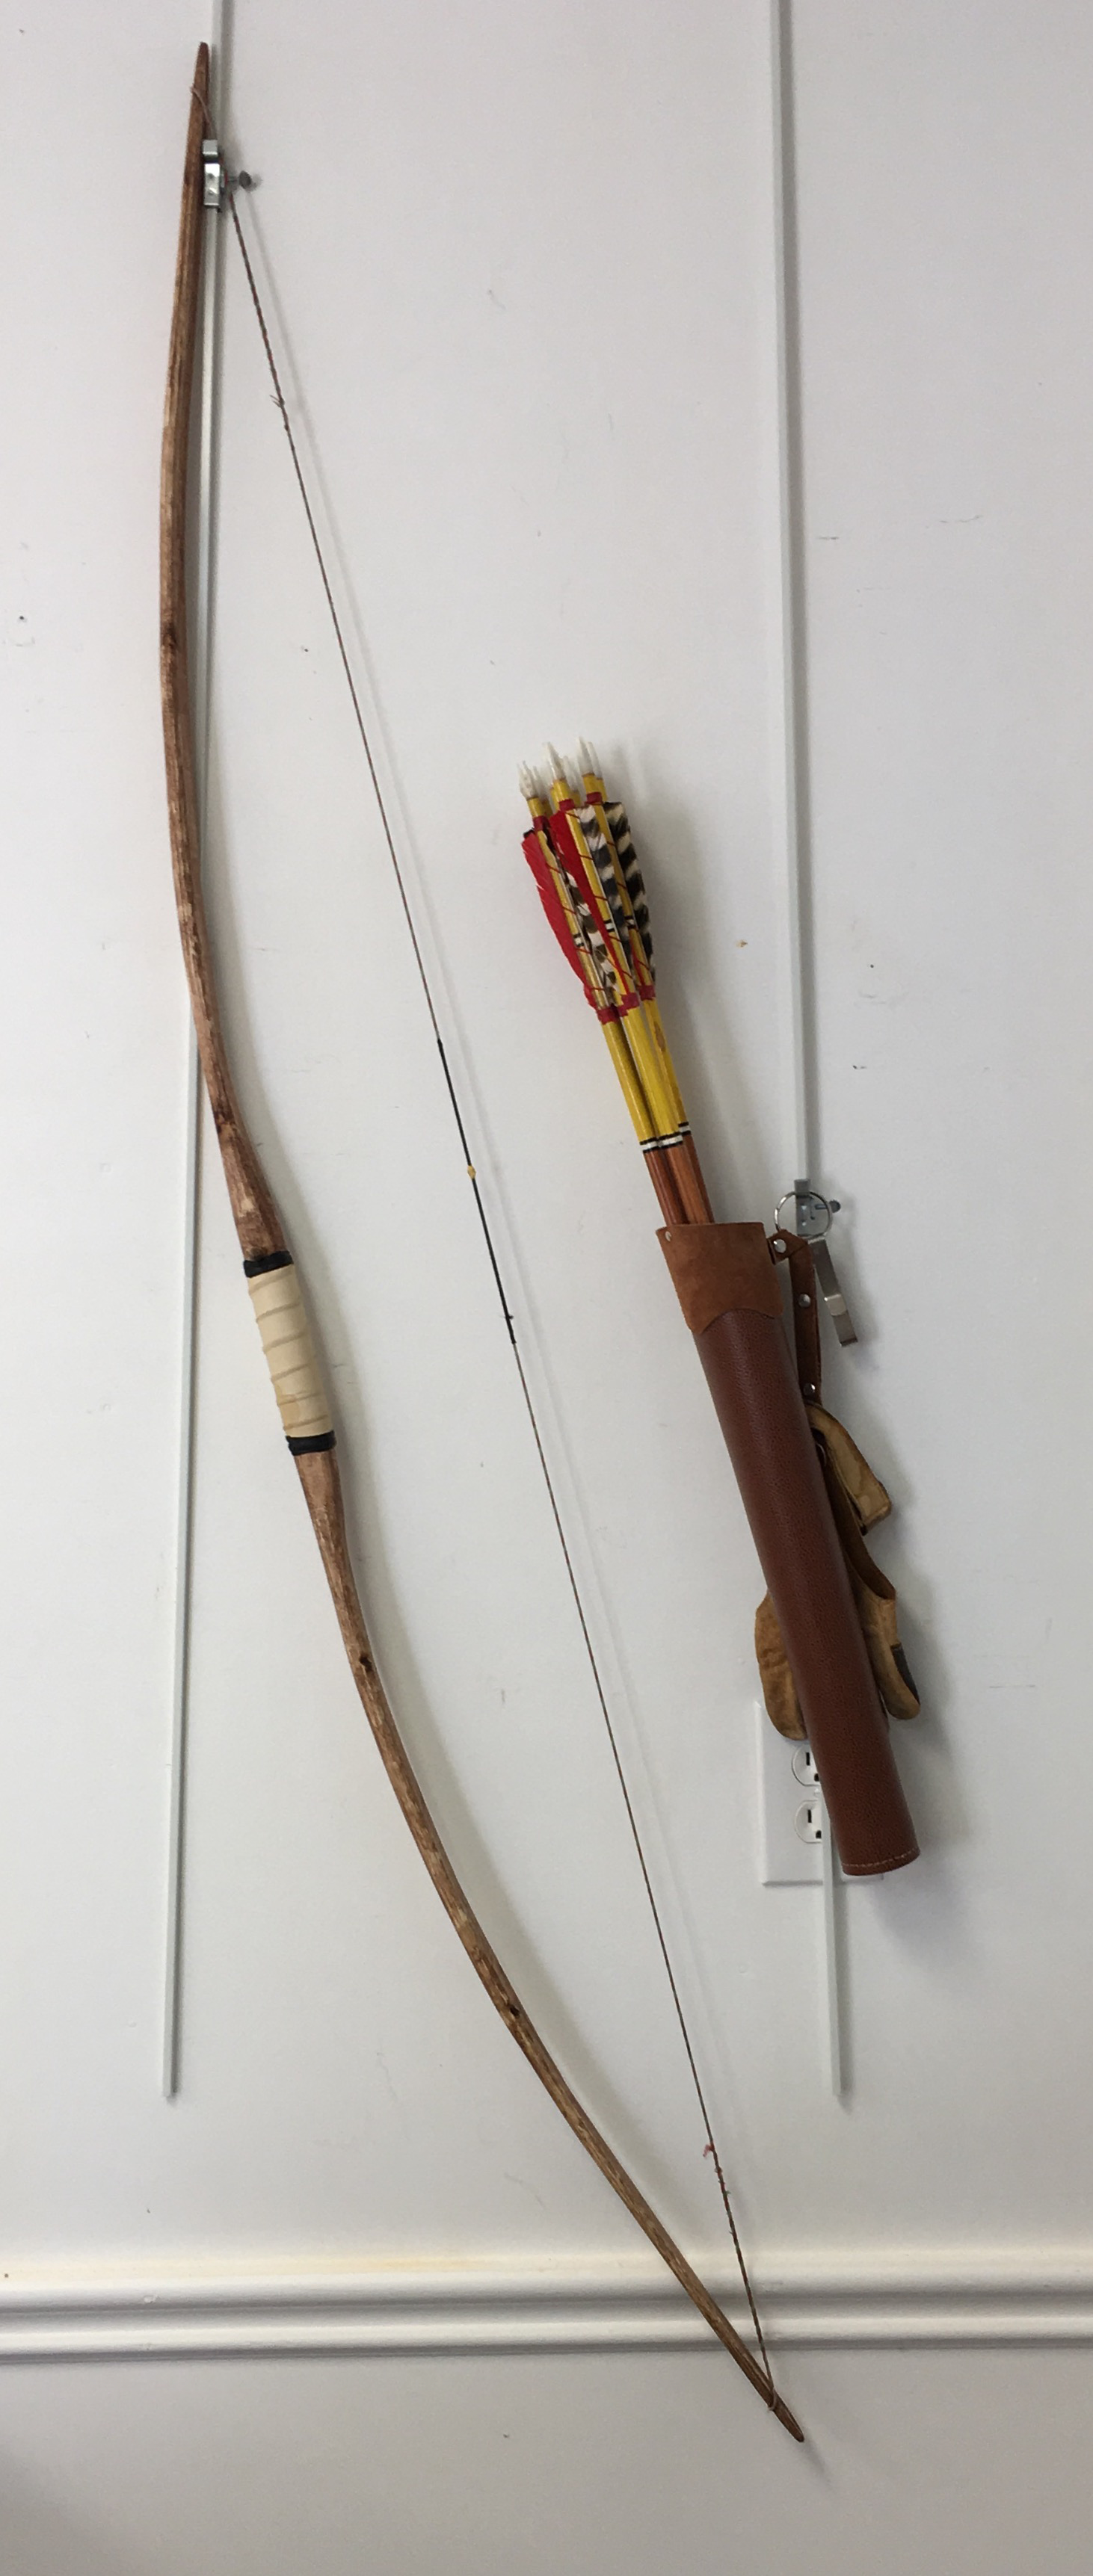
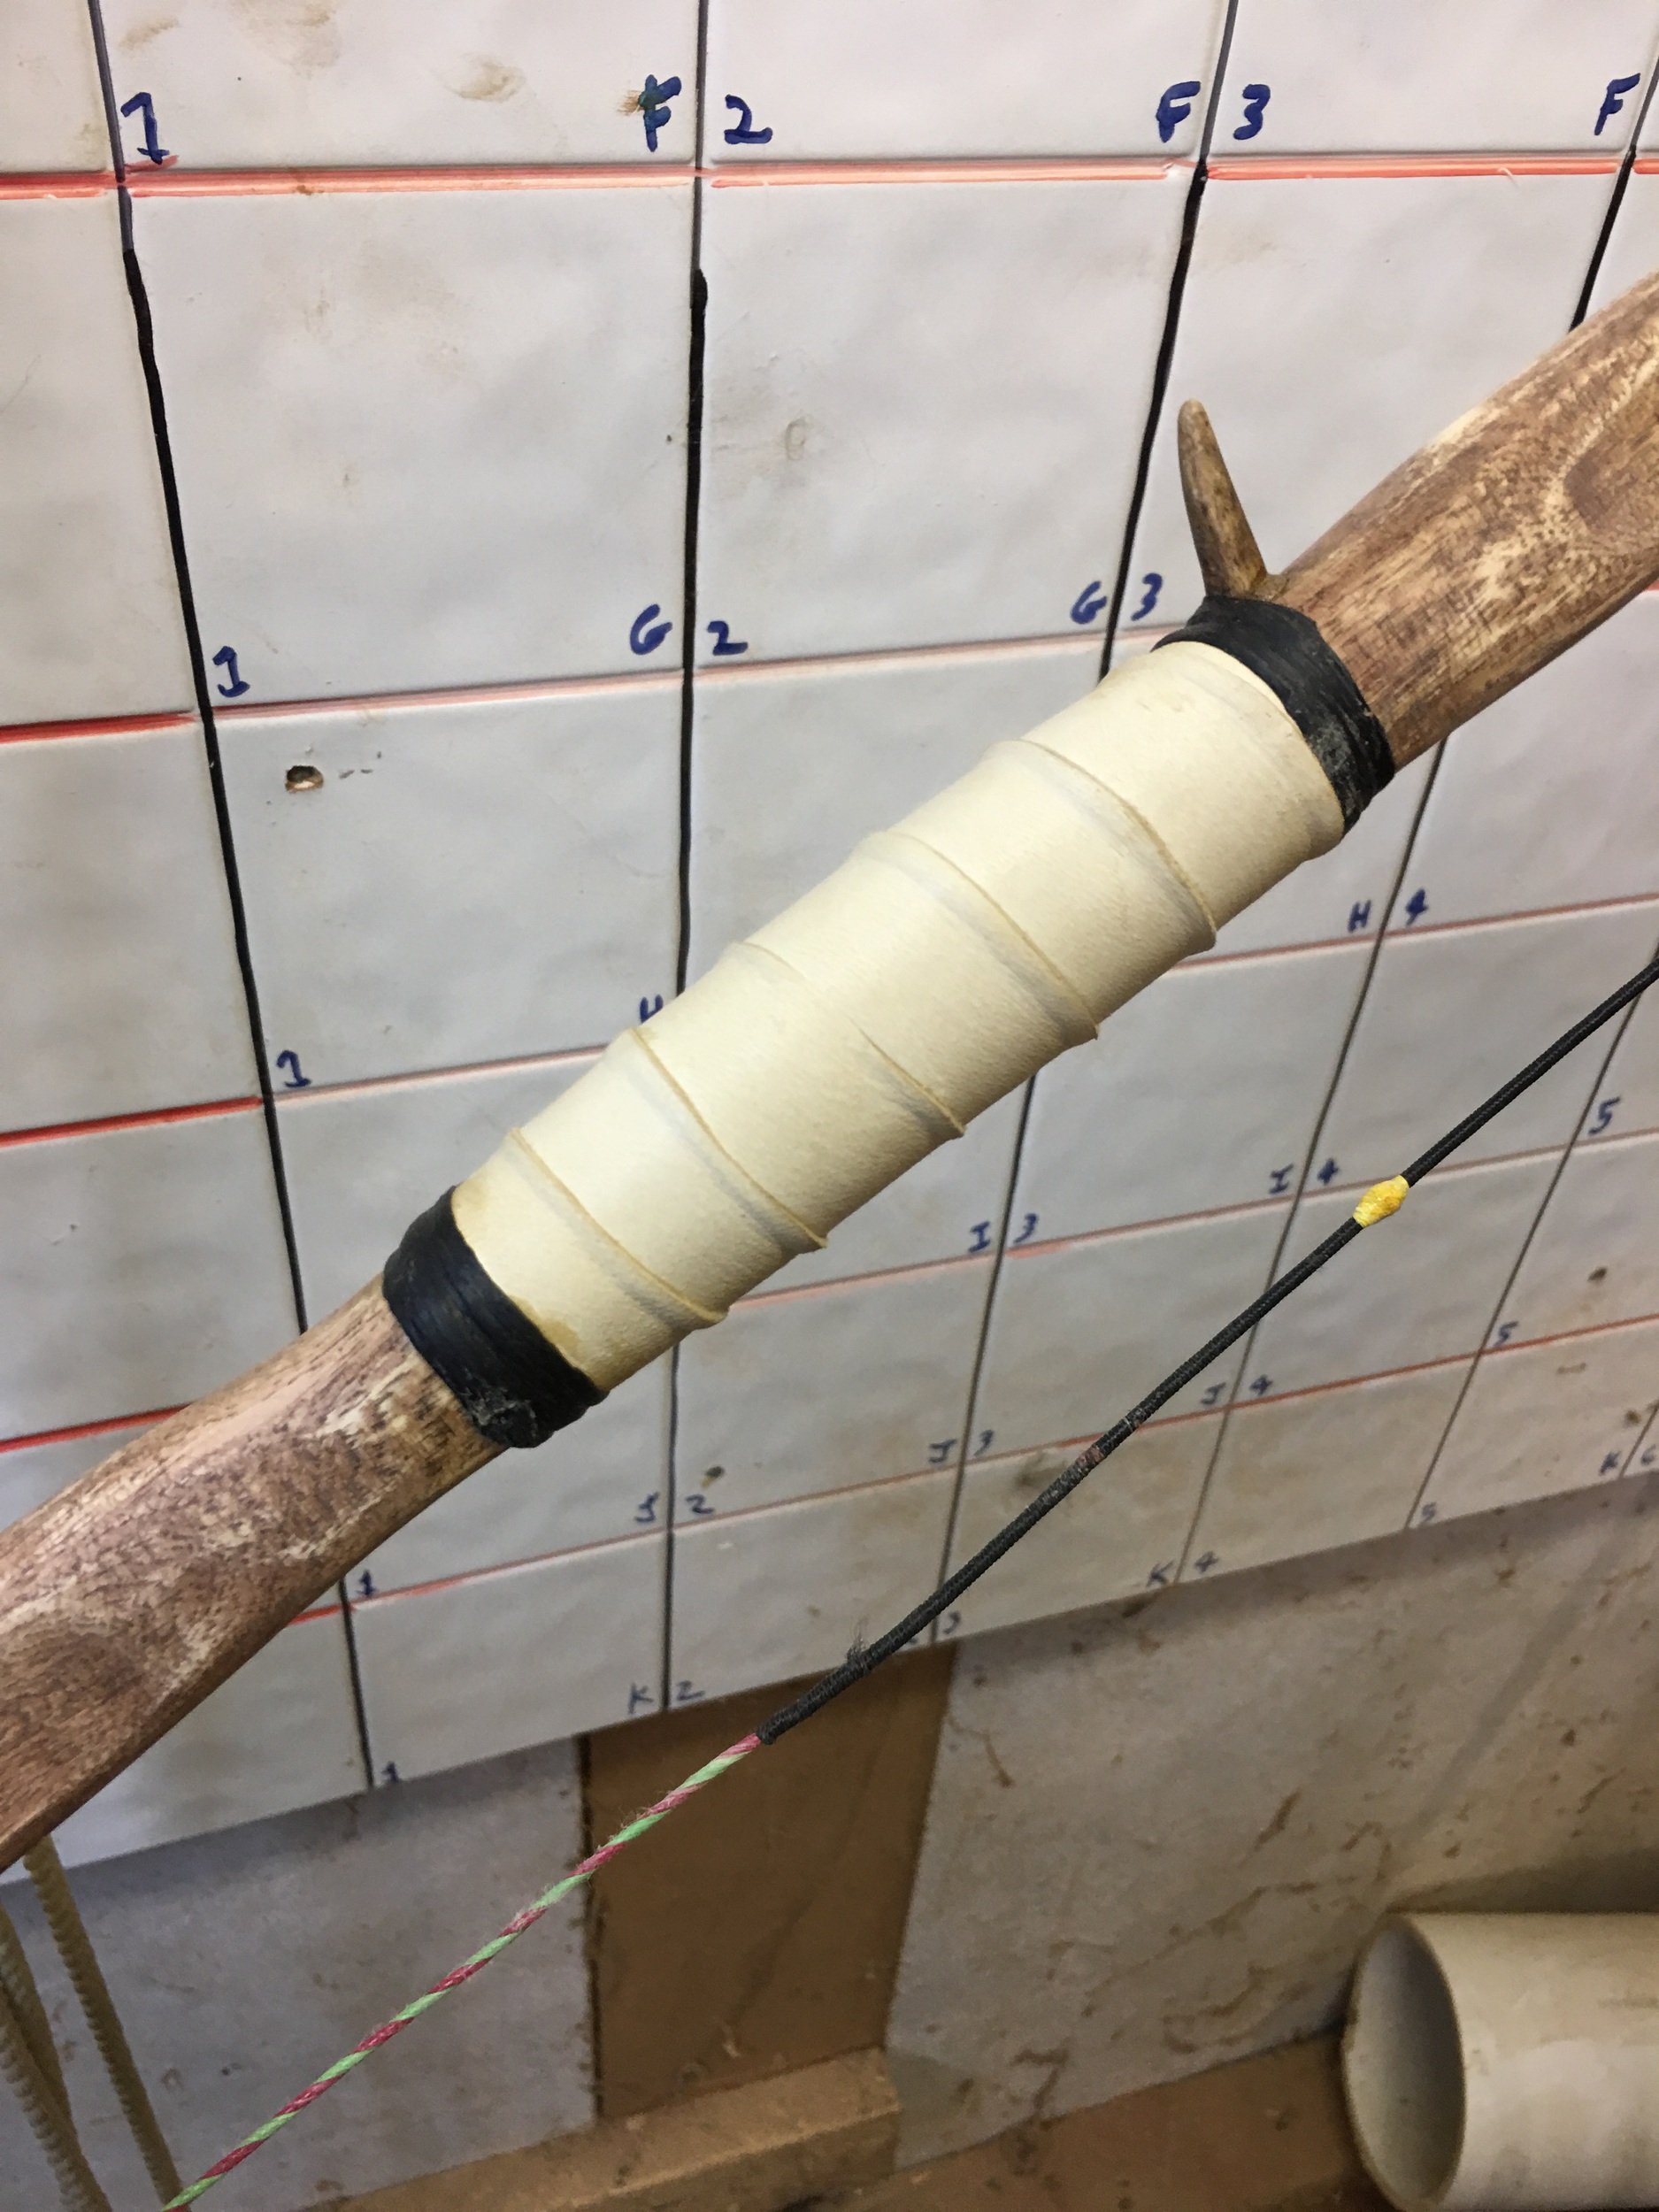
Wrap the handle with some nice leather
Now you have a nice shooting bow made from backyard woods. You will love these little darlins.